Transmissions & Drivetrain Technology in US Cars: Selection and Installation
How to select, check and professionally install transmission and drivetrain parts for your US car – with notes on diagnosis, tools and safety.

Basics: Transmissions and drivetrain technology in US vehicles
Transmissions and drivetrain technology in US cars can differ significantly from European vehicles depending on model year and model. Different transmission types, specific oil specifications and varying drivetrain concepts (RWD, 4WD, AWD) make careful parts selection and a clean installation essential.
Drivetrain technology includes, in addition to manual or automatic transmissions, items such as torque converters, driveshafts, drive shafts/axle shafts, differential(s), wheel hubs and bearings. Many typical faults can be remedied by timely diagnosis and replacing individual components.
An overview of suitable components for many US models can be found in the category Getriebe & Antriebstechnik.
Typical drivetrain concepts in US cars
US vehicles, especially pickups and large SUVs, often use:
- Rear-wheel drive (RWD): Classic for sedans and older models, with a driveshaft to the rear axle.
- Part-time 4WD: Selectable four-wheel drive, often with a transfer case and front drive shafts.
- Full-time AWD: Permanent all-wheel drive with a transfer case or center differential.
The drivetrain configuration determines which components are fitted and how they are replaced. 4WD/AWD systems involve additional drive shafts, wheel hubs with integrated bearings and often special sealing concepts.
Parts selection: Check fitment and compatibility
Especially with US vehicles it is important not to rely solely on model names or years, but to precisely identify the specific vehicle. Relevant points:
- Vehicle Identification Number (VIN)
- Engine (displacement, engine code)
- Transmission type (e.g. transmission code, number of gears)
- Drive type (2WD, 4WD, AWD)
- Axle loads and optional equipment (e.g. Heavy-Duty package)
Example: For a Dodge Ram 1500 4WD there are different drive shafts depending on model year. For models from 2002–2011 you can find suitable front drive shafts left/right here: Antriebswelle vorne links / rechts für Dodge Ram 1500 2002 - 2011 4WD. For newer RAM 1500 4WD from 2012 other shafts are required, e.g. the combination of drive shaft and wheel hub: Antriebswelle vorne + Radnabe links / rechts für Dodge Ram 1500 2012 - 2024 4WD.
Where possible, base your selection on original part numbers (OE numbers) and the information in the part description. If data is missing, always have the VIN and the transmission code at hand and cross-check with workshop literature or dealer information.
Drive shafts: Diagnosis, removal and installation
Typical symptoms of a failed drive shaft
Failed drive shafts or constant velocity (CV) joints often reveal themselves through the following symptoms:
- Clicking or popping when steering and accelerating (front, especially in 4WD/AWD)
- Strong vibrations during acceleration or at certain speeds
- Grease traces in the wheel well from torn boots
- Play on the shaft when moved by hand (with the vehicle jacked up)
Removal of a front drive shaft (general procedure)
The exact procedure depends on the vehicle. The following steps describe a typical approach for a 4WD pickup or SUV:
- Secure the vehicle, loosen the wheel nuts slightly, jack up the front and safely support on stands.
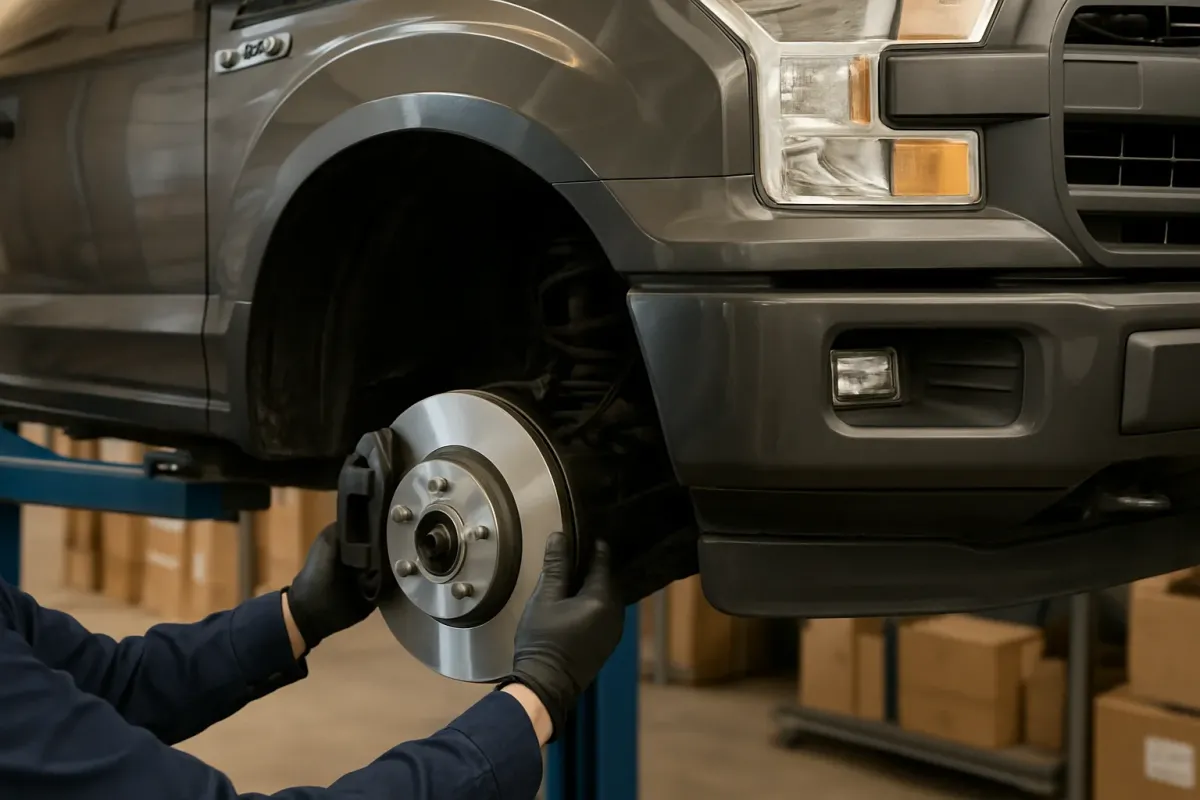
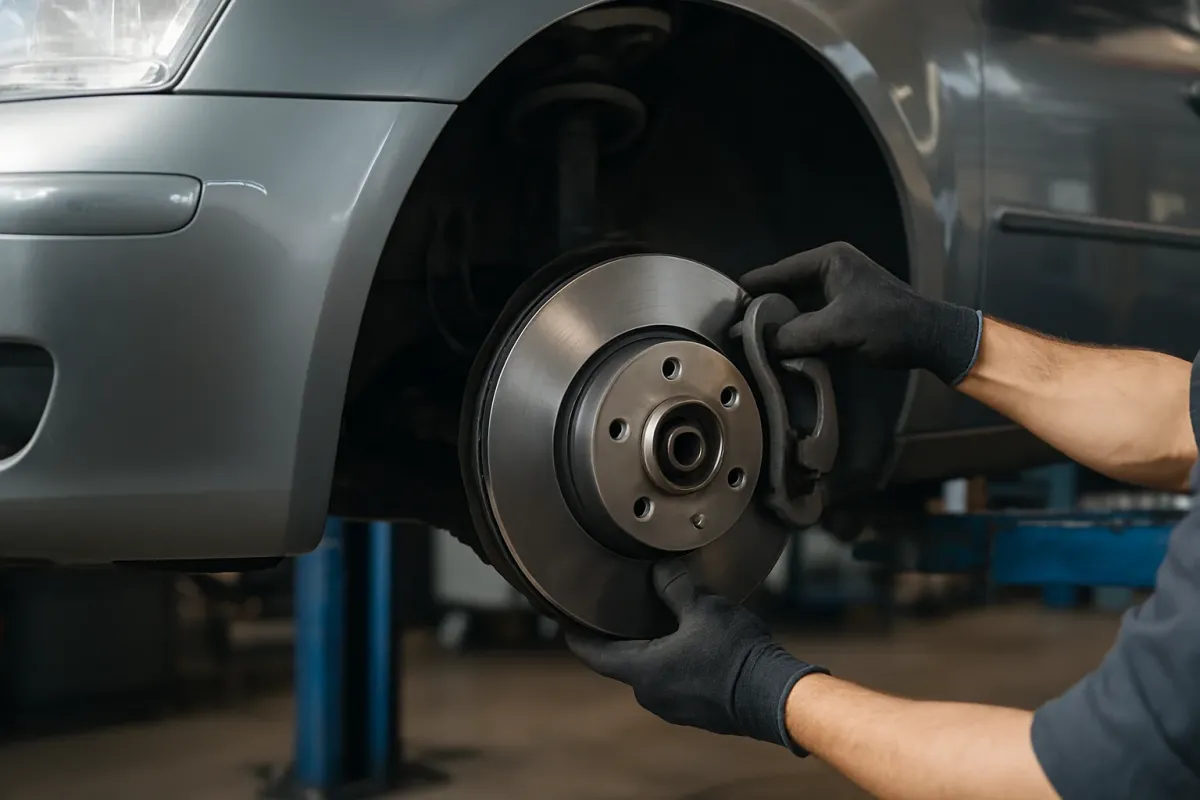
- Remove the wheel, remove and safely hang the brake caliper and, if applicable, its bracket (do not hang on the brake hose).
- If necessary, remove the brake disc (rotor), ABS sensor and other attached parts to gain access to the wheel hub.
- Loosen and remove the axle nut (castle nut) and cotter pin or the axle locking nut at the wheel hub.
- Disconnect ball joint(s) or tie rod end(s) to allow the steering knuckle to swing. Watch for tension and use a spring compressor or transmission jack if required.
- Press the drive shaft out of the wheel hub (use an appropriate puller or hub tool; do not hammer on the thread).
- Disconnect the inner connection to the differential or transfer case. Depending on design, either pry the shaft out of the splined joint (use a pry bar, avoid damaging the seal seat) or remove the flange connection bolts.
- Remove the drive shaft and inspect sealing surfaces and shaft seals on the transmission/differential. Replace seal or gasket if necessary.
For specific torque values, sequences and special tools always consult the vehicle-specific workshop documentation or repair manual.
Installation of a new drive shaft
Clean work is crucial during installation to avoid leaks and consequential damage:
- Check the seat of the shaft seal and lightly lubricate the sealing lip with the specified transmission fluid.
- Insert the drive shaft straight on the transmission side without tilting until the retaining ring engages or the flange sits flush.
- Guide the shaft into the wheel hub and bring the steering knuckle back into position. Do not bend joints beyond their allowable angle.
- Reinstall ball joints, tie rod ends, strut mounts etc. according to the manufacturer's instructions and tighten to the specified torques.
- Tighten the axle nut/locking nut only with the vehicle lowered onto the ground to the correct torque and secure it.
- Reinstall ABS sensor, brake components and wheels, check brake function and finally perform a test drive focusing on noises and vibrations.
Suitable drive shafts for many 4WD models like the Ford F-150, Expedition or Lincoln Navigator can be found, for example, in the category Antriebswellen, for instance specifically: Antriebswelle vorne links für Ford F-150 Expedition 2016 - 2024 4WD or Antriebswelle vorne rechts für Lincoln Navigator 2018 - 2021 4WD.
Transmissions: Maintenance and filter replacement for automatics
Many US cars have automatic transmissions that depend heavily on the correct fluid and regular maintenance. Wrong ATF or a clogged filter can cause shifting issues, slipping or overheating.
Oil specification and change intervals
US manufacturers often use their own specifications such as ATF+4 for Chrysler/Jeep. It is important to use exactly the fluid required by the manufacturer. Information on specifications, fill quantities and service intervals can be found:
- In the vehicle owner's manual
- In workshop manuals or technical service information
- On type plates or stickers in the engine bay (if present)
Do not rely on guesses or uncertain internet sources, as the wrong fluid can cause serious damage to an automatic transmission.
Automatic transmission filter replacement (basic procedure)
The procedure may vary by transmission type. A typical workflow for a filter change with fluid replacement (without flushing) is as follows:
- Place the vehicle level on jack stands and secure it.
- Remove underbody covers in the area of the oil pan.
- Carefully loosen the automatic transmission oil pan. If present, open the drain plug and drain the fluid, then remove the pan.
- Locate the filter inside the transmission and remove it according to manufacturer instructions (bolts or snap connection).
- Carefully clean sealing surfaces on the transmission housing and the oil pan, clean magnets in the pan.
- Install the new filter, paying attention to correct placement of seals.
- Install the oil pan with a new gasket or suitable sealant and tighten to the specified torques.
- Fill the transmission with the specified quantity and specification of fluid, check and correct the level according to the manufacturer's instructions (temperature range, engine running, selector lever positions).
Suitable filter kits including gasket and sometimes oil specification in the description can be found, for example, for the Jeep Grand Cherokee (ATF+4) under Automatikgetriebe Filter Getriebeöl für Jeep Grand Cherokee 1993 - 1998 ATF+4 or for Chrysler Town & Country / Grand Voyager under Automatikgetriebe Filter Getriebeöl für Chrysler Town&Country Grand Voyager.
Wheel hubs, bearings and other drivetrain components
Wheel hubs with integrated bearings are common on many US pickups and SUVs. Faulty bearings are noticeable by humming, grinding noises or play at the wheel mounting. On some models complete assemblies are offered together with the drive shaft, which simplifies replacement since all critical components are new.
Other drivetrain components that are frequently affected:
- Universal joints and center bearings on driveshafts
- Axle seals and shaft seals on differentials and transmissions
- Transfer case and its seals
Not every fault requires replacing complete assemblies; often individual components can be replaced. An overview of less common parts can be found in the category Sonstige.
Safety, tools and common mistakes
Safe working on the drivetrain
Work on transmissions and drivetrain components is usually performed under the vehicle and on load-bearing suspension parts. Therefore be sure to observe:
- Always place the vehicle on suitable jack stands, not just on the jack.
- Engage the parking brake and chock the wheels that remain on the ground.
- When working on an automatic transmission, switch off the ignition and remove the key to prevent accidentally selecting gears.
- Hot transmission fluid can cause burns – check temperature and wear protective gloves.
Common installation mistakes
Frequent mistakes that can be avoided:
- Wrong oil or grease: Use only specified transmission fluids and greases.
- Overlooked seals: Old, hardened axle seals at the differential or transmission not replaced during shaft replacement.
- Missing or incorrect torques: Over- or under-tightened hub nuts and suspension bolts can lead to failures. Always follow manufacturer specifications.
- Damaged threads: Caused by hammering on the shaft; use proper pullers instead.
- No wheel alignment after intervention: After extensive work on suspension/drivetrain (e.g. removal and installation of steering knuckles) an alignment may be necessary.
Summary
Transmissions and drivetrain technology in US vehicles is robust but relies on proper maintenance and careful repairs. Crucial are correct vehicle identification, suitable replacement parts, the use of the right fluids and adherence to manufacturer specifications for torques and fill quantities. With the right workshop equipment, clean work and the appropriate documentation, many tasks are feasible for experienced hobby mechanics.
Frequently asked questions
How can I find out which automatic transmission is installed in my US car?
The safest method is to check the vehicle documentation or the factory data sheet (VIN query). Additionally, type plates on the transmission housing or stickers in the engine bay can provide clues. Do not rely solely on model names or forum information.
Do I need a wheel alignment after replacing a drive shaft?
If ball joints, control arms or tie rod ends were disconnected during removal, a subsequent wheel alignment is recommended. If only the shaft and wheel hub were removed without changing toe/camber settings, an alignment is usually not mandatory, but checking driving behavior (straight-line tracking, tyre wear) is sensible.
Where can I find the correct torque values and fill quantities?
These values are listed in the factory repair manual, in technical service information or in high-quality aftermarket repair guides. If you do not have access to them, obtain the relevant documents before starting work. Do not estimate or rely on general tables, as incorrect torques and fill quantities can cause severe damage.