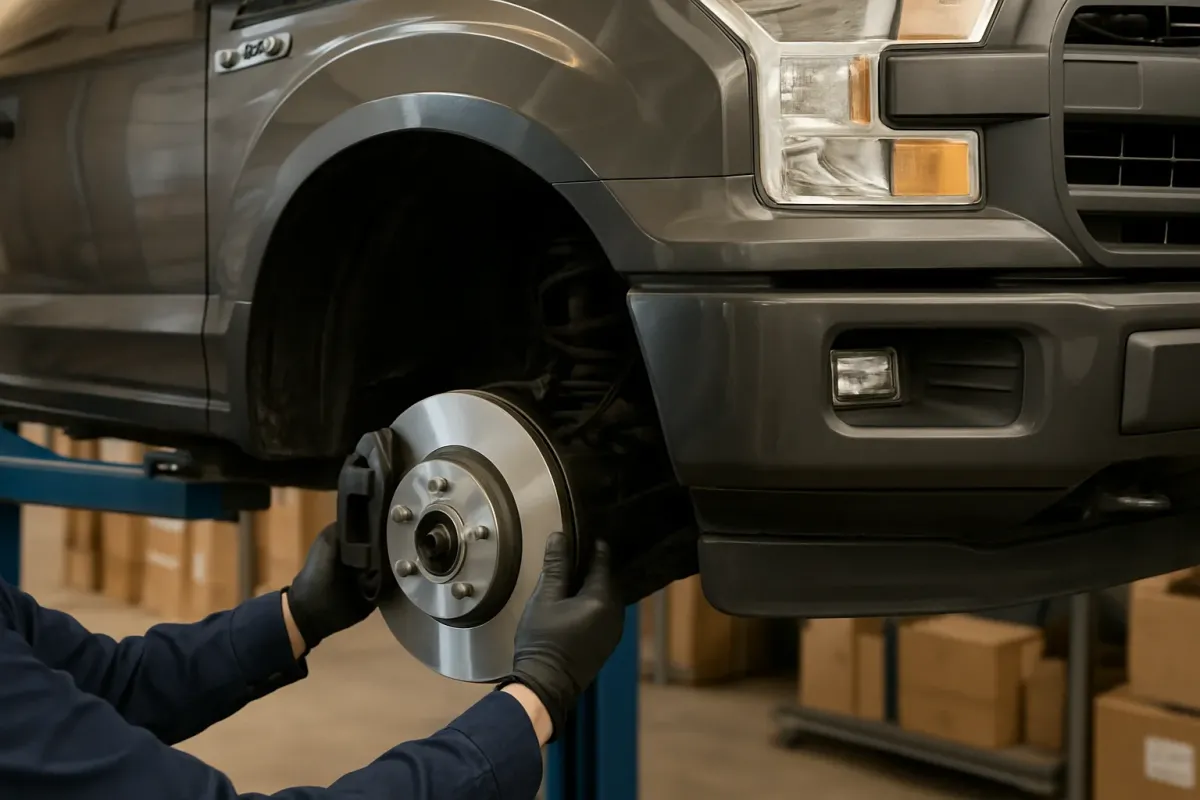
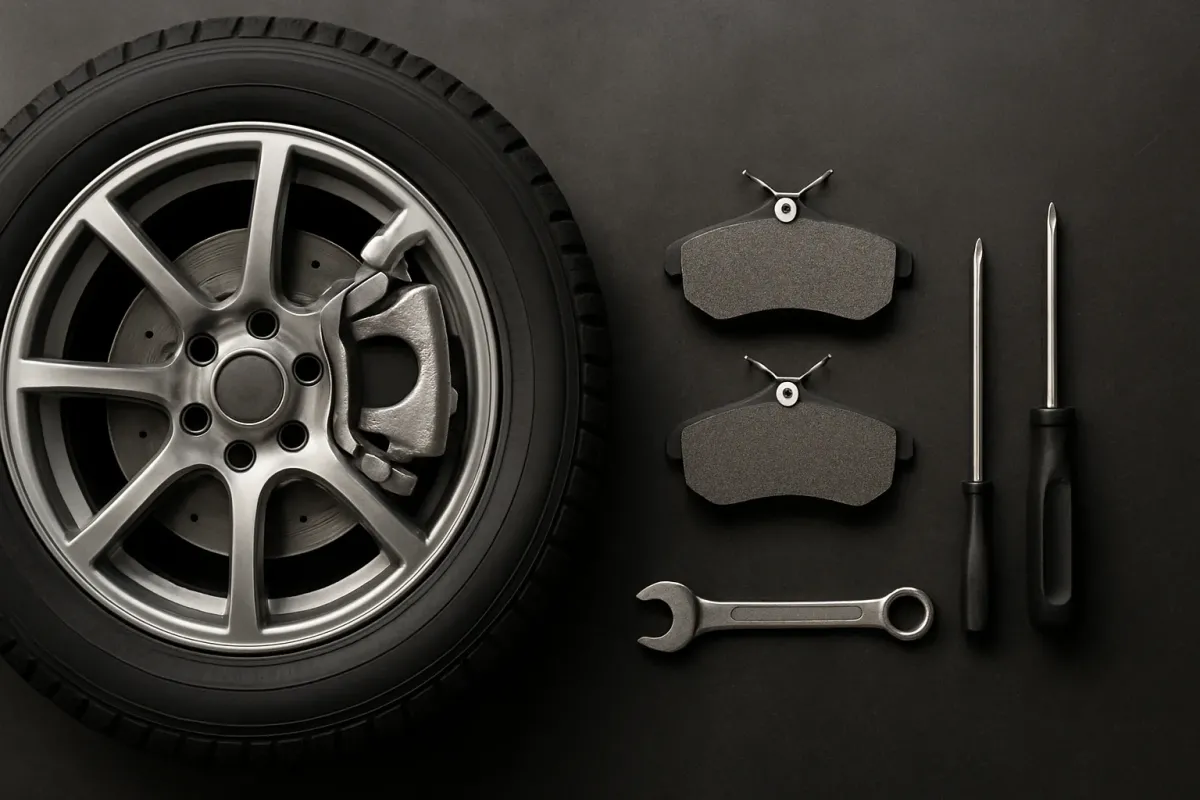
Side skirts for US cars: selection, fitment and installation
What really matters when selecting, fitting and installing side skirts on US cars – explained compactly and practically.
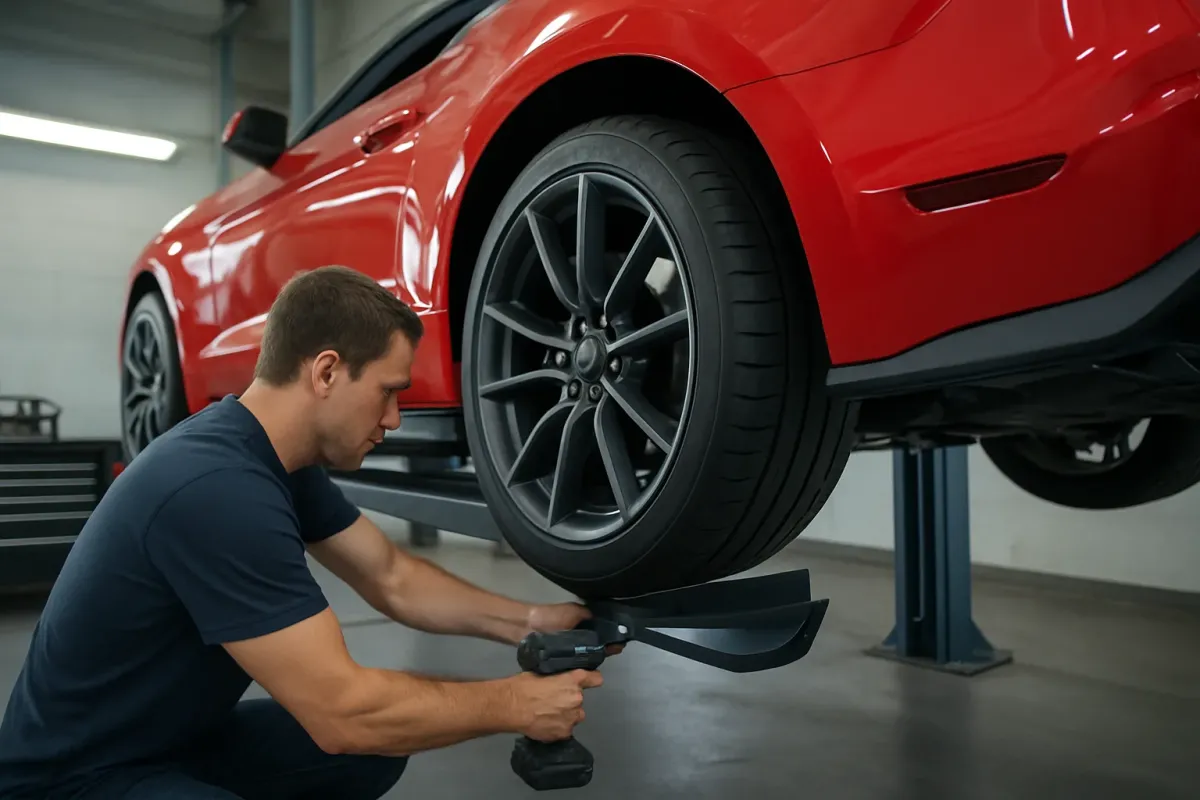
Function and effect of side skirts
Side skirts are typical add-on parts in US car tuning. They sit below the doors between the wheel arches and change both the appearance and, depending on the design, the aerodynamics. For DIYers they are a comparatively manageable project where clean workmanship is decisive.
Fundamentally, side skirts fulfill three functions:
- Appearance: A silhouette that appears lower, sharper lines, transition to front and rear splitters.
- Protection: Depending on design, light protection against stone chips and road spray in the sill areas.
- Aerodynamics: With well-designed kits a slight improvement of the airflow along the vehicle side.
Important: A real aerodynamic effect depends on the complete combination of front spoiler, side skirts and rear area. For everyday use the appearance is usually the main focus.
Materials and designs
For side skirts on US cars three material types are mainly used:
- Plastic (ABS / PP / PU): Common for road use. Flexible, relatively impact-resistant, often available with TÜV documentation. Generally easy to paint provided the surface is prepared accordingly.
- GRP (glass fiber reinforced plastic): Light and dimensionally stable, but more brittle. Edges and transitions often need additional finishing. Risk of breakage on ground contact is somewhat higher.
- Carbon: Very light, very stiff, visually high-end. Sensitive to damage in everyday use. Mostly high-priced and of interest primarily for aesthetic reasons.
In practice, plastic skirts with matching TÜV documentation are the most sensible compromise for road-going vehicles. Examples of such vehicle-specific solutions can be found in the category Seitenschweller.
In terms of design, the range extends from subtle, near-production designs to strongly contoured sill pieces in a motorsport look, for example side skirts in the GT350 style for the Ford Mustang or SRT-style skirt extensions for the Dodge Charger.
Fitment and vehicle specifications
The fitment of side skirts is a central point if you want to save yourself work and trouble. Pay attention to the following aspects:
- Vehicle generation and model years: Side skirts for the Chevrolet Camaro 2016–2023 do not necessarily fit other model years or body variants. Check the exact allocation, for example like the side skirts for Camaro 2016–2023 with TÜV.
- Body style: Coupe, convertible, widebody or special performance models can have different sill contours. A kit for a Dodge Challenger standard body is not necessarily suitable for widebody models.
- Factory-fitted add-ons: Original aero packages, trim strips or mudflaps can collide with aftermarket skirt strips. Check what is currently fitted to the vehicle before purchase.
High-quality kits are closely oriented to the series bodywork. Nevertheless, a small amount of finishing work is normal on many US cars for constructional reasons (e.g. e.g. slight adjustments to edges or adapting drill holes in the area of the fastenings).
TÜV, reports and legal aspects
Side skirts are modifications that require registration in Germany and many other countries if they significantly alter the vehicle exterior. Pay particular attention to:
- Reports / ABE / part certificates: Many side skirt sets for US cars are supplied with TÜV documentation. These make the registration process considerably easier.
- Material and edge quality: Sharp edges are critical for pedestrian protection. Transitions may need to be filled, rounded or cleanly sealed with sealant.
- Clearance: Wheels and doors must remain fully functional. After installation check whether doors open without rubbing and ground clearance is still roadworthy.
If the side skirt set is offered with a note about TÜV or a report, you should read the documents carefully before mounting and adhere to the specifications described in them (fastening points, drill diameters, combination with series components).
Preparation: tools, surface and vehicle
For the installation you will generally need, depending on vehicle and kit:
- Vehicle lift or sturdy drive-on ramps (in a pinch jack + jack stands, but only on a safe surface)
- Ratchet with appropriate sockets and, if necessary, Torx / Phillips / flat bits
- Drill with metal / plastic bits (if additional fastenings are required in the report)
- Rivet gun, if the kit uses blind rivets instead of screws
- Degreaser / silicone remover, microfiber cloths
- Tape measure, felt-tip marker or chalk for markings
Work preferably in a clean, dry workshop or garage. Dirt on the contact surfaces between the body and the side skirt can later lead to creaks, paint damage or rust.
Installing side skirts: typical procedure
Depending on the vehicle and kit manufacturer the exact procedure may vary. In principle, however, the installation usually follows similar steps:
1. Check and remove series parts
First check whether there are already sill covers or trim strips fitted from the factory that will obstruct the new side skirts.
- Securely jack up the vehicle and prevent it from rolling.
- Carefully remove original clips, screws or rivets of the series parts.
- Thoroughly clean and degrease all contact surfaces on the vehicle.
2. Hold up the side skirts and check fitment
Before you drill or fasten anything permanently, you should hold the new side skirts in place:
- Bring the side skirts into position with a helper or suitable support (e.g. mounted wheels or stands).
- Visually align the front and rear ends as well as the door hinges.
- Check whether doors run freely everywhere.
Now you can see whether finishing work is necessary (e.g. e.g. slight adjustment of elongated holes or correction of drill points). Small gaps are common with retrofit parts but should be even.
3. Mark and prepare fastening points
Many kits are oriented to existing factory mounts or use additional drillings.
- Mark fastening points according to the installation instructions.
- Set drill holes with suitable bits if required. Always consider corrosion protection (e.g. e.g. edge sealing or touch-up paint on damaged paint spots).
- For blind rivets: deburr rivet holes so the rivet can sit cleanly.
4. Final assembly and alignment
Once everything is prepared, the final fastening takes place:
- Reposition the side skirts and provisionally fix them with the first screws or rivets.
- Work from the center outwards to avoid tensions.
- Tighten all fastenings only so far that there is still some play. Only when the lines fit cleanly, tighten finally.
Torque values for screws or nuts are vehicle- and kit-specific. You should obtain these exclusively from the side skirt installation instructions or the vehicle documentation.
5. Final check
After installation you should systematically check several points:
- Open and close the doors several times fully – without scraping noises.
- Check ground clearance and ramp angle, especially on lowered vehicles.
- Inspect the underside of the vehicle: no loose clips, cables or hoses trapped.
- Test drive with subsequent visual inspection for loose fastenings or new noises.
Particulars for typical US cars
Many US cars have relatively long doors and large sill areas. This affects the installation:
- Ford Mustang (S550/S650): The side contours are very pronounced, so well-fitting kits such as GT500-style side skirts or the Dark Horse variants for the current Mustang are clearly advantageous to achieve clean transitions to front and rear packages.
- Chevrolet Camaro (from 2016): The sill area runs relatively low, which emphasizes the visual lowering effect of side skirts. Pay particular attention to ground clearance on lowered vehicles here.
- Dodge Challenger / Charger: The wide body with long doors makes exact alignment important so that the doors do not rub on the skirt edges. SRT- or V2/V3-style skirts usually follow the series lines but should always be dry-fit first.
Surface treatment and care
Depending on material and delivery condition you must prepare the side skirts:
- Unpainted plastic parts: Generally sand, degrease and apply a suitable plastic primer before applying paint.
- Already painted parts: Check for transport damage. Minor scratches can be polished out or touched up before installation.
- Carbon: Regular care with UV protection is advisable to prevent fading.
For daily care gentle car shampoos and soft washing utensils are sufficient. Do not aim a pressure washer directly with full force into the gaps between side skirt and body to protect seals and mounting points.
Typical mistakes and how to avoid them
- Drilling without trial fitting: Never drill according to a template without actually having the part on the body. Tolerances add up and wrongly placed holes are hard to hide.
- Mounting on dirt and rust: Dirt or rust under the side skirt can become trapped and later cause paint damage. Always clean thoroughly and consider corrosion protection.
- Missing documentation: If you mount side skirts without sufficient documentation, registration can become problematic. Clarify the TÜV situation beforehand.
- No helper during installation: Especially on longer US cars a second person is helpful for alignment. Working alone you quickly end up with tensions or crooked lines.
Frequently asked questions
How much lower will my car actually sit with side skirts?
Side skirts generally do not change the actual ground clearance of the load-bearing sill, but only the visual line. The real lowering depends on suspension and wheel/tire combination. After installation, however, always check the minimum ground clearance according to the vehicle documentation.
Can I install side skirts myself or do I need a workshop?
With solid DIY experience, suitable tools and a safe lifting option self-installation is doable. It is important that you follow the manufacturer's installation instructions precisely and carefully check all safety-relevant points (fastening, corrosion protection, free movement of doors). Unsafe work should be left to a professional workshop.
Do side skirts always need to be registered with the TÜV?
Whether registration is required depends on the supplied documents (ABE, part certificate) and the national regulations. Read the documentation of your side skirts carefully and, if in doubt, clarify with your inspection organization before installation which documents are required and how the approval is carried out.