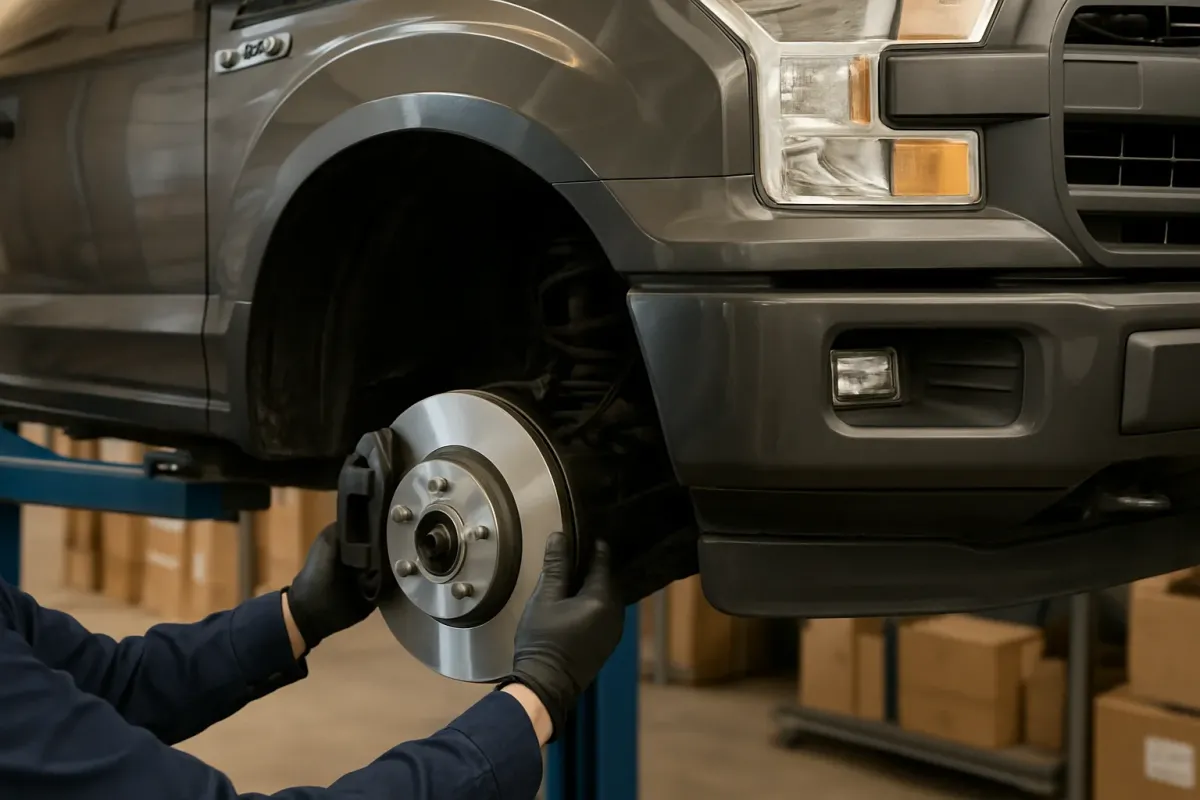
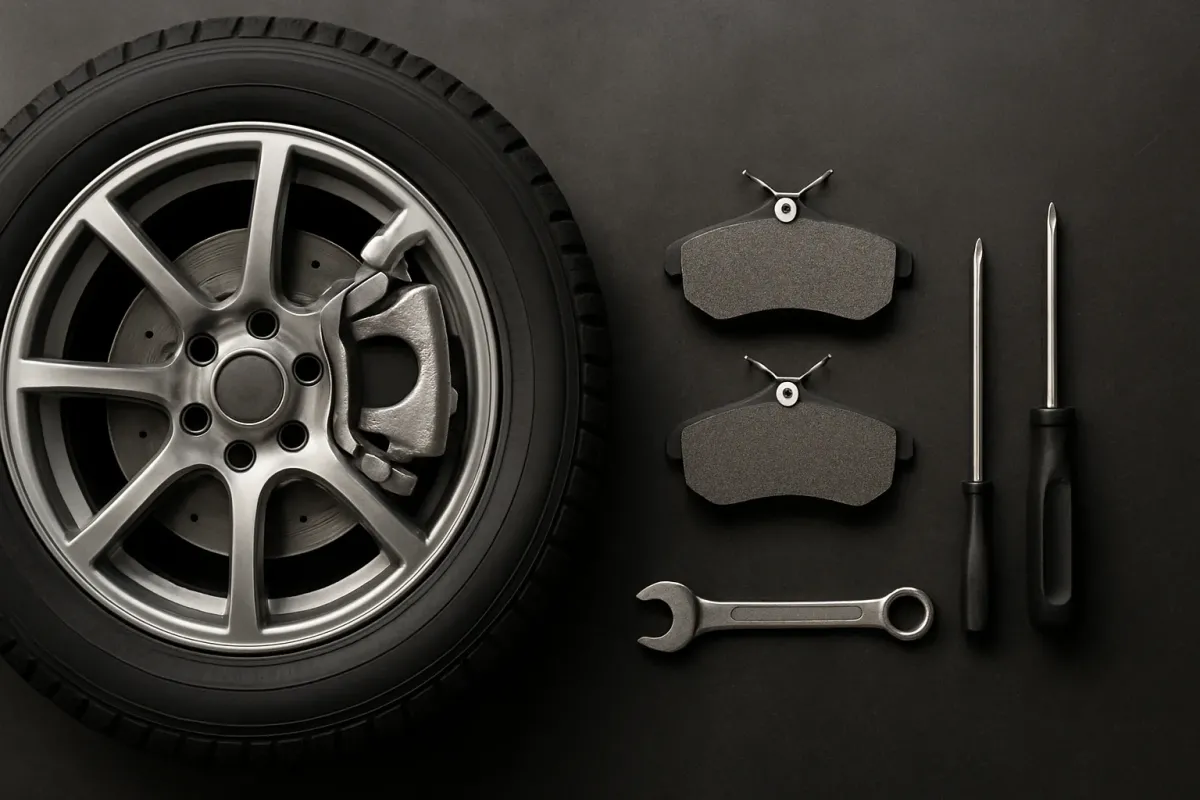
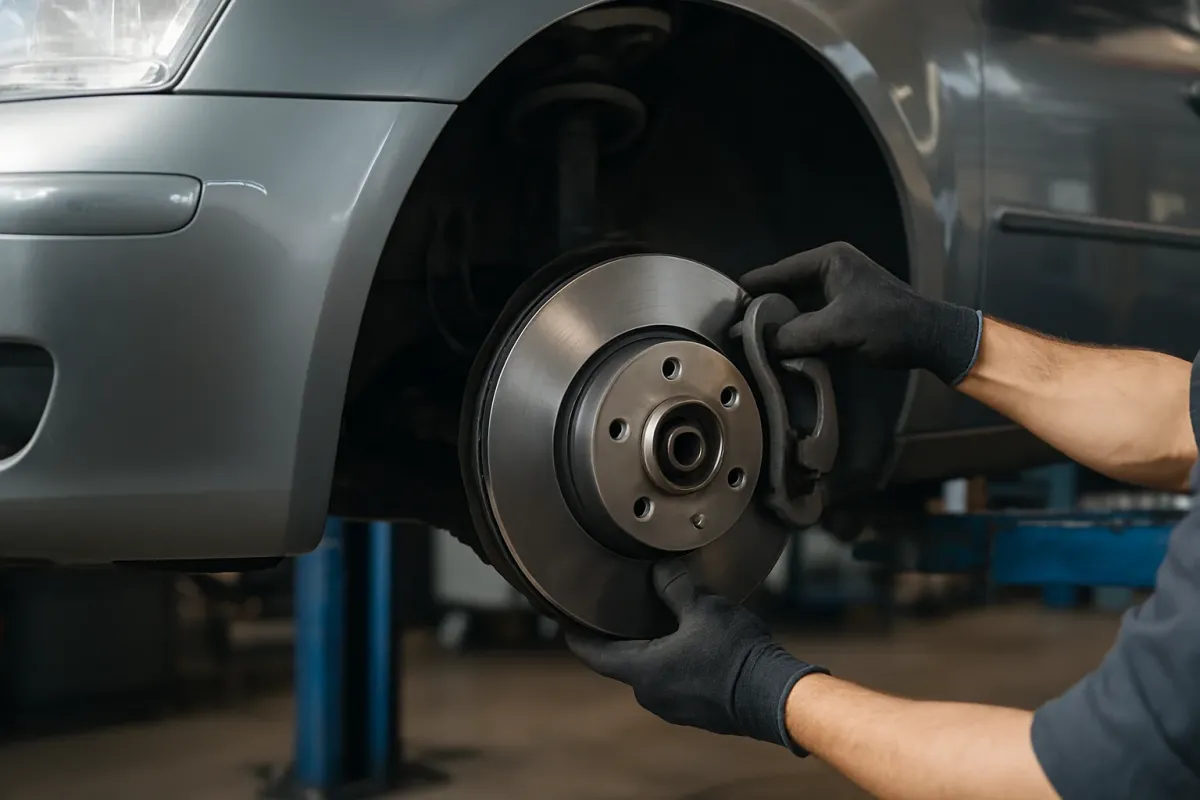
Installing a Body Kit on a US Car: Basics and Notes
What you should watch for if you want to install a body kit on your US car yourself – from preparation to care after installation.
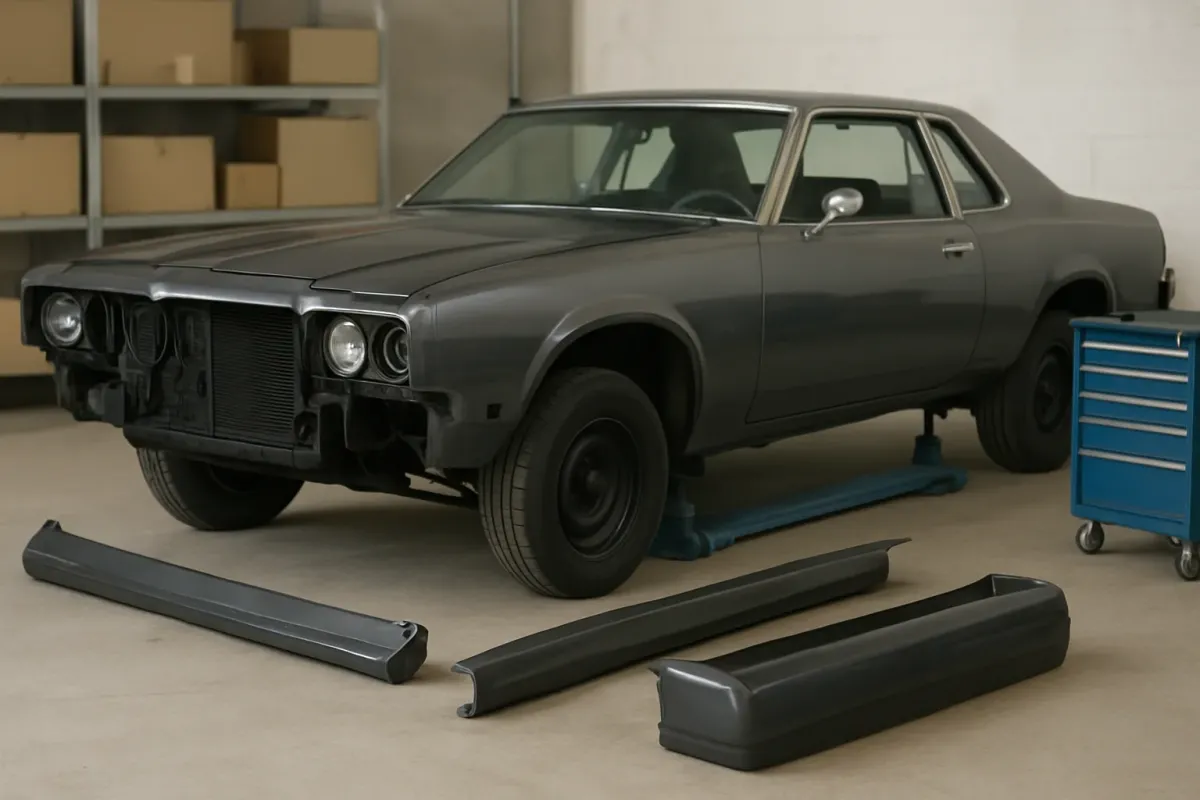
What is a body kit and what does it consist of?
A body kit usually includes several add-on parts that change the appearance of the body and, depending on the design, can also affect aerodynamics. Typical components are:
- Front bumper or front skirt
- Rear bumper or rear skirt
- Side skirts
- Front lip, rear diffuser, spoiler or rear wing
- Widened fenders or wheel arch extensions
For US vehicles body kits are often made from GRP (glass-reinforced plastic), ABS plastic or polyurethane. Each material has its own advantages and disadvantages when it comes to fitting, applying body filler and painting.
Legal basics and approval
Before you install a body kit, you should check whether and how the parts require approval in your country. In Germany the following points are particularly relevant:
- Certificates (e.g. parts certificate or ABE) for the individual add-on parts
- Requirements for ground clearance, wheel coverage and license plate mounting
- Clearance of the wheels at full steering lock and suspension travel
- Sharp edges and pedestrian protection
Since regulations can change, read the supplied certificate for the body kit carefully and clarify open points with an inspection authority. Do not rely on general statements from forums.
Planning and preparation for installing the body kit
Good planning saves time and prevents damage to the vehicle or the body kit. Before you start you should determine:
- whether the body kit is delivered raw (unpainted) or already painted
- whether modification work (cutting, sanding, filling) is necessary
- whether new brackets, screws, clips and seals are included
- whether electrical components are affected (e.g. PDC/parking sensors, fog lights)
Also have ready:
- Appropriate hand and power tools (ratchet set, plastic pry tools, drill, sandpaper, possibly a multitool)
- Body sealant and, if required, suitable adhesives
- New clips and fasteners in case the old ones are brittle or damaged
- Protective materials (cover film, masking tape) to protect paint and glass
Prepare the vehicle and remove original parts
Place the vehicle on a level surface and secure it. Depending on the vehicle it can be useful to remove the wheels to have enough room at the wheel arches.
- Disconnect the battery (especially if sensors, fog lights or side markers are located in the bumper).
- Remove trims and inner fender liners to access screws and clips.
- Remove bumpers, side skirts and, if applicable, wheel arch trim strips. Use plastic pry tools for clips to avoid damaging the paint.
- Disconnect electrical connections (PDC/parking sensors, fog lights, wiring for side markers etc.). Label connectors so they can be reconnected correctly later.
The exact sequence and the positions of the fasteners vary by model. For details you should consult the factory repair manual or a suitable workshop manual for your vehicle.
Test fitting the body kit on the US car
Before you paint anything or fasten permanently, a dry fit is mandatory. Especially with GRP parts rework is often necessary.
- Temporarily mount the body kit parts, usually first with a few screws or clamps.
- Check gap alignment to the hood, fenders, trunk lid and doors.
- Check ground clearance, including at full steering lock and with simulated load (e.g. a helper sitting on the rear bumper).
- Check the wheel opening and wheel clearance, especially with wider wheels or modified ride height.
Mark areas with contact or too little clearance. Minor corrections are usually possible by sanding or slight reworking of the mounting points. If major interventions to the body are necessary, it makes sense to discuss these works with a body shop specialist.
Typical modification work
Depending on the manufacturer and the material of the body kit, typical modification works occur:
- GRP: Deburr edges, fill unevenness with body filler, sand surfaces; drill holes for sensors or license plate bracket.
- ABS/PU plastic: Usually better series fit, but often mounting holes need to be enlarged or slotted holes created to adjust gap alignment.
- Wheel arch extensions: Adaptation to the contour, partially trimming in the area of the bumper or the sill.
Work step by step and never remove too much material at once. After each sanding step refit for a test and check.
Preparation for painting and painting
Whether you paint yourself or commission a specialist depends on your capabilities and standards. It is important that the parts are fully adjusted before painting.
- Clean the surface, degrease and remove loose fibers or burrs.
- Sand according to the painter’s specifications (e.g. with suitable grit, often 240–400 for the preparation stage).
- Filler work to smooth edges and even out transitions.
- Apply filler/primer, intermediate sanding, then basecoat and clearcoat.
For already painted kits check the surface for transport or fitting damage and touch up before final assembly. For repair paint jobs always follow the application instructions of the paint materials used.
Final assembly of the body kit
After painting the final installation follows. Work carefully to avoid damaging the new paint layer.
- Protect contact surfaces (e.g. with masking tape on adjacent panels and edges).
- Prepare fasteners: new clips, screws, possibly stainless steel fasteners for exposed areas.
- Use body sealant at factory-sealed locations where the original was also sealed (e.g. transitions to the inner fender liners).
- Install electrical components: route sensors, lamps and wiring cleanly so they don’t rub on tires or moving parts.
- Tighten fasteners according to manufacturer specifications. You can find the exact torque settings in your vehicle’s repair manual; check there.
Work with a helper where possible, especially with large bumpers. This avoids stresses in the material and paint chipping at edges.
Checks after installation
After final assembly you should thoroughly check the vehicle before driving it again.
- Function test of all electrical components in and on the bumpers
- Check all gap alignments and transitions in daylight
- Verify wheel clearance at full steering and at different steering angles while stationary
- Secure mounting of license plate and brackets
After a few days or kilometers it is advisable to check the fasteners again, as plastic parts can settle slightly.
Body kit and suspension / wheels
Body kit, suspension and wheels influence each other. Especially on US cars with lowering or wider wheels conflicts can arise quickly.
- Lowering: Existing problems with ground clearance (ramps, speed bumps) can worsen with a body kit.
- Wheel spacers: Wheel arch extensions must sufficiently cover the tire tread, otherwise problems may occur during inspection/approval.
- Steering lock: Large wheel diameters and changed offsets can, together with body kits, lead to rubbing on sills or inner fenders.
Therefore plan the overall package of body kit, suspension and wheels and coordinate the components with each other rather than installing them independently.
Maintenance and care of the body kit
A body kit also requires maintenance to stay looking good and remain functional for a long time.
- Regular cleaning, especially in the area of the wheel arches and lower edges
- Check fasteners for loose screws or broken clips
- Early repair of stone chips to avoid corrosion of the sheet metal and swelling of the filler
- For GRP parts watch for hairline cracks in the paint surface
In winter and when frequently driving on poor roads you should check the undersides more often. Hitting the ground can cause hairline cracks that are initially hardly visible.
Safety-relevant points
Even if a body kit primarily has a visual effect, it can influence safety-relevant areas:
- Airflow to the radiator and brakes (do not close openings thoughtlessly)
- Clearance to the exhaust to avoid heat damage to plastic
- Visibility of the license plate and lighting fixtures
- Stability of the fastenings at higher speeds
If you are unsure about certain modifications – especially for load-bearing parts or extensive cutting work – it is sensible to consult a body shop specialist or an experienced tuner.
Common mistakes when installing a body kit
- Installation without a prior test fit and subsequent problems with gap alignment
- Painting before completing all modification work
- Using unsuitable adhesives and sealants
- Ignoring ground clearance and wheel clearance
- Missing or insufficient documentation for later approval/registration
Careful preparation and working according to manufacturer and workshop manual specifications help to avoid these mistakes.
Frequently asked questions
Can I install a body kit without a professional workshop?
With solid DIY mechanic experience, suitable tools and access to vehicle-specific repair documents this is possible. For extensive GRP modification work or structural changes professional support is advisable.
Does a body kit always need approval?
That depends on the individual parts and the legal situation in your country. In Germany a certificate or an ABE is usually required. Check the manufacturer’s documents and clarify open points with the inspection authority before installation.
In what order should I install body kit, suspension and wheels?
It makes sense to first plan the rough suspension and wheel configuration, then test-fit the body kit and adjust it. After finalizing the components proceed with painting and final assembly, then the inspection/approval.