Front headlamps for US cars: selection and installation tips
Practical guide for US-car DIYers: select front headlamps, check fit, install correctly and stay on the safe side legally.

Basics: front headlamps on US cars
US vehicles are often delivered with headlamps intended for the North American market. These differ in beam pattern, technology and approval from European versions. If you drive a US car in Europe, you will therefore have to deal with the subject of front headlamps sooner or later – at the latest during the vehicle inspection or when converting to LED/Xenon.
In the Kategorie Frontscheinwerfer you will find different variants specifically for US models, for example complete LED headlamp sets for the RAM, Charger or Durango that are already designed for European road use.
Types of front headlamps and their characteristics
Halogen, Xenon, LED and Matrix-LED
On US cars you will essentially find four technologies:
- Halogen headlamps: classic filament lamp technology, usually H4, H7 or comparable bases. Advantage: easy to replace, relatively robust. Disadvantage: lower light output compared to Xenon/LED.
- Xenon (discharge lamps): considerably brighter, white light. Require ballasts and usually have automatic headlamp leveling and headlamp washers. Example: conversion kits like 2x Scheinwerfer für Dodge Ram 1500 DS 2009 - 2024 Xenon + LED / EU Zulassung.
- Full-LED headlamps: light is generated by LED modules. High efficiency, often with integrated daytime running lights. Faulty modules usually have to be repaired by replacing the complete headlamp unit.
- Matrix-LED: advanced LED technology in which individual segments are controlled to, for example, mask oncoming traffic out of the high beam. A typical example are headlamps like the 2x Scheinwerfer für RAM 1500 DT 2019 - 2026 Full LED Matrix Limited Longhorn.
Important: a conversion from halogen to Xenon or LED is legally and technically significantly more complex than a 1:1 swap of original or EU-compliant complete headlamp units. In complete headlamp units with EU approval, the components are usually matched and combined in a single assembly.
US versus EU headlamps
US headlamps are designed to the American regulations (FMVSS), while Europe follows ECE regulations. Differences exist particularly in:
- Beam pattern: In Europe an asymmetric low beam with a rise to the right is required. US headlamps often have a different beam distribution.
- Markings: EU-approved headlamps carry E-markings. These are missing on many US original headlamps.
- Functions: position lights, indicator color, daytime running lights and side marker lights can be implemented differently than permitted in the EU.
Many offered complete sets – for example 2x Scheinwerfer Hauptscheinwerfer für Dodge Charger 2015 - 2023 LED / EU – are specifically designed for use in Europe and are marked accordingly.
Choosing the right front headlamps
Vehicle-specific fit
The most important basis is always the exact vehicle model. Relevant are:
- vehicle manufacturer and model (e.g. Dodge Charger, RAM 1500 DT, Chevrolet Camaro)
- year of manufacture or model year (important for facelifts and interim series)
- body variant (e.g. standard, widebody, special performance packages)
- factory equipment (halogen, Xenon, LED; with or without automatic headlamp leveling)
Example: an LED matrix headlamp set for a RAM 1500 DT Limited Longhorn is not necessarily plug & play in a simply equipped RAM 1500 of the same model years. Connector pinout, control units and wiring harnesses can differ.
Electrical connections and control units
Before purchase you should check whether:
- the headlamp is compatible with the existing connectors (same connector shape, same number of pins)
- additional control units (ballasts, LED drivers, control modules) are required
- coding of the on-board network is necessary (e.g. adapting the light control to LED)
Some sets for US cars already come with suitable control units, for example full-LED EU headlamps for the Dodge Durango. Details can be found in the product description, e.g. for the 2x Scheinwerfer für Dodge Durango 2016 - 2020 Full LED / EU.
Legal requirements and EU approval
If you want to drive your US car legally in Europe, the front headlamps should:
- bear an E-marking (e.g. E1, E4, etc.)
- provide the correct asymmetric beam pattern for right-hand traffic
- not exceed the permissible luminous intensity
- be compatible with the on-board electrical system (no persistent error light in the instrument cluster)
For Xenon or more powerful LED systems, headlamp washers and automatic headlamp leveling are usually required. Whether and how this can be implemented on your vehicle must be clarified with the inspection organization and the vehicle documentation.
Preparation for installation
Tools and aids
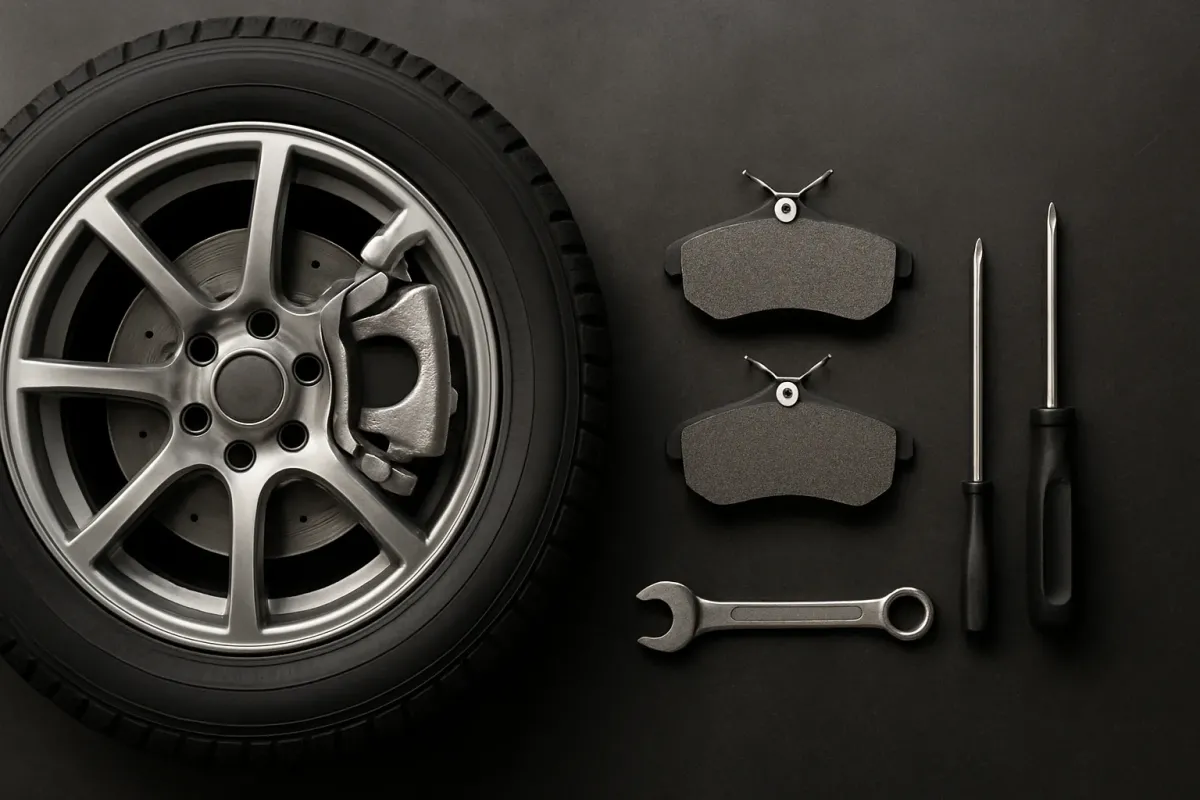
Typically you need the following to replace front headlamps:
- socket set (metric and often imperial sizes on US vehicles)
- Torx and Phillips screwdrivers
- plastic trim/clip removers for panels
- contact cleaner and, if necessary, contact spray
- torque wrench in the relevant range (always consult the service manual for torque specifications)
In addition, the vehicle documentation or a workshop manual is helpful to look up the exact positions of fastening screws, clips and the torque settings.
Secure and prepare the vehicle
- Park the vehicle on a level surface, engage the handbrake.
- Switch off the ignition, remove the key or set the start button to “Off”.
- For Xenon/LED headlamps and generally for electrical work, disconnect the vehicle battery (observe procedures for memory/storage/initialization according to the vehicle documentation).
- Protect the bumper area and fender with blankets or film to prevent scratches.
Removal of the old front headlamps
The exact procedure varies by model, but the basic steps are similar:
- Create access: Often covers in the engine bay, the grille or even the front bumper must be removed or loosened to reach the headlamp fastenings.
- Disconnect electrical connections: Unlock and unplug the connectors at the rear of the headlamp. Do not pull on the wires, pull on the connector.
- Loosen fasteners: Remove all screws, nuts and any clips according to the workshop manual. Observe the sequence to prevent the headlamp from tilting.
- Remove the headlamp: Carefully pull the headlamp forward. Do not damage any guide sleeves or locking tabs.
On newer models such as the Chrysler Pacifica, RAM 1500 DT or Ford F-150, removal can be relatively complex because bumpers and grilles are usually large plastic parts with many clips. Work carefully here to avoid breaking mounts and trims.
Installation of the new headlamps
Mechanical mounting
- Compare components: Compare the new and old headlamp: mounting points, connectors, seals and shape. Clarify any differences before installation.
- Insert the headlamp: Slide the new headlamp into the mounts, making sure the guides snap in correctly.
- Start fastening screws: Initially tighten screws by hand only to avoid stress.
- Final torquing: After correct seating, tighten all screws to the torque values specified in the workshop manual.
Electrical connection
Now restore the electrical connections:
- Push all connectors fully on until the locking mechanism engages.
- Check the cable routing (nothing should be in the area of moving parts or sharp edges).
- For complete kits with separate control units, mount these at the designated locations according to the installation instructions.
If coding of control units is required (e.g. switching from halogen to LED in the Body Control Module), this must be done with suitable diagnostic software and in accordance with the manufacturer's instructions.
Special cases on new US cars
Modern US vehicles sometimes use very complex headlamp systems:
- Chrysler Pacifica 2021–2023: full-LED headlamps with integrated functions and daytime running lights, e.g. as complete sets like the 2x Scheinwerfer für Chrysler Pacifica 2021 - 2023 Full LED.
- Chevrolet Camaro 2016–2023: headlamps with Xenon main beam and LED daytime running light strips, as with the 2x Scheinwerfer für Chevrolet Camaro 2016 - 2023 Xenon LED DRL.
- Ford F-150 recent model years: different front designs and headlamp types depending on trim level, e.g. sets for current models and certain older trim lines.
In these cases it is particularly important to pay attention to complete vehicle information, the exact equipment variant and possible software adjustments. Without proper coding, there may be error messages, non-functioning lighting functions or an illegal beam pattern.
Headlamp adjustment
After any removal or replacement of front headlamps, the beam pattern must be checked and adjusted. Incorrect adjustment can dazzle other road users or limit your own visibility.
- Prepare the vehicle: Set tyre pressure, load condition and vehicle height according to the specifications in the manual.
- Use a headlamp alignment device: Ideally in a workshop or testing station on a level surface.
- Use adjustment screws: Each headlamp unit has adjustment mechanisms for height and lateral aim. The position and direction of rotation are given in the workshop manual.
On vehicles with automatic headlamp leveling, a baseline setting or calibration via the diagnostic system may be necessary.
Common mistakes and how to avoid them
- Incorrect headlamp type: Always pay attention to year of manufacture, model year and equipment, as the front end and connector pinout can change between facelifts.
- Missing EU approval: Without E-marking there can be problems at the vehicle inspection.
- Faulty or corroded connectors: Check connectors before installing the new headlamps and clean or refurbish them if necessary.
- Damaged mounts: Broken mounts reduce fitment accuracy and can lead to vibration or misalignment.
- No checks after installation: After installation, check not only the beam pattern but all functions: low beam, high beam, indicators, daytime running lights, parking lights, and if applicable cornering lights.
Frequently asked questions
Can I simply retrofit US headlamps with EU bulbs?
Using different bulbs does not change the beam pattern and does not replace a missing E-marking. For legal use on European roads, EU-approved headlamps with the appropriate beam pattern are generally required. Clarify details with the inspection organization and your vehicle documentation.
May I simply convert my halogen headlamp to LED retrofit bulbs?
The use of LED replacement bulbs in halogen headlamps is only permitted if the combination is explicitly approved and marked accordingly. Many LED retrofit solutions do not have general road approval. A safe option is usually a complete, EU-approved LED headlamp intended for your vehicle.
Where do I find the correct torque settings for my headlamps?
The correct torque settings are listed in the manufacturer's workshop manual or in the technical documents of the vehicle manufacturer. Since these vary by model, year and configuration, you should always refer to the official documentation and not rely on general rules of thumb.