Control Arms & Ball Joints on US Cars: Selection and Installation
How to properly select control arms and ball joints for your US car, verify their fitment and install them professionally – explained step by step.
The role of control arms and ball joints in the US car
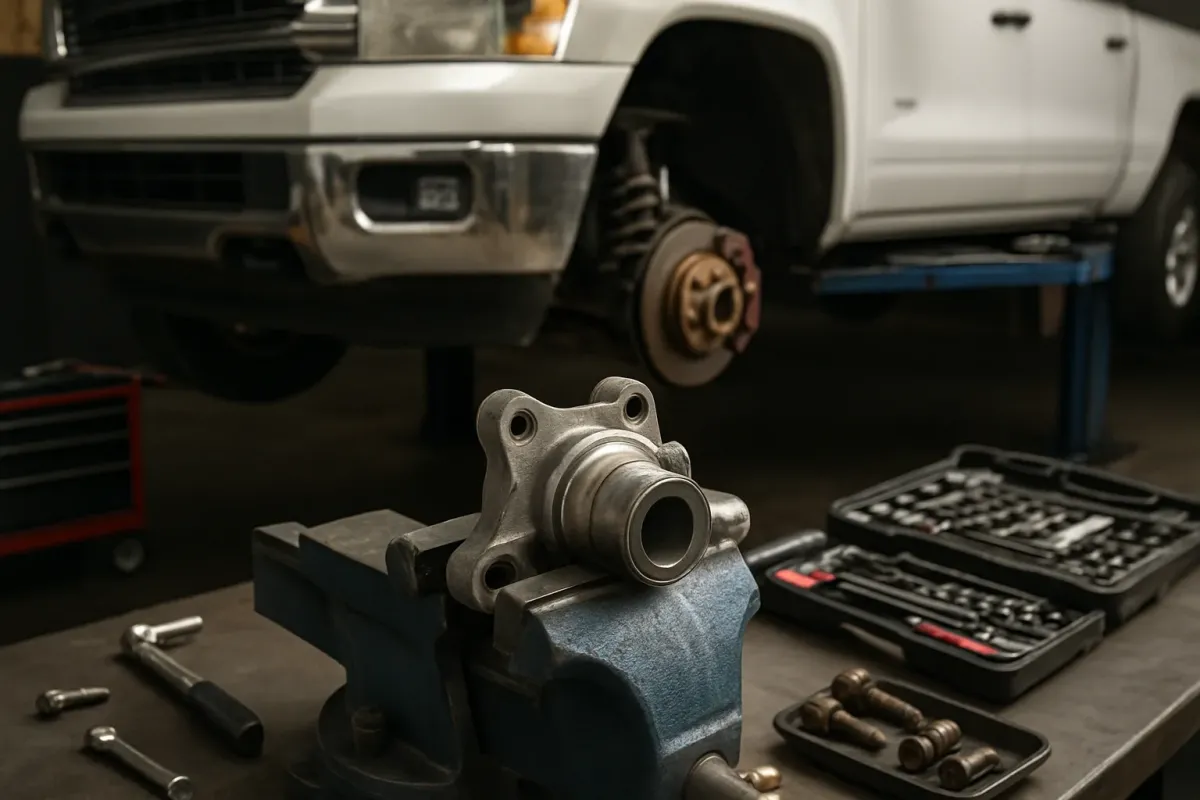
Control arms and ball joints are safety-relevant components of the wheel suspension. In a typical US car with independent suspension, the control arms guide the wheel and maintain the toe and camber in the intended geometry. Ball joints (load-bearing ball joints and steering ball joints) connect control arms, steering knuckles and struts with movable joints.
Defective or worn components lead to poor handling, uneven tyre wear and, in extreme cases, loss of wheel control. Especially on heavy vehicles like the Dodge RAM or Chrysler 300C a lot of weight acts on the front axle, so you should not hesitate to act if there is play in the suspension.
Typical designs on common US vehicles
Depending on model and year, front axles can be built differently. Commonly found on US cars are:
- Double wishbone front axle (upper and lower control arms, each with ball joint(s))
- MacPherson strut with a lower control arm and one ball joint
- Solid axle rear with longitudinal and lateral control arms or a Panhard rod (ball joints usually only at the front)
Examples of typical control arm applications:
- Upper control arm on Dodge Challenger/Charger 2WD/RWD, e.g. Control arm front upper left for Dodge Challenger/Charger
- Upper control arm on Chrysler 300C 2WD/RWD, e.g. control arm front upper right or front upper left
- Upper and lower control arms on the RAM 1500 DT (5th generation) for 2WD/4WD
When control arms and ball joints should be replaced
Watch out for the following symptoms:
- Thudding, knocking or creaking when going over bumps or when turning
- Imprecise steering response, a “floaty” feeling
- Unstable straight-line tracking, the vehicle pulling to one side
- Irregular or one-sided tyre wear (worn on the inside or outside)
- Visibly torn rubber bushings or torn boots on ball joints
At the latest, when ball joints have play or rubber bushings can be rotated significantly, it’s time to replace the parts. A suspension check on a lift or on a test rig (TÜV, DEKRA etc.) provides clarity.
Selecting the right control arms and ball joints
For US vehicles, exact matching is crucial. Small differences in model year, drivetrain or generation can require different parts.
Determine vehicle data exactly
For the correct selection you need at least:
- Manufacturer, model and year
- Axle configuration: 2WD/RWD or 4WD/AWD
- Vehicle generation (e.g. RAM 1500 DT, 5th generation)
- if applicable, engine variant and VIN (vehicle identification number) for final allocation
Examples:
- RAM 1500 2019–2024 DT 5th Gen., 2WD: upper control arm e.g. front upper right or front upper left
- RAM 1500 2019–2024 DT 5th Gen., 4WD: different lower control arms, e.g. front lower left or front lower right
Design: complete control arm or individual ball joints
There are different variants:
- Complete control arms with pressed-in rubber bushings and ball joints – often the clean solution, especially if bushings and joints already have mileage.
- Individual ball joints that are pressed into the existing control arm – sensible if the control arm body is still in good condition.
- Greaseable ball joints (with grease nipple) vs. maintenance-free, sealed joints.
Which variant your vehicle has is best determined from the vehicle documentation or by directly comparing the old part with the offered spare part, e.g. in the category Control Arms & Ball Joints.
Check fitment: compare before installation
Before you disassemble anything, compare the new part with the installed control arm or ball joint:
- Geometry and length of the control arm arms
- Diameter and width of the rubber bushing seats
- Position and taper of the ball joint (angle, thread length, shoulder height)
- Bore diameter for the fastening bolts
If these points do not match, stop the installation and verify the allocation again. Do not bend or file parts to fit – that causes stresses and can be safety-critical.
Tools and preparation
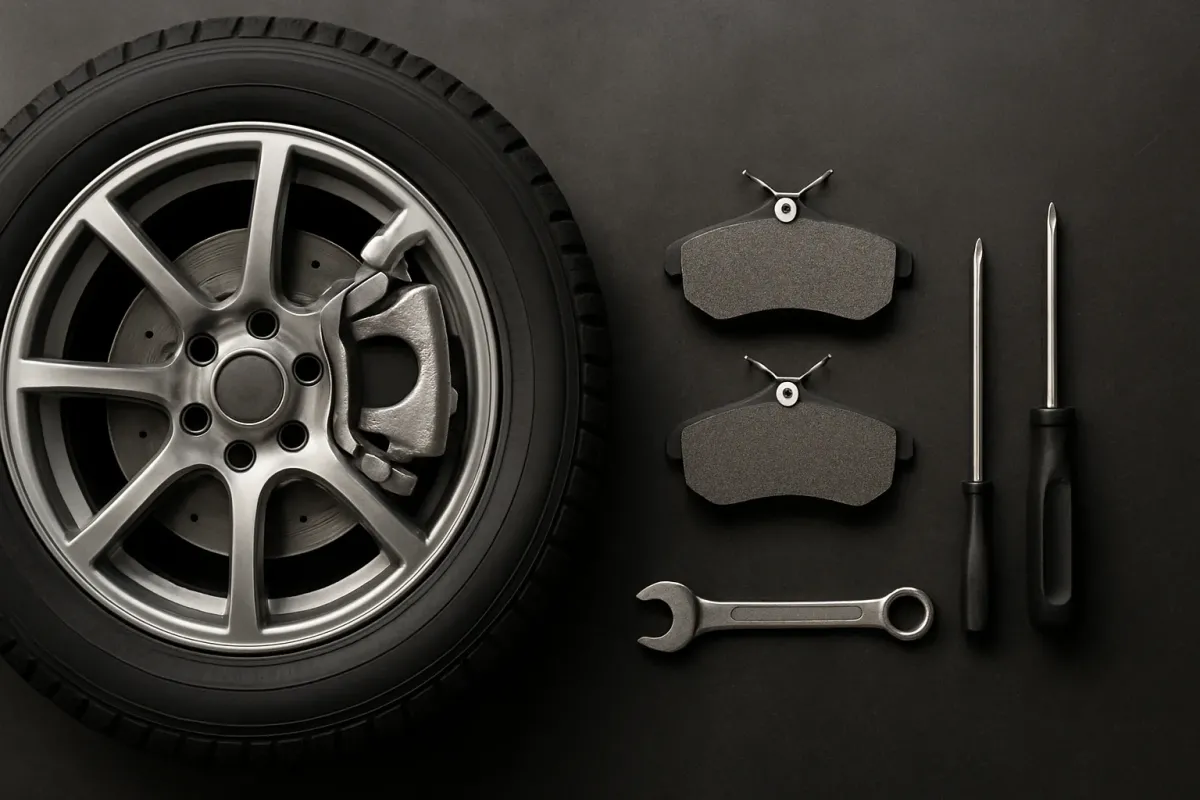
For replacing control arms and ball joints you generally need:
- Vehicle lift or stable jack stands, hydraulic jack
- Socket and ring spanner set in inch and possibly metric sizes
- Torque wrench (range according to vehicle specification)
- Ball joint puller or wedge separator
- Wire brush, rust remover, possibly heat gun
- For pressed joints: suitable press or ball joint service kit
Specific torque values, bolt sizes and special tools are always taken from the factory workshop manual or the repair manual of your vehicle. Do not guess here, as incorrect torques can lead to worn bushings or breakage.
Step-by-step: replacing a control arm on the front axle
The exact procedure depends on the model. The following sequence describes a typical procedure on a double wishbone front axle (e.g. RAM 1500, Chrysler 300C, Dodge Charger). Adapt the steps to your vehicle and also follow the manufacturer's instructions.
1. Secure and lift the vehicle
- Loosen the front lug nuts slightly (while the vehicle is still on the ground).
- Lift the vehicle at the designated jacking points and secure it with jack stands.
- Remove the wheels completely.
2. Release components on the wheel suspension
- Set the steering straight ahead.
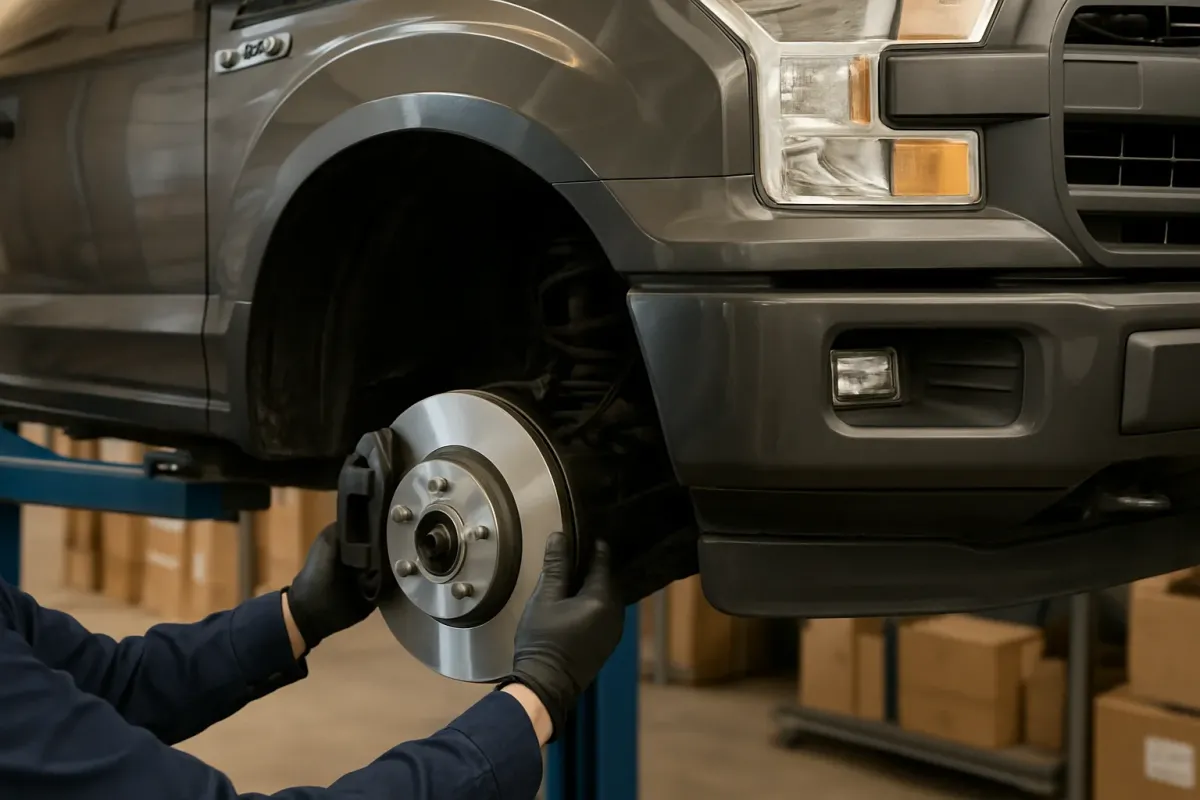
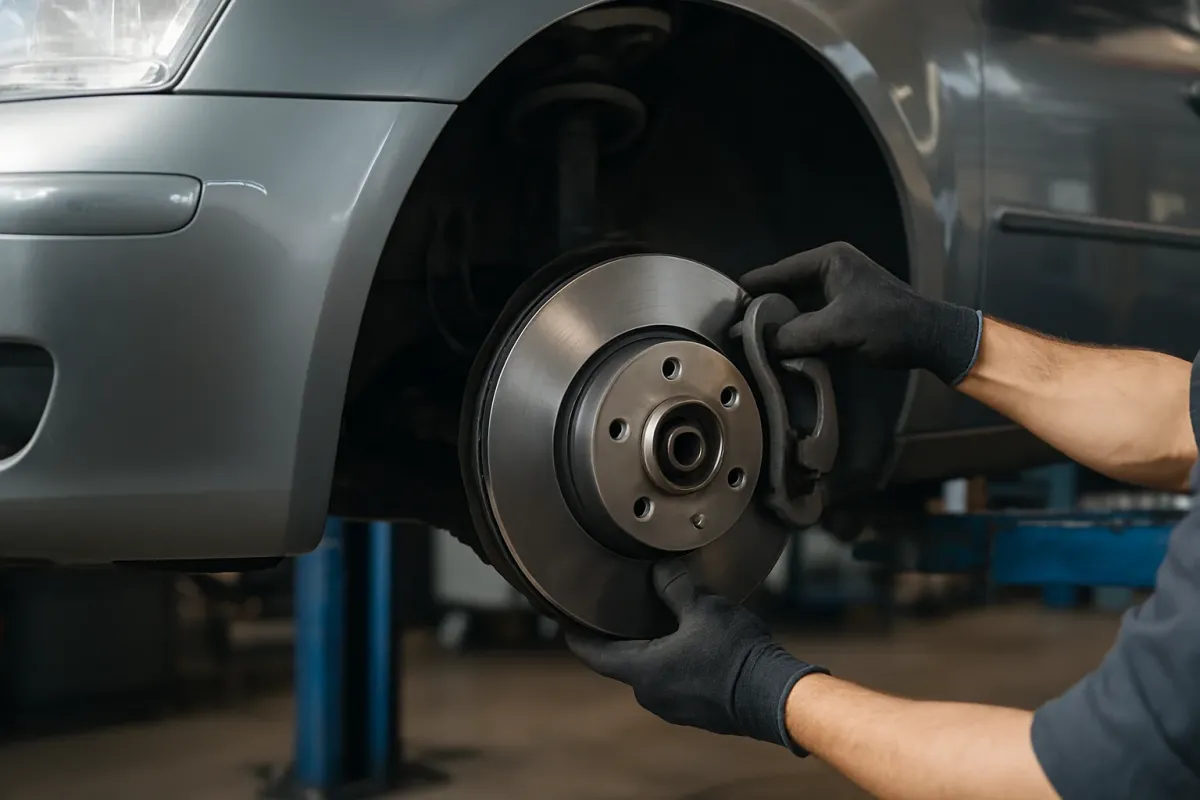
- If necessary, remove the brake caliper and rotor or hang them to the side (never hang by the hose).
- Disconnect sensor lines (ABS, brake pad wear) and, if applicable, the sway bar end link from the control arm if they obstruct disassembly.
- Loosen the ball joint nut at the steering knuckle, separate the taper with a ball joint puller. Do not strike the joint directly with a hammer to avoid damage.
3. Remove the control arm
- Loosen the bolts/pins of the control arm bushings at the subframe or body. On some vehicles you must also remove anti-roll bar links or other attached parts.
- Remove the control arm and check for wear: cracks in bushings, play in the ball joint, corrosion.
- Clean mounting surfaces and bores on the vehicle (wire brush, rust remover if necessary).
4. Install the new control arm
- Bring the new control arm into position and loosely fit it: tighten bushing bolts only by hand so the bushings do not become preloaded during settling.
- Insert the ball joint into the steering knuckle and tighten with the specified nut. The final torque must be taken from the vehicle documentation.
- Reattach all removed components (sensor lines, sway bar links, brake caliper if applicable) correctly.
5. Tighten bushings under vehicle load
Rubber bushings of control arms on many suspensions must only be finally tightened in the loaded condition, otherwise they are left preloaded and will fail prematurely.
- Mount the wheel and lower the vehicle onto its wheels or use a transmission jack/axle support to lift the knuckle until the real ride height is reached.
- Only now tighten the control arm bushings to the torque specified by the manufacturer.
The exact torque settings and sequences are found in the workshop manual for your model.
Replacing ball joints individually
On some US cars the ball joints in the control arm are replaceable without replacing the entire arm. This is worthwhile especially if:
- the control arm body is free of corrosion and shows no cracks
- only the joint has play or the boot is damaged
- you have access to a press or a suitable service kit
General procedure:
- Remove the control arm (as described above).
- Press out or drift out the old ball joint (depending on design). Special tools may be required here.
- Clean the seating area, do not remove material or enlarge the seat.
- Press the new joint in exactly straight with the appropriate tool until it fully seats.
- Reinstall the control arm, observing torques and sequence according to the manufacturer.
Again: specific press forces, installation direction (e.g. markings) and torques must always be taken from the vehicle-specific repair instructions.
After replacement: wheel alignment is mandatory
After working on control arms and ball joints you should always have a professional wheel alignment performed. Reasons:
- Toe and camber angles often change significantly with new bushings and joints.
- Without alignment you risk crooked wheels and increased tyre wear.
- On many modern vehicles the electronic stability control can react sensitively to incorrect axle values.
Inform the workshop which parts you have renewed (e.g. both front upper control arms on the RAM 1500 or the entire front axle on the Chrysler 300C) so they can check and adjust accordingly.
Durability and maintenance
How long control arms and ball joints last depends on use, road conditions and maintenance. Heavy US pick-ups that frequently tow trailers or carry heavy loads place a strong strain on the front axle.
- Regular visual checks during tyre changes or inspections
- Replace damaged boots early to keep dirt and water out
- For greaseable joints: follow the lubrication intervals specified by the manufacturer
If multiple components have play (e.g. ball joint and rubber bushing), replacing the entire control arm is often more economical than swapping single parts one after another.
Common mistakes when replacing control arms and ball joints
- Tightening bushings in the unloaded state: leads to twisting of the rubber and premature failure.
- Incorrect or guessed torques: can lead to loose connections or overstressed bolts. Always use manufacturer specifications.
- Parts swapped sides (left/right, top/bottom), especially if the control arm appears symmetric at first glance.
- Forcing the ball joint taper to “fit”: damages the steering knuckle and the joint; the taper must fit form-locked.
- No wheel alignment after installation: a frequent cause of uneven tyre wear after suspension work.
Frequently asked questions
Do I always have to replace both sides (left and right) at the same time?
Technically a one-sided replacement is possible, but control arms and ball joints are loaded similarly on both sides. If one component is worn, the opposite side is often also heavily worn. Replacing both sides reduces follow-up trips to the workshop and makes a proper wheel alignment easier.
Can I reuse the old fastening bolts?
That depends on the vehicle manufacturer. Some manufacturers always require new torque-to-yield (stretch) bolts for suspension and axle connections, others permit reuse as long as there is no damage or corrosion. Check the requirements in your vehicle's repair manual. If stretch bolts are specified or the condition is questionable, new bolts should be used.
Can I change control arms and ball joints at home without a lift?
With a stable hydraulic jack and good-quality jack stands, replacement is generally possible in a home garage. What is important is absolutely secure support, suitable tools and access to the workshop manual, especially for torques and sequences. However, with heavily corroded bolts or pressed joints, the effort without a press and professional equipment is significantly higher.