Oil change kits for US cars: selection and installation tips
What to look for in oil change kits for US vehicles and how to properly change oil and filters yourself.
Why an oil change kit for US cars makes sense
US vehicles often have specific requirements for engine oil and filters. A suitable oil change kit bundles the components matched to your model in one package. You don’t have to search for oil, oil filter, air filter and cabin filter individually, but get everything matched to the model series, engine and model years.
Especially for US cars with V6 and V8 engines as well as for imported models, the risk of confusion is high. Viscosity, approvals and filter geometries can differ significantly from European standards. Through the category Ölwechselsets you can find pre-assembled kits for many models and don’t have to research each component separately.
Composition of a typical oil change kit
A classic oil change kit for US vehicles usually contains:
- Engine oil in the correct viscosity (e.g. 0W-20, 5W-20, 5W-30, 5W-40, 10W-30)
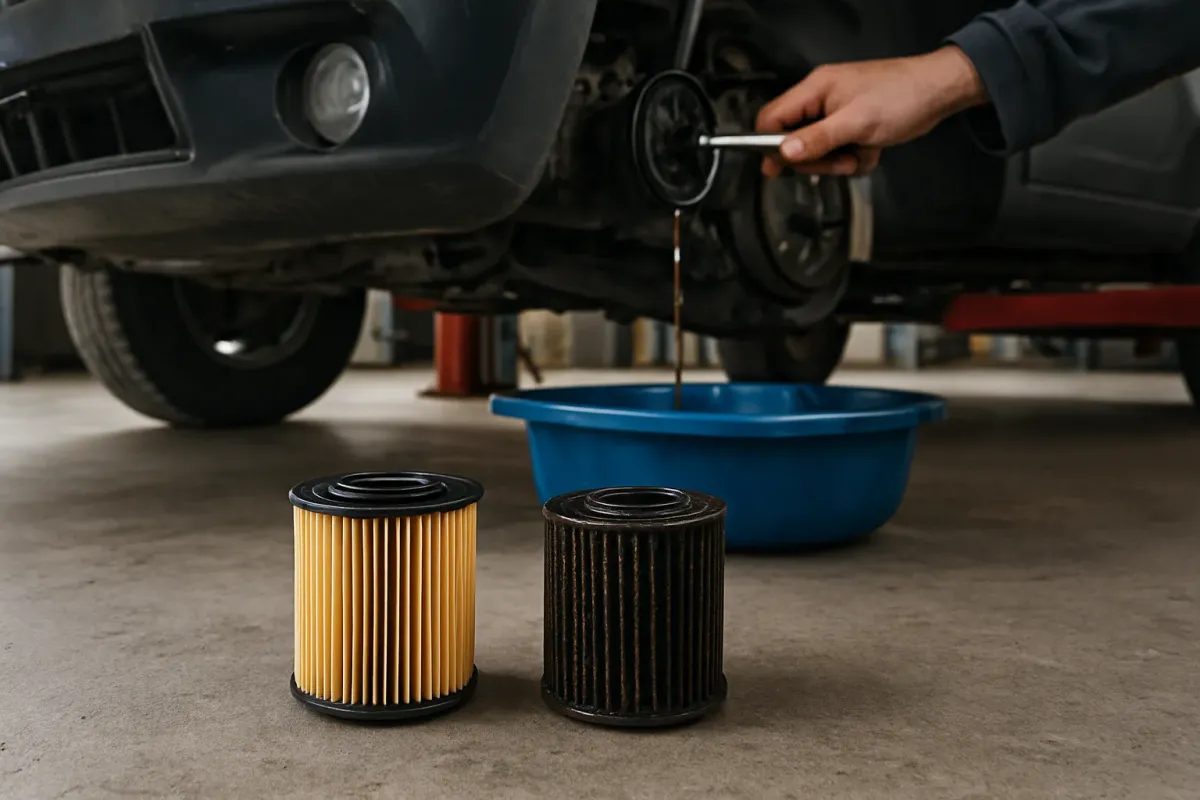
- Oil filter (spin-on or cartridge filter, depending on design)
- Engine air filter
- Cabin filter (pollen / cabin air filter)
- Possibly a sealing washer/crush washer for the oil drain plug (model-dependent)
Not every kit necessarily contains all of the components listed. Check the product description carefully and compare it with your needs: Do you only want to change engine oil and oil filter, or should the air and cabin filters also be replaced in the same job?
Viscosity and specifications: finding the right oil
The most important parameter is the oil viscosity and specification required by the manufacturer (e.g. ACEA, API, and possibly manufacturer-specific approvals). Examples of typical combinations as they may appear in ready-made kits:
- 0W-20 for modern HEMI V8s, e.g. Oil set MOPAR 0W-20 for Dodge Charger 5.7 V8 2022–2023
- 5W-20 for many Chrysler/Jeep/RAM R4 and V6 engines, e.g. MOPAR 5W-20 for Jeep Patriot 2.0 / 2.4 R4 2011–2017
- 5W-30 or 5W-40 for large-capacity V8s from GM and other manufacturers, e.g. Oil set Pennzoil 5W-30 for GMC Yukon 6.0 V8 2007–2014
The maintenance manual for your vehicle (Owner’s Manual) or the official manufacturer documentation is always decisive. If you are unsure about viscosity, specification or approval, do not rely only on other drivers’ experience values, but consult the information in the original documentation.
Fit of oil, air and cabin filters
Filters are highly vehicle-specific. Differences include, among others:
- Diameter and thread of the oil filter or shape of cartridge filters
- External dimensions and frame shape of the air filter
- Dimensions and installation orientation of the cabin filter
An oil change kit is always assembled for precisely defined models and model years. Examples:
- Pennzoil 5W-40 oil/air/cabin filter for Fiat 500X 1.4 R4 2016–2018 – kit for a compact turbo petrol engine
- Oil change kit Amsoil 5W-30 for Chevrolet Suburban 1500 6.0 V8 2007–2009 – matched to GM V8 in the full-size SUV
- Pennzoil 5W-40 for Jeep Gladiator 3.0 2021–2023 – suitable for this specific engine variant and model years
Always check when selecting:
- Make and model (e.g. Jeep Gladiator, GMC Yukon, Chrysler Pacifica)
- Engine (displacement, number of cylinders, and whether naturally aspirated or turbocharged)
- Model years for which the kit is approved
- Body variant, if relevant (e.g. RAM C/V as a van version)
If your vehicle falls outside the specified model years or has a different engine, the kit will usually not fit completely. In that case either search specifically for a matching kit or select the components individually based on part numbers and the VIN.
Preparation: tools and safety
For the oil change on US vehicles you typically need, depending on the model:
- Vehicle lift, drive-on ramps or a sturdy jack with jack stands
- Oil drain pan (with sufficient capacity)
- Socket or combination wrench for the oil drain plug
- Oil filter wrench (strap, chain or cap type, matching the filter)
- Torque wrench for the drain plug and possibly the filter housing
- Protective gloves, cleaning rags, and optionally safety goggles
Exact tightening torques for the oil drain plug and filter housing are model-dependent. You will find these values in the workshop documentation or the manufacturer’s repair manual. Do not rely on general default values.
Step by step: oil change on the US car
1. Bring the engine up to operating temperature
Run the engine for a few minutes so the oil drains better. The engine should be warm but not scalding hot to avoid burns.
2. Securely raise the vehicle
Place the vehicle on a lift or drive-on ramps. If you use a jack, always use jack stands and ensure a firm, level surface.
3. Drain the used oil
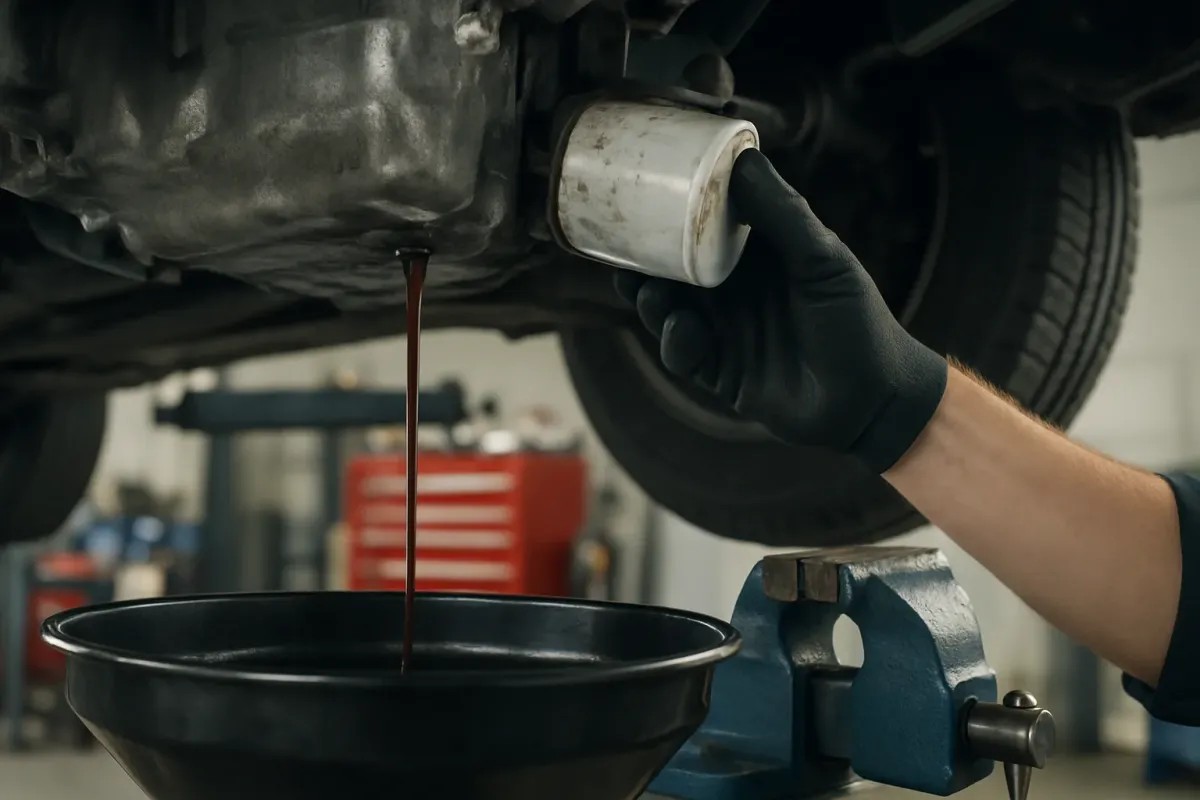
- Open the oil filler cap in the engine bay to avoid vacuum.
- Position the drain pan under the oil pan.
- Carefully loosen the oil drain plug and unscrew it completely.
- Allow the used oil to drain completely.
In the meantime you can clean the drain plug and sealing washer and check for damage. If your kit includes a new sealing washer, use it.
4. Change the oil filter
Depending on the engine type, a spin-on filter is mounted externally on the block or a cartridge filter is located in a plastic or aluminum housing.
- Spin-on filter: Use an oil filter wrench to loosen, unscrew the filter, clean the sealing surface on the engine. Coat the new filter’s rubber seal with a light film of fresh oil and screw it on hand-tight. Then tighten slightly according to the manufacturer’s specification.
- Cartridge filter: Loosen the filter housing with the appropriate tool. Replace the cartridge element and O-rings according to the kit instructions. Look up the exact torque for the housing in the documentation.
5. Install the oil drain plug
After the oil has drained completely, install the oil drain plug with a new sealing washer. The correct torque is vehicle-specific and must be looked up in the manufacturer documentation.
6. Fill in new oil
- Pour in the oil from the kit with the correct viscosity, initially a little below the maximum quantity specified in the manual.
- Close the oil filler cap.
- Start the engine and let it run for a few seconds until the oil pressure warning light goes out.
- Check for leaks at the filter and the oil drain plug.
- Switch off the engine, wait a few minutes and check the level with the dipstick. If necessary, top up to the max mark.
The exact oil capacity depends on the engine. Do not rely on blanket figures; use the values from the manual and check the dipstick.
Air filter replacement as part of the oil service
If your oil change kit contains an air filter, it makes sense to change it at the same time. The procedure is similar on most US cars:
- Locate the air filter housing (usually at the front of the engine bay or to the side).
- Open clips, screws or clamps.
- Remove the lid and take out the old air filter.
- Clean the inside of the box from coarse dirt (do not direct compressed air at the mass air flow sensor).
- Install the new filter in the correct orientation.
- Close the housing and secure all fastenings properly.
Make sure the filter seats cleanly in the seal and that the housing cover closes without stress. Incorrectly seated air filters can allow dirt into the engine and skew the mass air flow sensor.
Cabin filter replacement
Cabin filters are located in many US vehicles behind the glove box or accessible from the engine bay at the bulkhead. Because access varies greatly by model, it’s sensible to consult the vehicle-specific instructions.
Typical procedure:
- Remove the access flap or cover.
- Carefully pull out the old filter, avoiding unnecessary dust agitation.
- Observe the installation direction (arrows for airflow) on the new filter.
- Insert the filter and refit the cover.
Especially with kits like the Oil change kit Pennzoil 5W-20 for RAM C/V 3.6 V6 2012–2015 or the Oil set MOPAR 10W-30 for Chrysler Pacifica 4.0 2007–2008 you have all filters matched directly to the respective cabin and ventilation concept of your vehicle.
Proper disposal of used oil and filters
Used engine oil and oil filters are hazardous waste and must not be disposed of in household garbage or released into the environment. Typically, municipal recycling centers, workshops or retailers accept used oil and used filters. Observe local regulations and any return obligations when selling oil.
Always transport used oil in suitable, sealed containers. Oil-soaked rags should also be disposed of separately and not put in regular residual waste.
Avoid common mistakes during the oil change
- Wrong oil viscosity: Can lead to increased wear or problems with hydraulic lifters and variable valve timing systems.
- Overfilling: Too much oil can cause foaming and damage the engine. Always check the level.
- Oil filter or drain plug overtightened: Risk of thread damage or cracks in the oil pan. Use torque values specified by the manufacturer.
- Reusing old sealing washer: Increases the risk of leaks at the drain plug.
- Installing filter seal dry: On spin-on filters the seal can tear or cock during tightening.
Service interval and onboard computer
Many US vehicles have a service interval indicator that must be reset after the oil change. The reset is done depending on the model, for example via steering wheel buttons, a pedal sequence or the onboard menu.
The exact procedure and the recommended change intervals (mileage or time) are described in the vehicle maintenance schedule. Adhere to these specifications, especially for vehicles under warranty or goodwill claims.
Frequently asked questions
Can I use an oil change kit for different model years or engines?
That is not recommended. Oil viscosity and filters are precisely matched to specific engines and model years. Use only kits that are explicitly approved for your model and engine, and always verify the data with the vehicle documentation.
How do I find the correct oil capacity and tightening torque?
These data are vehicle-specific and are listed in the Owner’s Manual, the service booklet or in the official workshop documentation of the manufacturer. If you don’t have access, obtain the corresponding repair manual or ask a brand-specific workshop. Please do not guess.
Do I have to replace air and cabin filters with every oil change?
That depends on your driving profile and the manufacturer’s maintenance intervals. Air and cabin filters are often changed at longer intervals than the engine oil. However, if they are heavily soiled or their replacement is due according to the maintenance schedule, doing it together with the oil service makes sense because you only have to remove many covers once.