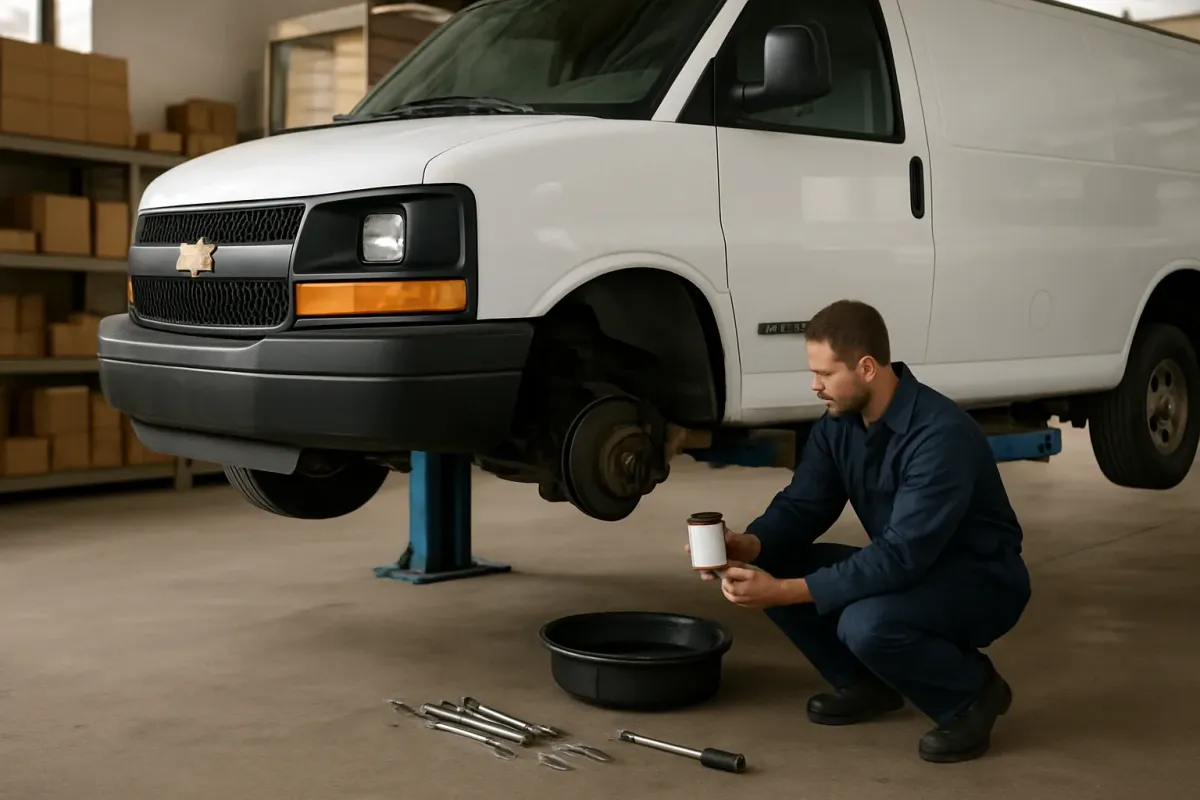
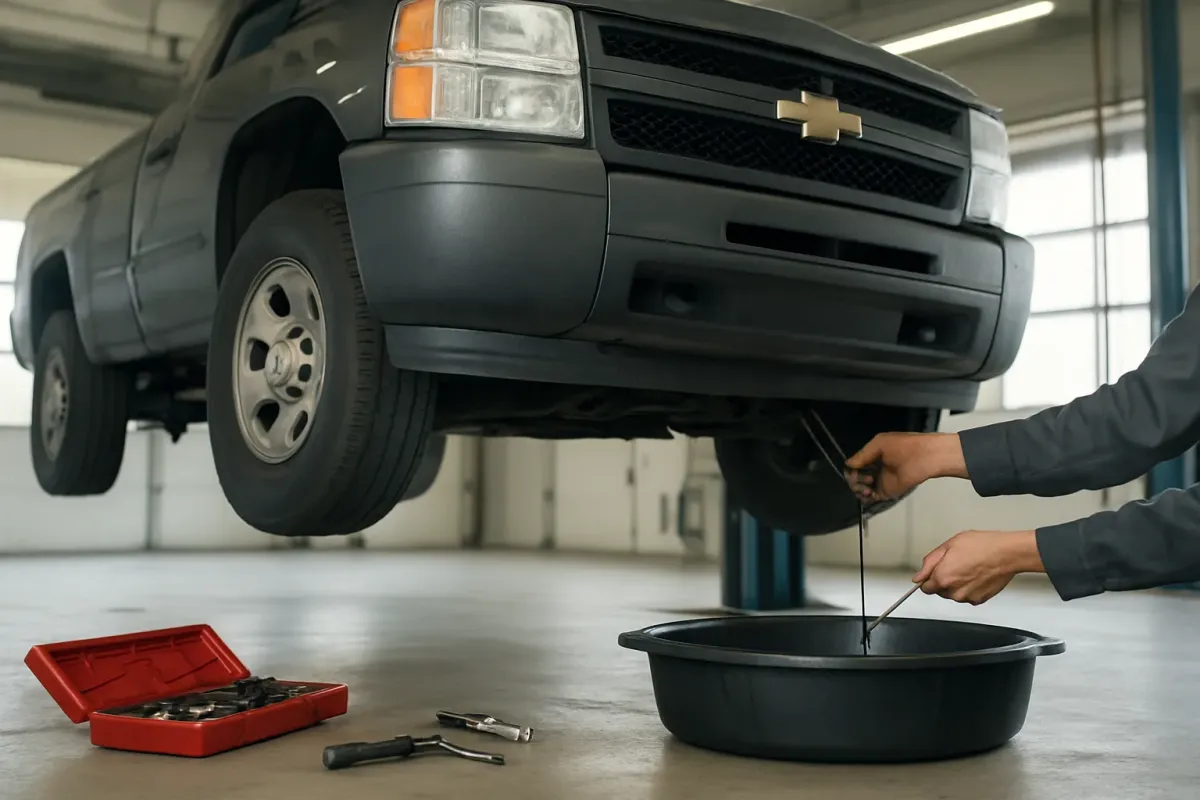
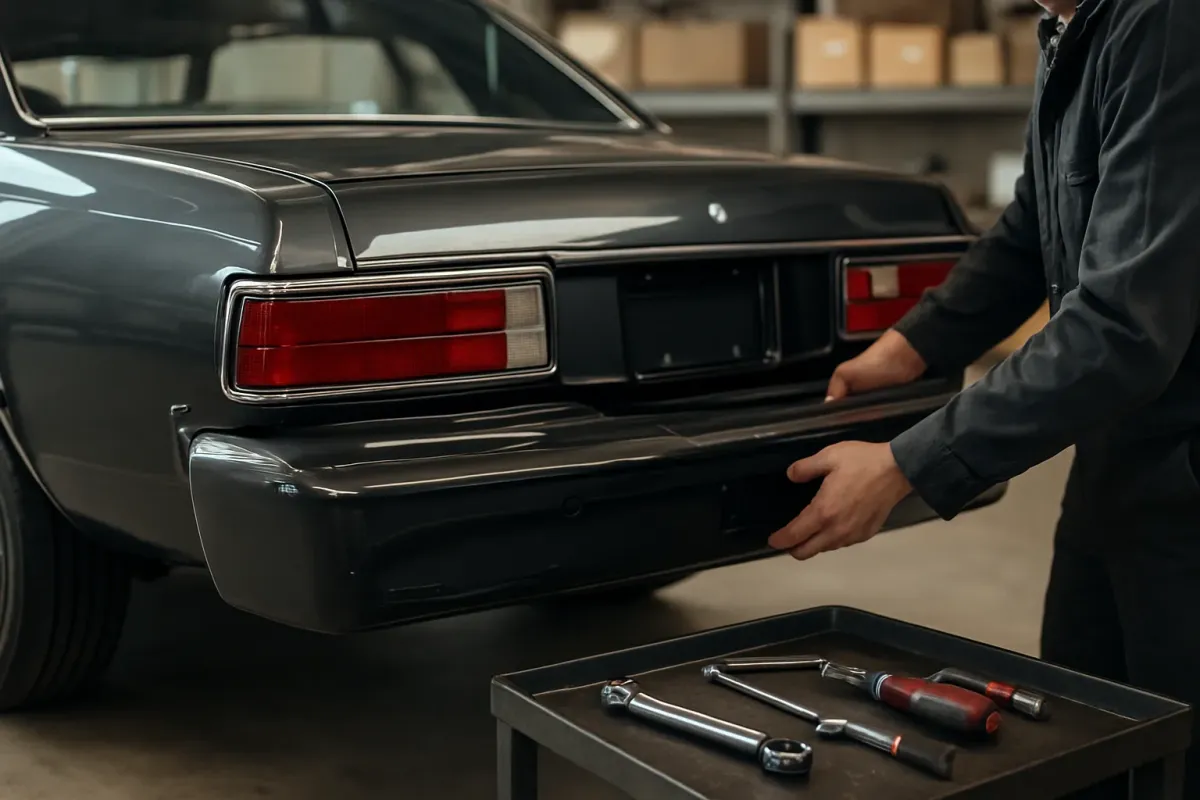
Engine cooling in US cars: selection, fitment and installation
Basics of engine cooling in US cars: components, selection by engine and equipment, fitment check and practical tips for installation.
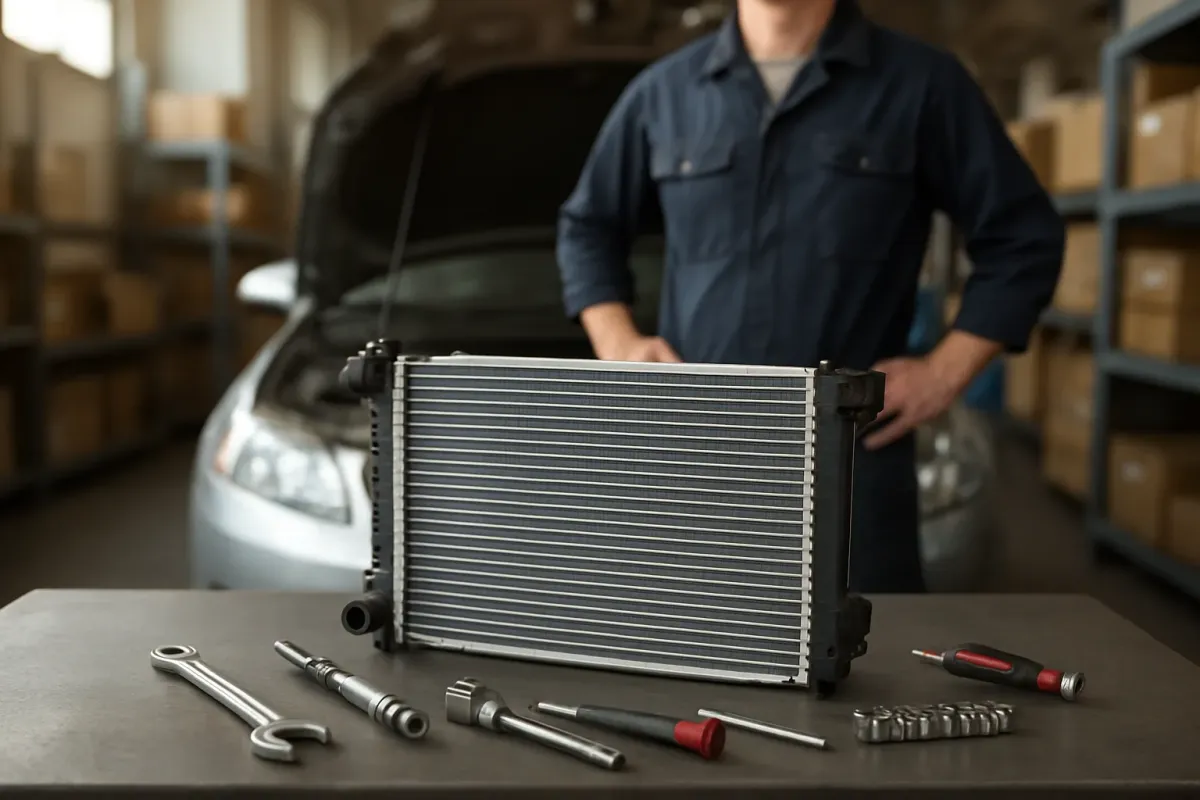
Construction and functions of the engine cooling in the US car
Engine cooling in US vehicles is more than just the radiator at the front. Depending on the model and engine output, additional components such as oil coolers or intercoolers may be used. All parts work together to keep the engine operating temperature stable and to prevent overheating.
Typical elements of the cooling system:
- Radiator (main cooler for the coolant)
- Fans (electric or viscous-coupled)
- Thermostat (regulates the coolant circuit)
- Expansion or coolant reservoir
- Hoses, pipes, clamps
- Oil cooler (engine or transmission oil, depending on the vehicle)
- Intercooler on forced-induction engines
- Radiator shrouds and air guides (direct the airflow through the radiator)
- Radiator support, to which the radiator pack and attachments are mounted
Many of these parts can be found clearly arranged in the Motorkühlung category. Before you replace or retrofit anything, you should know exactly which components your vehicle has and how they are bolted, plugged or clipped together.
Radiator: selecting and checking fitment
The radiator is the central component of the cooling system. Especially in US cars with many engine and equipment variants, correct selection is crucial.
Vehicle data and engine identification
Important basic data for selection:
- Vehicle manufacturer, model, year of manufacture
- Engine type and displacement (e.g. 2.3 EcoBoost, 3.6 V6, 5.7 V8)
- Transmission type (automatic/manual), as integrated transmission oil coolers may be installed
- if applicable, all-wheel drive or special equipment (towing package, performance package etc.)
Examples of vehicle-specific radiators:
- Radiator for Ford Mustang 2.3 EcoBoost 2018–2020 – matched to the turbo and engine bay layout.
- Radiator for Jeep Grand Cherokee WK/WH & Commander XK · 3.0 CRD – specifically for the diesel engine.
- Radiator for Toyota Sienna 3.5 Automatic 2016–2020 – with vehicle-matched fittings and mounting points.
Compare technical features
When comparing the old radiator with the new one, you should look closely at the following points:
- Dimensions (height/width/depth of the core area and overall dimensions, where known)
- Position and diameter of the hose connections (top/bottom, side, orientation)
- Mounting points (brackets, rubber mounts, supports in the radiator support)
- Connections for sensors or bleed lines, if present
- Integrated transmission oil cooler yes/no (automatic lines)
- Material (aluminum core with plastic tanks is common today)
The easiest way to compare is to lay the old radiator next to the new one after removal. Small differences in mounts or tabs can cause stress during installation later, so check every deviation before coolant is filled.
Notes on tightening torques and fill quantities
Tightening torques for fastening screws, fill quantities for coolant and mixing ratios can vary greatly depending on engine and year. These values are in the owner's manual or the workshop manual for your vehicle. If you do not have documentation, obtain appropriate documentation or a brand-specific repair manual and do not rely on estimates.
Intercoolers, oil coolers and radiator shrouds
In addition to the radiator, many US cars have additional coolers and air guides that often form a single "cooling pack".
Intercoolers on forced-induction engines
Turbo and supercharged engines, like many EcoBoost or modern V6/V8 units, have an intercooler. This is usually located in front of or next to the radiator. In the Intercoolers category you will find corresponding components.
When replacing or retrofitting you must pay attention to the following points:
- Piping routing and connection diameters to the charge and suction side
- Clearance to bumper, radiator support and crossmembers
- Sufficient air supply (if necessary adapt air guides or grille inserts)
Oil coolers for engine and transmission oil
Oil coolers reduce oil temperature under sustained heavy loads, towing or sporty driving. In the Oil coolers category you will find parts for different applications.
During installation it is important to route piping cleanly, without kinks and with sufficient distance to hot exhaust components. After the first test drive check all fittings and hose connections for leaks.
Radiator shrouds and air guides
Radiator shrouds are not just trim, but crucial for airflow. They ensure that the airstream passes through the radiator core instead of around it. Damaged or missing shrouds can cause cooling problems even though the actual radiator is fine.
Examples:
- Left radiator shroud for Jeep Grand Cherokee WK2 3.6 V6 / 5.7 V8 2011–2013 – directs air specifically through the cooling pack.
The radiator support also plays an important role, as the radiator, intercooler and other components are bolted here. Example: the upper radiator support for Dodge Charger 2015–2023 carries part of the radiator mountings. If it is warped or corroded, the cooling pack can sit crooked or be mounted under stress.
Removal of the old radiator
The exact procedure always depends on the vehicle. The following steps are a general guide and do not replace a workshop manual.
- Secure the vehicle
- Park the vehicle on level ground, engage the parking brake.
- Let the engine cool down so the cooling system is depressurized.
- Disconnect the battery, especially with electric fans.
- Drain the coolant
- Place a catch container under the radiator.
- Open the drain cock on the radiator or loosen the lower coolant hose.
- Dispose of the coolant properly or, if still usable, collect it cleanly.
- Remove attachments
- Remove the splash shield and, if applicable, upper covers.
- Remove bumper cover, radiator shrouds and air guides as far as necessary.
- Unclip/unscrew and unplug electric fans or fan assemblies.
- Disconnect hose and line connections
- Disconnect upper and lower radiator hoses (open clamps, carefully twist off hose).
- Seal automatic transmission lines to the integrated oil cooler, if present.
- Unplug sensor connectors or bleed lines.
- Remove the radiator
- Loosen fastening screws or retaining clips.
- Lift the radiator out upwards or downwards – depending on the vehicle concept.
- Check rubber mounts and sleeves for damage and replace if necessary.
Make a note of the position of all spacers, sealing strips and covers. Many US models have foam seals around the radiator core that guide the airflow and must be correctly seated again.
Installation of the new radiator
Installation is basically the reverse order, with some points you should pay particular attention to.
Preparing the new part
- Visually inspect the new radiator for transport damage (bent fins, cracks in tanks, damaged threads).
- Reuse old rubber mounts and sleeves if in good condition, or replace with new ones.
- Compare the mounting points with the vehicle fittings again.
Mounting in the vehicle
- Install the radiator
- Set the radiator tension-free into the intended supports.
- Ensure that the lower studs or pins sit cleanly in the mounts.
- Tighten fastening screws to the torque specified in the vehicle documentation.
- Connect hoses and lines
- Clean hose nipples, push hoses on without twisting.
- Position hose clamps behind the bead and tighten evenly.
- Install automatic lines and, if applicable, external oil cooler lines with new seals.
- Mount fans and shrouds
- Set the fan shroud into the intended slots/hooks and secure with screws.
- Carefully latch all electrical connections for fans and sensors.
- Reinstall radiator shrouds, air guides and bumper cover in reverse order.
Fill and bleed the system
For filling use a coolant approved for the vehicle in the mixing ratio specified by the manufacturer. Fill quantities and the exact bleeding procedure are model-dependent; follow the instructions in the manual.
Typical steps when bleeding:
- Set the heater to maximum temperature, blower on low speed.
- Slowly fill the cooling system via the designated fill port.
- Start the engine and let it idle, give it some throttle occasionally.
- Watch for rising air bubbles in the expansion tank, open bleed screws if present.
- After reaching operating temperature and thermostat opening, correct the coolant level.
After the first test drive check the level again with a cold engine and top up if necessary.
Inspection and maintenance tips after installation
After replacing cooling components you should keep an eye on the system over the next few days.
- Check for leaks: inspect radiator hoses, drain cock, connection nipples and transmission lines.
- Watch the temperature gauge: fluctuations or rapid overheating indicate air in the system, a faulty thermostat or fan problems.
- Test fan operation: with a warm engine the electric fan must run; for viscous fans check whether the fan engages at high temperature.
- Protect the fins: do not spray the radiator directly from a short distance with a high-pressure cleaner to avoid bending the fins.
Common mistakes in cooling of US cars
Some problems recur after radiator work and can be avoided with a bit of care.
- Wrong radiator installed: US models often have several variants per year. Always match engine ID, transmission and possibly equipment packages. Use appropriate categories like Wasserkühler during the initial selection to quickly reach the correct area.
- Radiator mounted only "hand tight": Too loose or too tight screws can lead to vibrations or cracks. Determine the specified torques in the vehicle documentation.
- Reusing old, hardened hoses: Brittle hoses tend to split shortly after a radiator change. Critically assess hoses and clamps and rather renew them if they are borderline.
- Neglected bleeding: Air pockets can cause local overheating and heat damage. Carry out bleeding steps exactly according to manufacturer instructions.
- Wrong coolant: Not every coolant is compatible with the metals and seals used in the engine. Use only coolant approvals from the manual.
Frequently asked questions
How can I tell if my radiator is really defective?
Typical signs are coolant loss without visible hose damage, wet spots or discoloration on the radiator fins, persistent overheating despite a functioning thermostat and fan, or a noticeable temperature rise during towing or highway operation. To be sure, have the cooling system pressure-tested and check externally and, if necessary, internally (blocked passages).
Can I simply retrofit a higher-performance radiator?
In principle this is possible as long as the dimensions, connection positions and mounting points fit the vehicle and the airflow at the front is not impeded. However, note that changes to cooling capacity can affect warm-up behavior. Check the workshop manual in advance and, if necessary, consult a specialist workshop to see whether further adjustments (e.g. fan control, air guides) are required.
Do I always have to fill in new coolant after replacing the radiator?
It is recommended to flush the system completely on this occasion and use fresh, approved coolant. Old coolant may have lost its corrosion protection properties or may not chemically harmonize optimally with the material of the new radiator. If you nevertheless want to reuse the old coolant, it should be clean, free of oil residues and at the correct concentration – approvals and change intervals can be found in the manual.