Bumpers for US Cars: Selection, Fit and Installation
What to pay attention to with bumpers for US vehicles – from selection and fit to professional installation.
Basics: Function and Construction of Bumpers
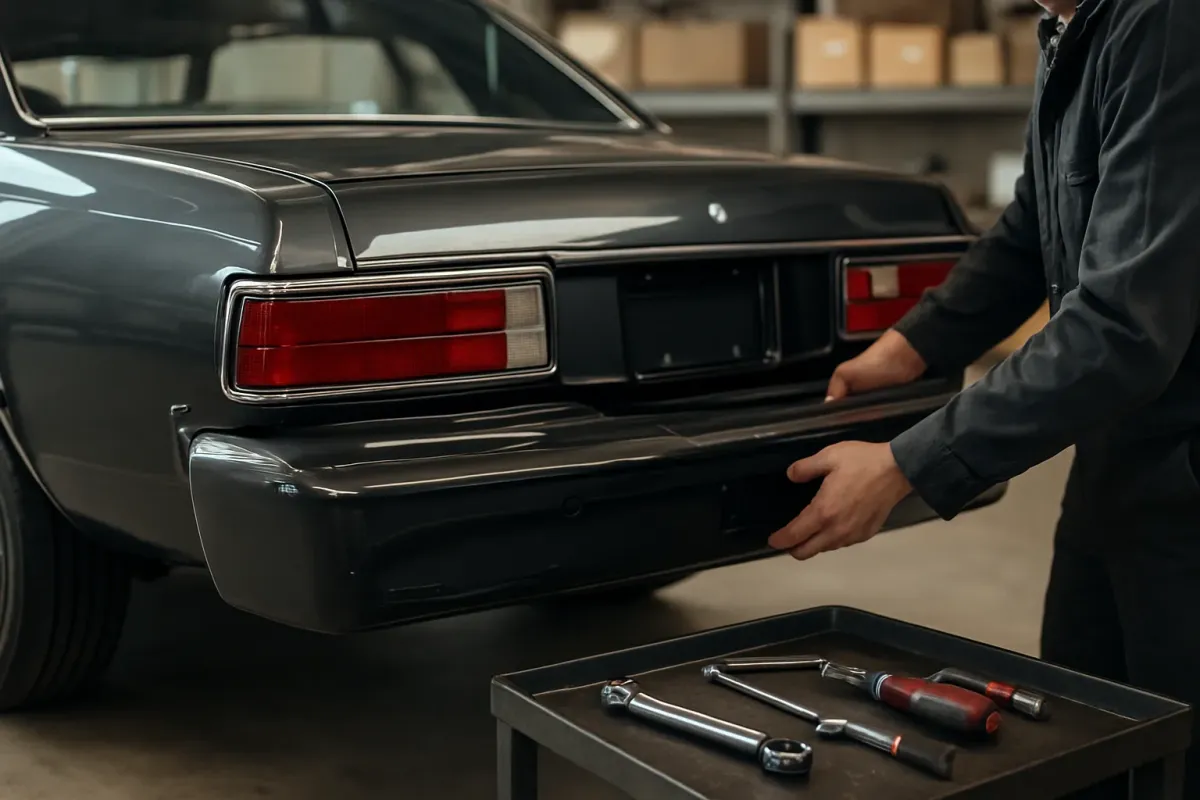
Bumpers on US vehicles serve several purposes: they protect the bodywork and attached components in minor collisions, act as mounting points for sensors and lighting, and shape the vehicle's appearance. Modern bumpers typically consist of a plastic outer part (cover) and an internal support or bumper reinforcement.
Typical components of a bumper assembly on US cars:
- Cover / bumper cover – usually made of plastic, painted or textured
- Bumper reinforcement / impact absorber – metal beam or aluminum profile behind the cover
- Mounts and guide rails – side sliders, clip strips and carriers
- Add-on components – diffuser, trim strips, reflectors, parking sensors, tow-eye cover
- Underbody protection and air guides – especially on performance models and SUVs
Especially on US cars with sport packages (Mustang, Camaro, Challenger) or performance SUVs (e.g. Jeep Grand Cherokee SRT), bumpers are often closely linked to aerodynamics and the exhaust system. Changes to the bumper can therefore also require adjustments to the diffuser or the tailpipes.
Types of Bumpers and Diffusers on US Vehicles
In the US-car segment there are various bumper variants that differ functionally and visually.
OEM-style Bumper (OE Style)
Near-production bumpers match the factory design in shape and mounting points. An example is a rear diffuser in OE style for the Chevrolet Camaro 2010–2013, as found in products in the area Rear Diffuser Camaro 2010–2013 OE Style. The focus here is on original appearance and fit according to manufacturer specifications.
Sport and Performance Bumpers
SRT, GT350 or GT500 bumpers are characterised by larger air intakes, integrated diffusers and modified cutouts for exhaust tips. For a Jeep Grand Cherokee 2014–2021 SRT, for example, there is a complete rear bumper in SRT style available, which looks noticeably different from base models.
Aftermarket Diffusers and Visual Upgrades
Many US-car owners only replace the diffuser when the bumper itself is intact. For the Ford Mustang 2015–2017 there are diffusers in GT350 style, for 2018–2023 in GT500 style and for the new generation 2024–2026 various designs (including TÜV-compliant versions). Examples:
- Rear Diffuser Mustang 2015–2017 GT350 Style
- Rear Diffuser Mustang 2018–2023 GT500 Style
- Rear Diffuser Mustang 2024–2026 TÜV black matte
- Rear Diffuser Mustang 2024–2026 Dark Horse Style
It is important here to match the diffuser to the existing bumper and exhaust system so that the cutouts for the exhaust tips and any additional tailpipe trims fit correctly.
Choosing the Right Bumper: What Matters
Before ordering, you should clarify which version fits your vehicle and which adjustments are required.
Check vehicle specifications
Relevant data for selection:
- Vehicle model and series (e.g. Mustang S550, Camaro 5th generation, Jeep WK2)
- Year of manufacture or model year – for US vehicles not always identical
- Body style (coupe, convertible, SUV, sedan)
- Engine variant and trim level (e.g. GT, EcoBoost, SRT, R/T)
- Existing sensor equipment (PDC, blind-spot, rearview camera) and tow hitch
Bumpers and diffusers are often only approved for specific model years. On Mustang and Camaro the shape and mounting points can change even within a model generation.
Fitment and mounting points
A bumper should use all original mounting points or come with suitable alternatives. Check the item description or installation instructions for:
- Whether side mounts and guide rails can be reused
- Whether new mounts or clips are required
- Whether cutouts for parking sensors, reverse lights and reflectors are present
- Whether rear fog lights or auxiliary lights are accommodated
With complete bumper kits, for example for the Dodge Challenger 2008–2015 in SRT style, several components are often included (cover, diffuser, possibly mounts). Check carefully what is included in the scope of delivery and what must be taken from the original bumper.
Material and Finish: Painting, Texture and Protection
Bumper covers for US cars are predominantly made of PP, ABS or similar plastics. Typical variants:
- Raw, unpainted: surface must be prepared, primed and painted.
- Textured / black: often no painting required, good for off-road and work vehicles.
- Black matte or gloss: particularly popular for diffusers, as the surface is less sensitive than high-gloss paint.
With new parts the bumper should be fitted for a test-fit before painting. This allows you to identify tolerances, gap dimensions and any required adjustments before paint is applied.
Preparation for Installation
Thorough preparation makes the subsequent installation process much easier.
Tools and equipment
Common tools for bumper work on US cars:
- Socket set (metric and often also inch)
- Torx and Phillips screwdrivers
- Plastic pry tools / trim clip remover
- Ratchet with extensions and universal joints
- Wheel chocks and, if necessary, a lift or sturdy jack stands
- Tape (to protect edges) and a soft surface for the bumper
The exact tools depend on the vehicle. Check the service manual or a vehicle-specific guide in advance.
Safety and preparation steps
- Park the vehicle on level ground and secure against rolling.
- Disconnect the battery when sensors, camera or lighting are unplugged.
- Protect painted surfaces on bumpers and fenders with tape.
- Organise a helper – a bumper is much safer to remove and install with two people.
Removal of the old bumper
The exact steps vary by model. The following procedure has generally proven effective:
- Remove underbody trim
Remove screws and clips in the underbody area and any existing trim panels. - Partially loosen wheel arch liners
Loosen or bend aside the wheel arch liners in the bumper area to access side mounting screws. - Remove upper fastenings
Remove screws or clips in the area of the tailgate or trunk edge. - Disconnect electrical connections
Carefully unplug connectors for parking sensors, license plate lighting, rearview camera and, if applicable, fog lights. - Remove bumper with a helper
Release side clips, pull the bumper rearwards and place it on a soft surface.
For SUVs and vehicles with a tow hitch like the Jeep Grand Cherokee, additional steps may be necessary, such as removing covers or carriers in the hitch area.
Installation of the new bumper and diffusers
Before final installation all components should be dry-fitted. A trial fit is particularly advisable for aftermarket diffusers to check fit and gap dimensions.
Transfer and prepare components
Depending on the scope of delivery, the following are often to be transferred from the old bumper:
- Parking sensors including brackets
- Reflectors and lights
- Tow-eye covers
- Mounts and side guide rails
- Heat shields in the area of the tailpipes
If you also replace a diffuser (e.g. on a Mustang or Grand Cherokee SRT), check the position of the exhaust tailpipes. On some versions end pieces or trims must be aligned or mounts adjusted.
Fit and align the bumper
- Position the bumper with a helper
Hang it onto the guide rails at the sides and push forward until all clips engage. - Upper and side fastening
Lightly tighten screws in the trunk area and in the wheel arches to leave play for alignment. - Fasten underbody
Fit fastenings and clips from below, reinstall underbody trim panels. - Check gap dimensions
Check transitions to fenders, tailgate and rear lights, adjust the bumper slightly if necessary, then tighten fully. - Connect electrical
Securely lock connectors for sensors, camera and lighting and ensure cables are free from tension.
Tightening torques for screws and nuts are vehicle-specific. Do not use estimated torque values; obtain the specifications from the service manual or technical documentation for the vehicle.
Special considerations for performance and SRT/GT conversions
When converting to sportier bumpers such as SRT, GT350 or GT500 styles there are additional points to consider:
- Exhaust system: larger or different cutouts may require modifications to the tailpipes.
- Underbody protection and air guidance: additional covers or guide plates are often provided with performance variants.
- TÜV and approval: for parts with TÜV approval keep the supplied documents and present them if required for inspection.
- Spoiler and diffuser combination: ensure front and rear design match to avoid negatively affecting vehicle dynamics.
To quickly get an overview of available bumpers and matching reinforcements, take a look at the category Bumpers & Reinforcements. Many US models with suitable components are listed there.
Final check and test drive
After installation you should perform a systematic check:
- Secure fit of the bumper at all mounting points
- Even gap dimensions and no rubbing plastic edges
- Function test of parking sensors, rearview camera and lighting
- No rattling or rubbing in the area of the exhaust and underbody
A short test drive over different surfaces helps to identify any noises or vibrations. Afterwards check all visible fastenings again.
Common mistakes and how to avoid them
- Ordered wrong model year: always cross-check VIN and model year before ordering.
- Missed sensor cutouts: for vehicles with PDC only use bumpers with matching holes or have them professionally retrofitted.
- No test-fit before painting: fit the new bumper before painting to avoid rework on the painted part.
- Unsuitable fasteners: only use matching clips and screws, do not improvise with sheet-metal screws in plastic.
- Missing heat shields: be sure to transfer or adapt heat shields in the tailpipe area.
Frequently Asked Questions
Can I simply swap a performance rear bumper for the production bumper?
In principle a swap is often possible, but the diffuser, exhaust system, mounts and possibly sensors must match each other. Always check vehicle-specific notes in the product description and compare the mounting points with your original bumper.
Does a new bumper always have to be painted?
Unpainted or primed bumpers usually need to be painted. Textured or black matte diffusers can often be installed unpainted if the look suits the vehicle. If in doubt, consult a body shop.
Where can I find torque settings and exact installation instructions for my US car?
The correct torque settings and detailed installation steps are in the official service manual or the manufacturer's technical documentation. Use these specifications and do not rely on estimated values to avoid damage and safety risks.