Front fenders for US-Cars: selection, fit, installation
Front fenders for US cars: what to check before buying. Compare vehicle fitment, kit contents and relevant products.
Function of the front fender on the US-Car
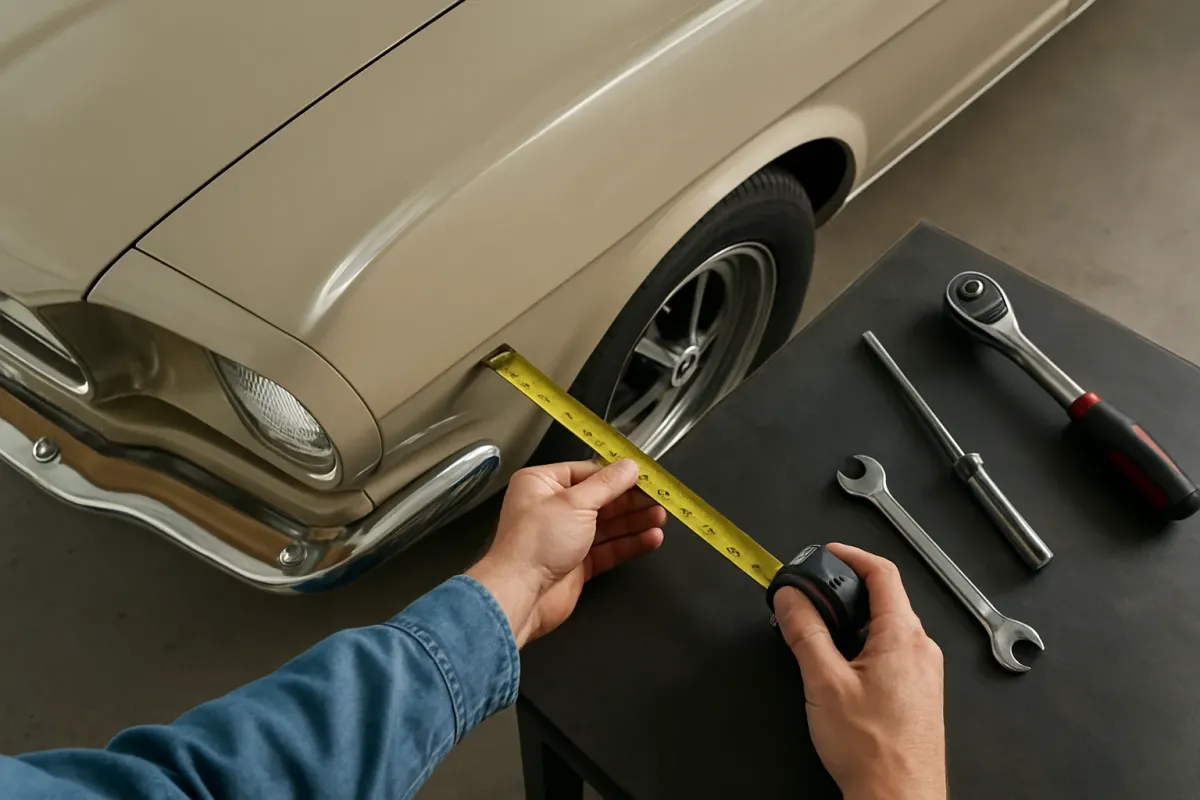
The front fender is more than just a sheetmetal part: it protects the wheel well and A-pillar from dirt, water and stone chips, defines the appearance of the front and, together with the bumper, hood and door, forms the visible body panel gaps. Especially on US-Cars with wide tires and pronounced lines any deviation is immediately noticeable.
Typical reasons for replacement are accident damage, corrosion at the wheel arch, poor previous repairs or the conversion to wide-body or tuning fenders. In the category Kotflügel Vorn you will find different versions for common US models.
Different fender types and materials
Production fender (OE-style)
OE or OE-style fenders match the original part in shape and attachment points. They are the first choice if you want to restore an accident-free appearance or properly repair a leased vehicle. Advantages:
- Fit usually close to the original
- Original line routing is preserved
- Often usable without registration (observe country-specific regulations)
Wide-body and fender wideners
Wide-body fenders and wideners serve to accommodate wider wheels/tires and significantly change the vehicle's appearance. Examples are:
- Wide Body / fender widener for Dodge Challenger 2015–2023
- Fender widener with LED front for Jeep Wrangler 2018–2025
- Fender widener front and rear for RAM 1500 DT 2019–2025 OE style
With such conversions you must always check the legal requirements for wheel coverage and any registration obligations. Wider fenders alone are not sufficient if the wheel/tire combination or suspension are not compliant.
Material: steel vs. aluminium vs. plastic/composite
US-Cars use different materials for front fenders depending on the model:
- Steel sheet: classic, easy to weld and straighten, but prone to rust if not properly sealed.
- Aluminium: lighter, does not rust in the classic sense, but more sensitive to improper straightening and requires specific body repair techniques.
- Plastic/composite: often used for fender wideners and offroad parts, usually bolted or clipped, not weldable.
Examples of aluminium fenders on the Mustang:
- Aluminium front fender left for Ford Mustang 2015–2017
- Aluminium front fender right for Ford Mustang 2015–2017
When working on aluminium you should use suitable tools (clean edges, avoid heavy hammering) and strictly follow the manufacturer-specific repair guidelines.
Fit and vehicle application
Important criteria when selecting
So that the new fender can be mounted without rework, the following points are decisive:
- Vehicle model and year (e.g. Ford Mustang 2018–2023, Dodge Challenger 2015–2023).
- Body variant (coupe, convertible, possibly special editions).
- Side (left / driver side, right / passenger side).
- Style/design (OE-style, GT500 or GTD look, wide-body, offroad widener).
Many parts cover very specific model years, such as 2x Aluminium front fenders for Ford Mustang 2018–2023 GT500 style. Model years outside this range should not be "made to fit", because attachment points, headlight shapes or bumper lines can differ.
Panel gaps and line alignment
A properly mounted fender is recognizable by even panel gaps and aligned edges with:
- Hood
- Door leading edge
- Front bumper
- A-pillar and sill
Especially on US-Cars with pronounced creases (e.g. Mustang or Challenger) any deviation stands out. Allow sufficient time for alignment when replacing.
Preparation: removal of the old fender
Before disassembly you should check the repair manual or workshop manual for your vehicle to see where all attachment points are and which torque specs apply. The following procedure has generally proven effective:
- Disconnect the battery, if lighting, side indicators or sensors are located in the fender area.
- Remove the front wheel and safely jack up the vehicle or have it jacked up.
- Remove inner fender / wheel housing liner to gain access to the screws in the wheel well and at the A-pillar.
- Partially or completely remove the front bumper, depending on the vehicle type.
- Disconnect connectors (indicators, side marker lights, sensors).
- Loosen all visible screws and clips of the fender at the A-pillar, front apron and sill.
- Carefully remove the fender; do not let edges strike the door or hood.
The exact sequence and the number of fasteners vary significantly by model. Follow the vehicle-specific documentation or manufacturer's instructions.
Installation and alignment of the new fender
Initial assembly without final tightening
The new fender should initially be mounted only loosely to allow adjustment of panel gaps:
- Clean attachment points, remove any seam sealer or underbody protection in the screw area.
- Renew corrosion protection or primer at damaged spots.
- Fit the fender and tighten all screws snug, but do not final-tighten.
- Close the bumper, hood and door to check the panel gaps.
Adjusting panel gaps
To adjust panel gaps proceed step by step:
- Work with thin plastic wedges or shims to move the fender minutely.
- Visually align the gap to the hood left/right and front/back.
- Align the run of the creases with the door and bumper so they are in one line.
- Check door movement: it must not touch the fender when opened.
When the panel gaps fit, tighten the screws one after the other to the torque specified in the vehicle documentation. Do not over-tighten "by feel" to avoid distortion of the sheetmetal or cracks in aluminium parts.
Special considerations for aluminium fenders
Vehicles like the Ford Mustang often use aluminium front fenders, e.g. in GTD or GT500 style, such as 2x Aluminium front fenders for Ford Mustang 2018–2023 GTD style. Aluminium behaves differently from steel when deformed:
- No classic rust, but galvanic corrosion can occur with incorrect material combinations.
- Less ductile; straightening requires experience and suitable tools.
- Scratches in bare material must be resealed to prevent corrosion.
Use only appropriate abrasives and ensure clean grounding points, as the body electrical system depends on them. See the manufacturer-specific body repair guidelines for details.
Rust and corrosion protection on the new fender
Whether steel or aluminium: good corrosion protection significantly extends the life of the new part. Important points:
- Coat the inner sides with suitable primer and topcoat (if the part is delivered unpainted).
- Seal seams and overlaps with seam sealer.
- After installation renew cavity protection in the A-pillar area and fender cavities.
- Protect the wheel well area and lower fender edge against stone chips (stone chip protection or suitable underseal applied according to manufacturer).
Especially for US-Cars that are driven year-round, spending extra effort here is worthwhile to avoid typical rust spots at wheel arches and lower edges.
Electrical, sensors and add-on parts
Modern US-Cars often have the following in the area of the front fenders:
- Side indicators or side marker lights
- Park sensors / radar sensors (depending on model)
- Plastic trims and decorative mouldings
When converting to fender wideners with integrated lighting (e.g. LED on the Jeep Wrangler) you must ensure correct electrical connection and legality in the respective country. Refer to the vehicle wiring diagram and the manufacturer's instructions for the widener.
Paintwork and surface finish
Many replacement fenders are delivered primed or unpainted. For a clean result it is recommended to:
- Perform a trial fit in the raw state and set all panel gaps.
- Take the fender to the painter or paint it yourself following common painting techniques.
- After the paint has dried perform final assembly, protecting the edges (e.g. with tape during installation).
With already painted tuning parts a color difference to the rest of the vehicle can occur. In many cases blending or full repainting of adjacent parts is necessary if a homogeneous appearance is desired.
Typical mistakes and how to avoid them
- No trial assembly: Always do a test fit before painting, otherwise rework on the painted part is likely.
- Tightening too early: First mount all parts, set panel gaps, then tighten to the specified torque.
- Forgotten corrosion protection: Unsealed cut edges and drilled holes are frequent starting points for rust.
- Improper modification work: Heavy sanding on visible edges or strong prying with a pry bar worsens the appearance.
- Ignoring electrics: Incorrectly connected lights or sensors can cause error messages or issues during vehicle inspection.
Frequently asked questions
Can I change a front fender at home myself?
Yes, with basic mechanical experience, suitable tools and access to the vehicle-specific repair manual the replacement is possible in the home garage. Careful work is important, especially when adjusting panel gaps and applying corrosion protection. If you are unsure, at least leave the final assembly and paintwork to a professional workshop.
Does a different fender style (e.g. Wide-Body or GT500) need to be registered?
That depends on the legal requirements in your country and on the specific execution. Changes to wheel coverage, vehicle width, lights or sharp edges can require inspection or registration. Check the part documentation and clarify the requirements with the responsible inspection organization before you carry out the conversion.
Where can I find the correct torque specs for the fender screws?
Binding torque specs and the exact number of screws are listed in the official vehicle documentation, the workshop manual or the manufacturer's technical repair guides. Use only these sources and do not over-tighten screws "by feel" to avoid damage to sheetmetal, aluminium or threads.