Bumpers & Reinforcements on US Cars: Selection and Installation
US car bumpers: what to check before buying. Compare vehicle fitment, kit contents and relevant products.
Function of bumpers and reinforcements on US cars
Bumpers on US vehicles are more than just aesthetics. They serve several purposes:
- Crash protection: The bumper reinforcement (impact bar) absorbs collision energy and transmits it to the longitudinal members or crash boxes.
- Mounting points for add-on components: Sensors (PDC, radar), headlight washers, air ducts, license plate holder, skid plate.
- Aerodynamics: Air routing to the radiator, to the brakes and under the vehicle (front spoiler, diffusers).
- Design: Model and trim variants often differ mainly by bumper, spoiler and diffuser.
Especially on modern US cars like the Ford Mustang, Dodge Challenger or Jeep Grand Cherokee the bumper consists externally of a plastic cover, behind which sits the metal or aluminum reinforcement and, if applicable, crash boxes.
Materials and construction types
Most bumper outer covers are made of plastic (e.g. PP, ABS, PU). Reinforcements and carriers are, depending on the model, made from:
- Steel: robust, easy to repair, but heavier and susceptible to corrosion without protection.
- Aluminum: lighter, more corrosion-resistant, but harder to straighten or weld.
- Composite solutions: used partly on performance models, usually not intended for repair but to be replaced as a complete unit.
Performance packages and sporty variants often use special bumper shapes with adapted diffusers, air openings and spoiler lips. Examples are GT350- or GT500-style features on the Mustang or Demon bumpers on the Challenger.
Original, OEM reproduction or tuning bumper?
Before ordering you should clarify which type of component you want to install:
Factory look / production replacement
Production-style bumpers and reinforcements follow the factory geometry. They make sense if:
- a collision is being repaired and the factory appearance should be retained,
- driver assistance systems (PDC, ACC, camera) must continue to function fully,
- TÜV compliance is desired with as little additional effort as possible.
Visual tuning
Tuning bumpers or diffusers significantly change the appearance. Typical examples are special rear diffusers or front lips:
- Complete front or rear bumper for a sporty look (e.g. Demon style on the Challenger).
- Rear diffuser with a suggested racing look or larger cutouts for tailpipes.
- Front spoiler lips to lower the vehicle front and improve airflow.
For an overview of suitable bumpers and reinforcements for various US models you can use the category Stoßstangen & -verstärker.
Checking fitment and compatibility correctly
Fitment is particularly important on US cars, as there are often many model and facelift variants. Before ordering, always check:
- Vehicle data: make, model, year, engine, body style (coupe, convertible, SUV).
- Model generation / facelift: Example Dodge Challenger: different front and rear bumpers before and after the facelift.
- Trim level: SRT, SXT, GT, Hellcat, Demon, Track Pack etc. often differ in bumper details.
- Special systems: parking sensors, front camera, radar-based ACC, headlight washer system, rear tow hitch.
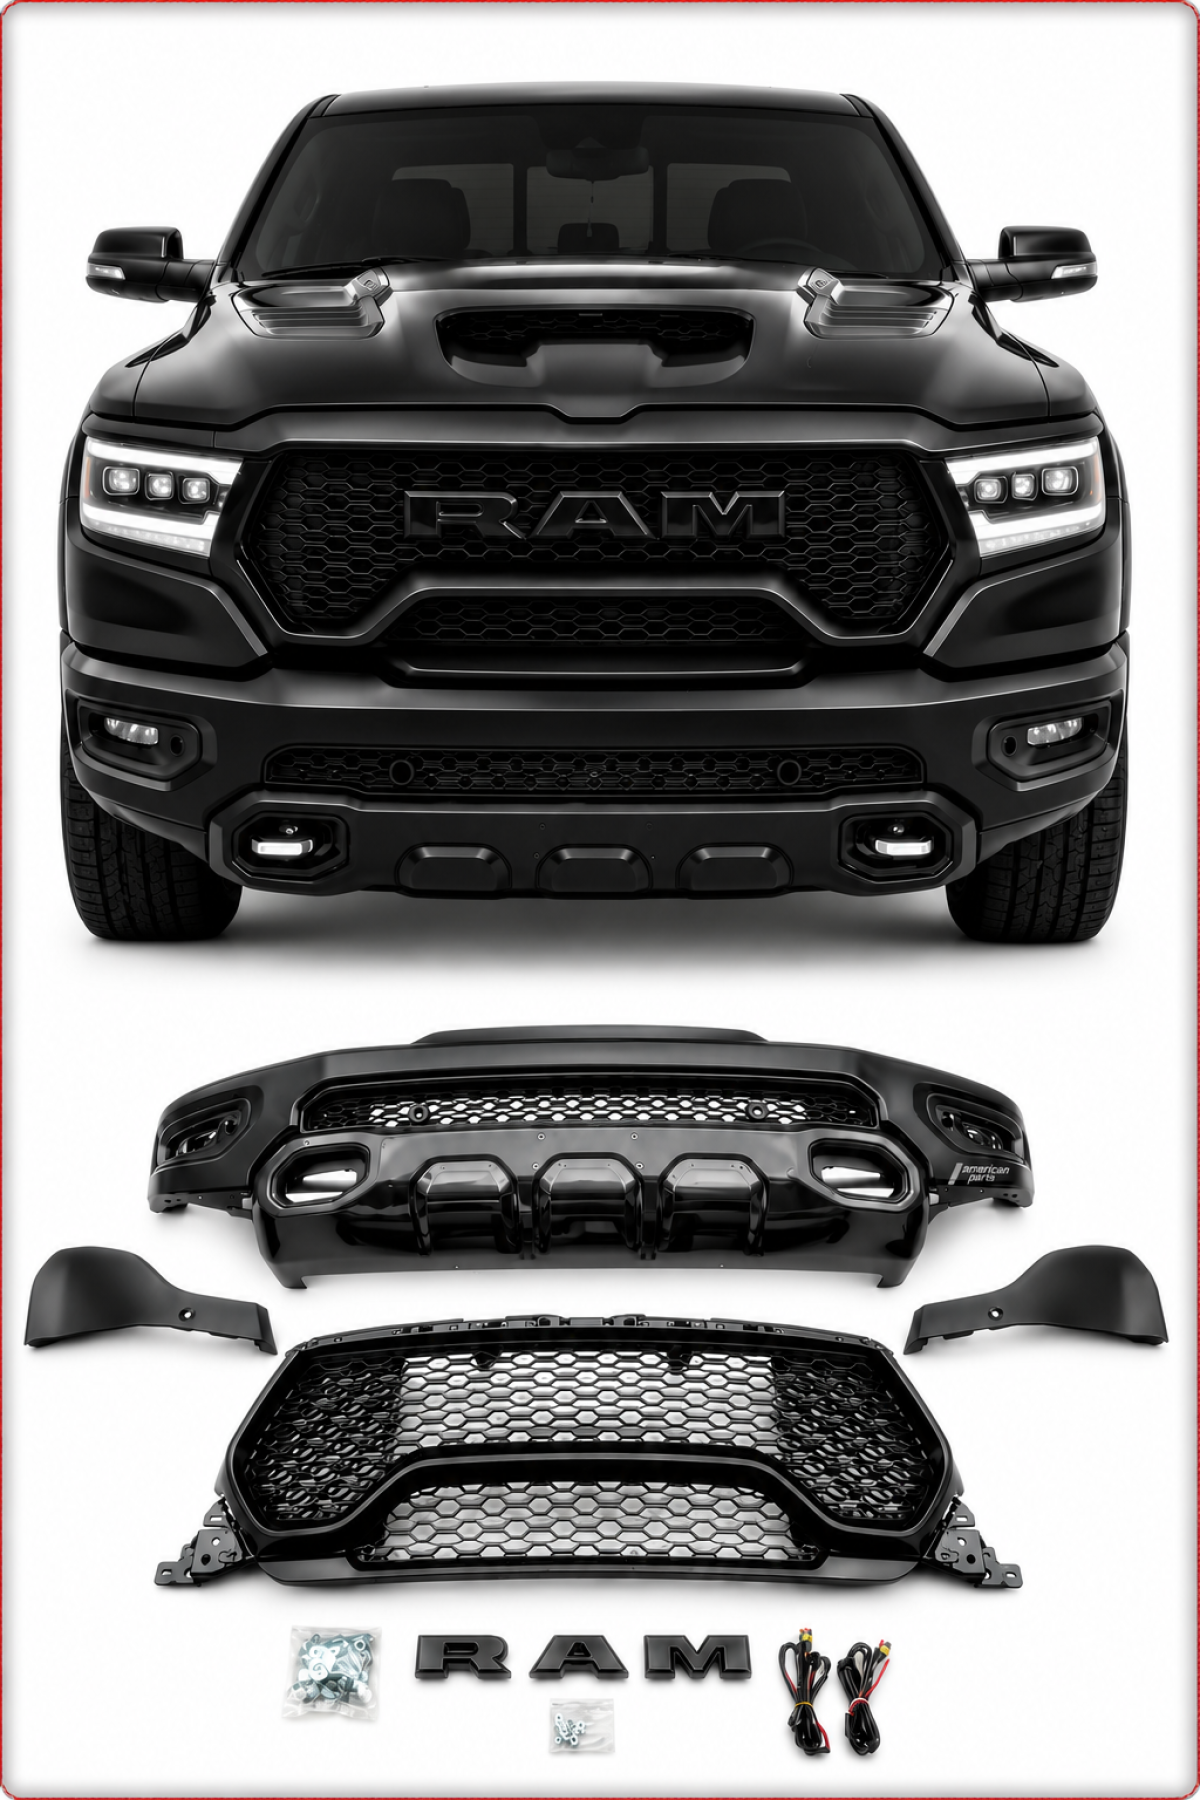
For tuning or style conversions (e.g. conversion to SRT or Demon style) note that sometimes additional parts are required (grilles, brackets, air ducts). Some complete bumpers are supplied with the necessary accessories, others require additions from the OEM parts list.
Examples of typical applications
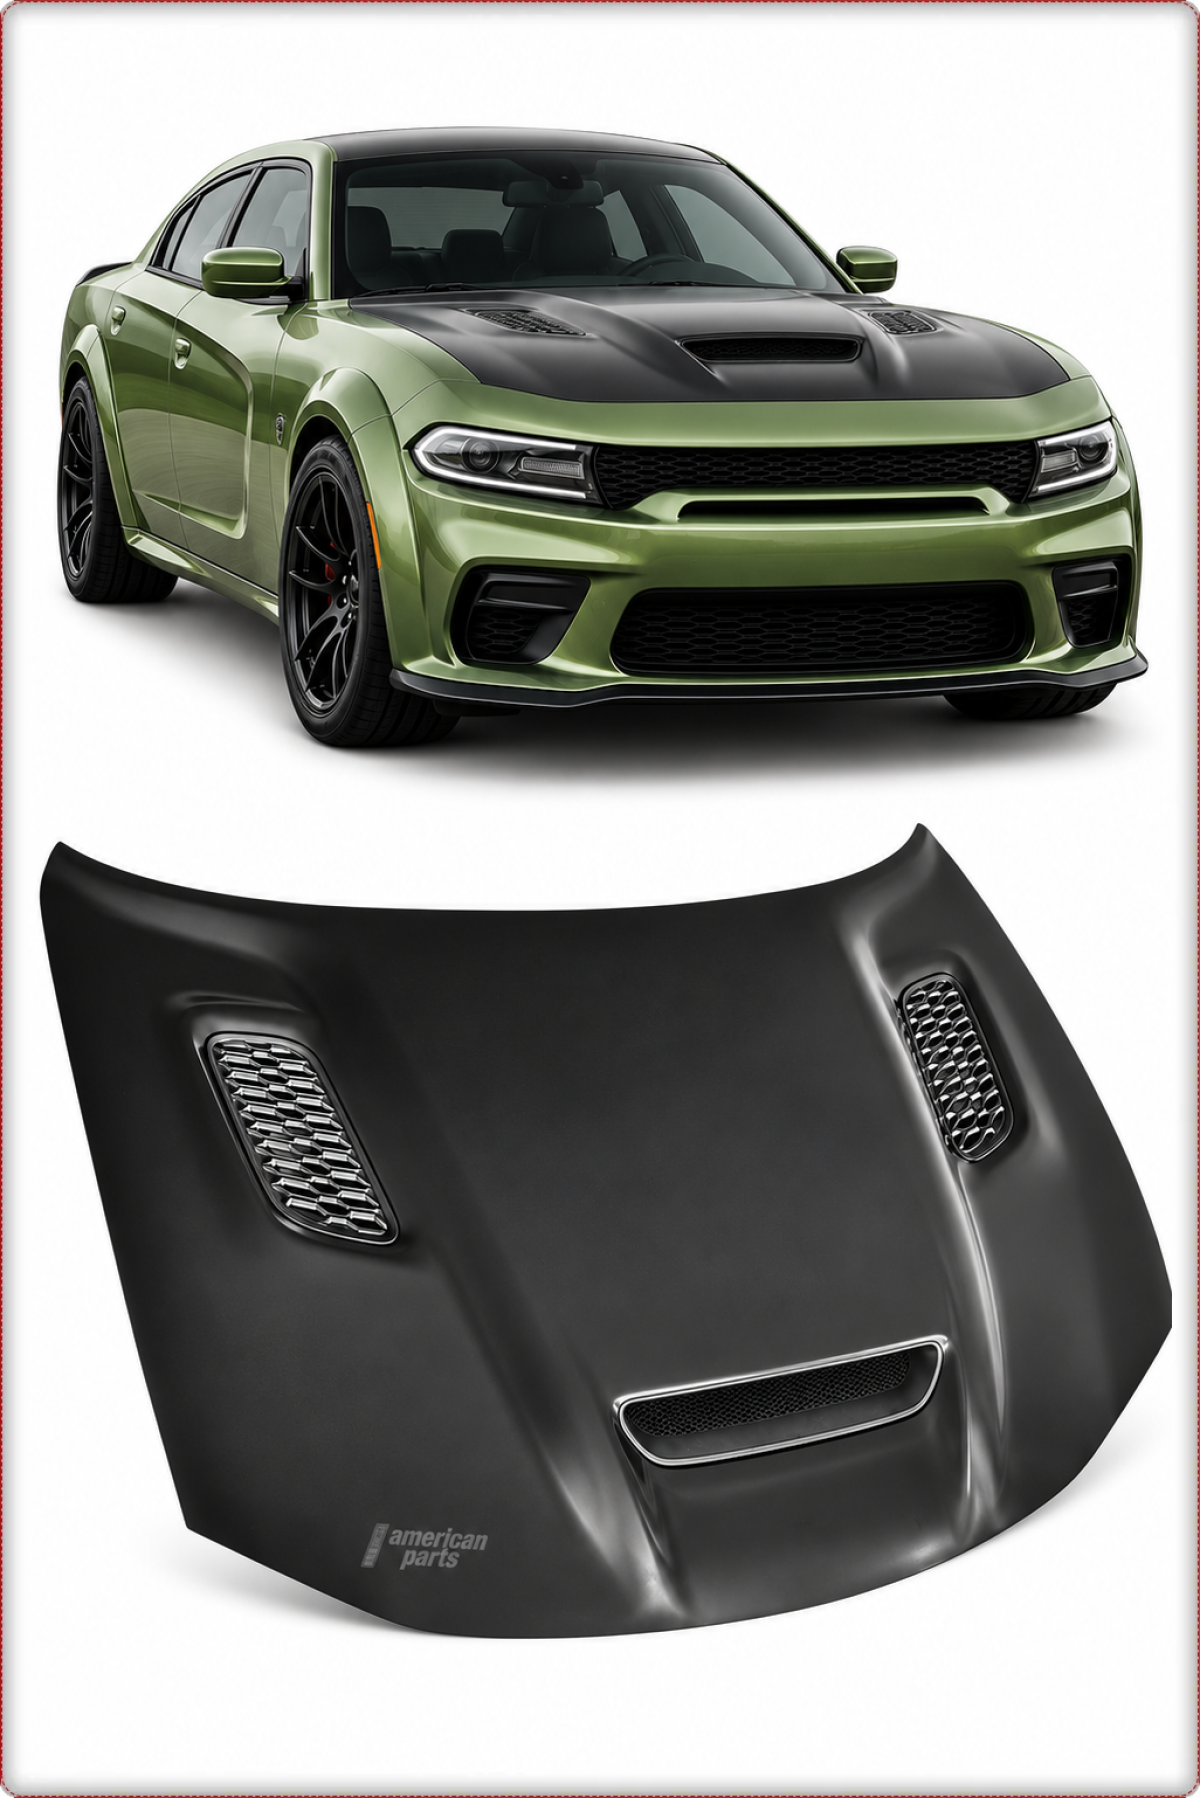
Dodge Challenger – front and rear conversion
On the Challenger the front bumper, rear bumper and spoiler lip are very character-defining. For a more aggressive front design a sportier front is often used, e.g. in Demon style. A complete front bumper can, for example, be configured as follows:
- outer cover with larger air intakes,
- integration of fog lights or air ducts for brake cooling,
- provision for a front spoiler lip.
A separate front spoiler lip (chin spoiler) for the Challenger, for example for Hellcat/SRT models, is usually bolted to the lower edge of the front bumper. An example is the Chin spoiler for Dodge Challenger 2015–2023 Hellcat SRT.
For rear conversions there are complete rear bumpers, e.g. for SRT variants, which can be used together with matching diffusers or tailpipe cutouts. Example: Complete rear bumper for Dodge Challenger 2008–2015 SRT.
Jeep Grand Cherokee – SUV with performance bumper
On the Grand Cherokee the sporty SRT versions differ significantly from the standard models. The rear bumper of the SRT models is drawn lower and features a specific diffuser and larger tailpipe cutouts. A corresponding Complete rear bumper for Jeep Grand Cherokee 2014–2021 SRT enables conversion to this look, often in combination with a matching rear diffuser.
Suitable diffusers with distinct designs and, if applicable, TÜV documentation are available separately, e.g. the Rear diffuser for Jeep Grand Cherokee 2014–2021 SRT.
Ford Mustang – diffuser and tailpipe conversions
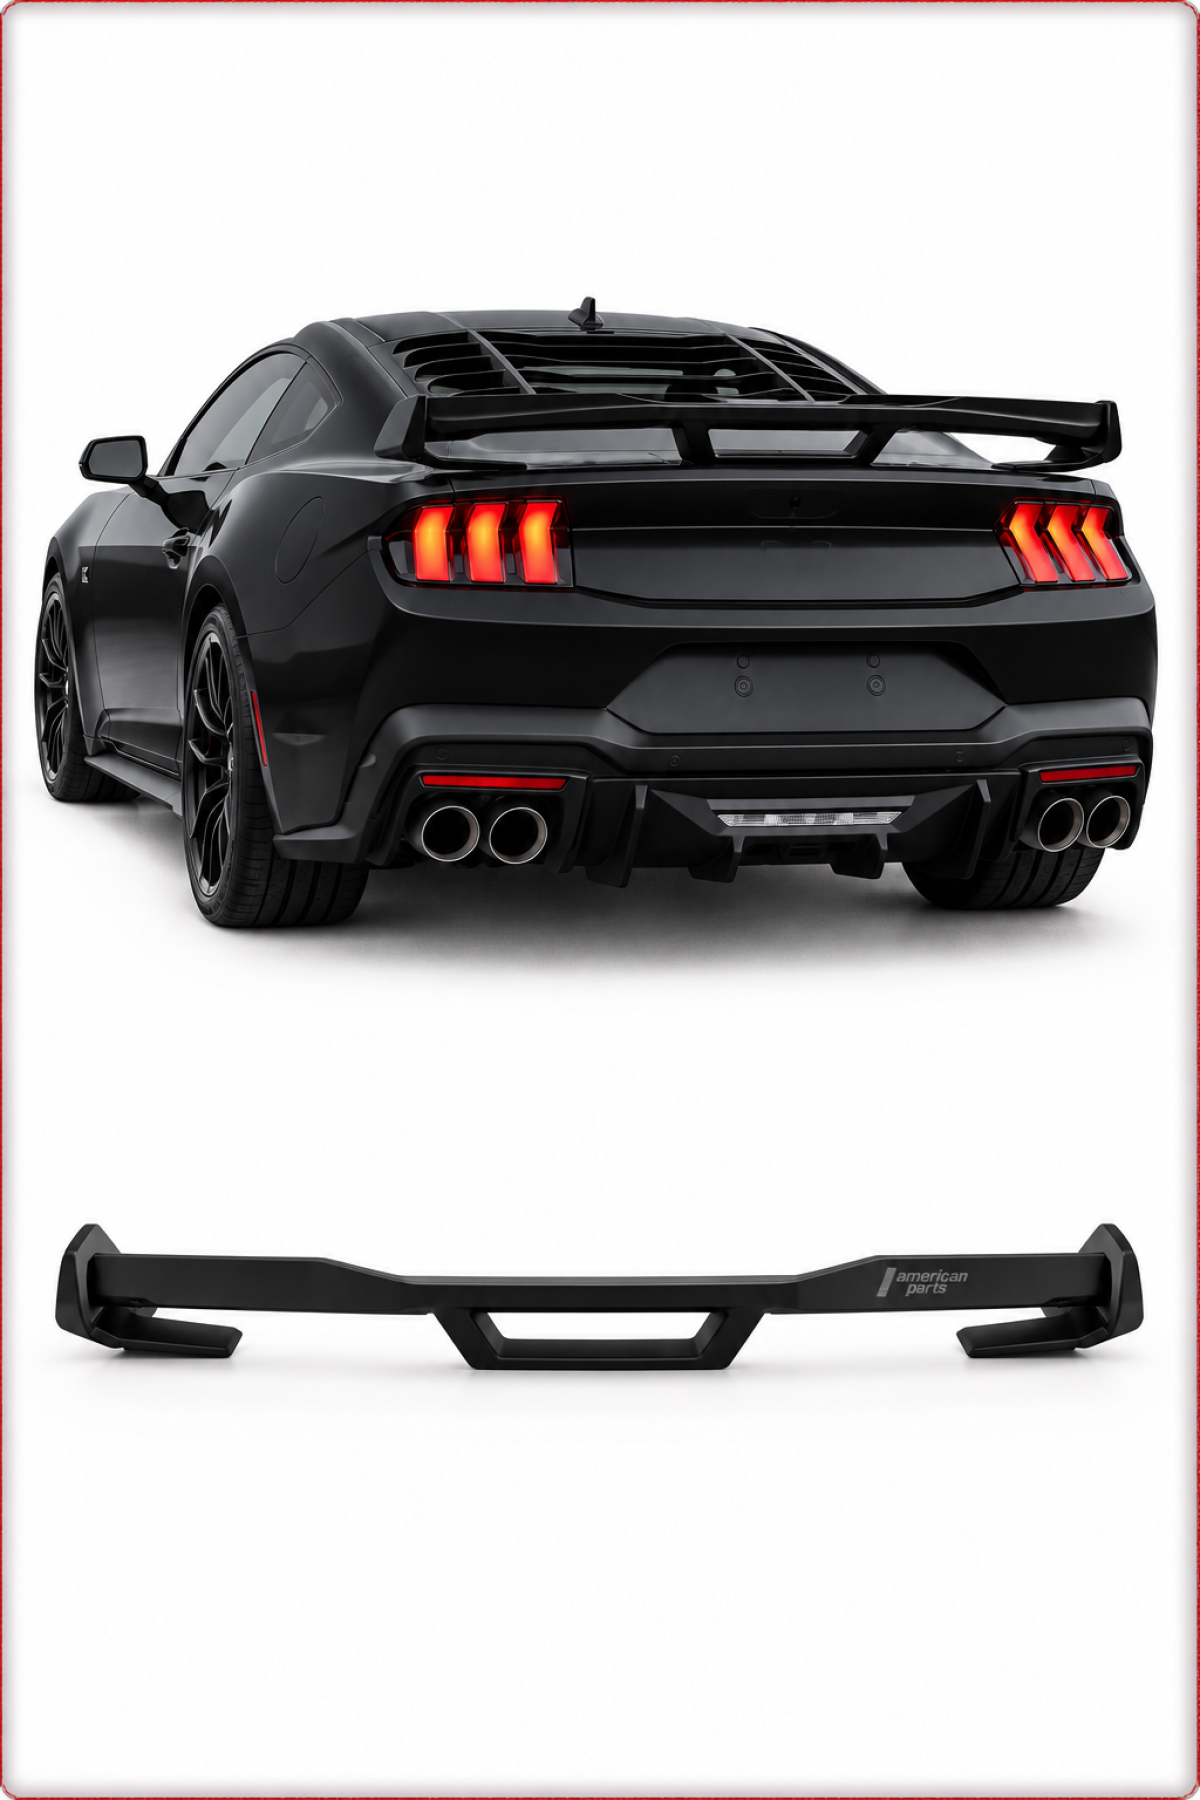
On the Mustang rear diffusers are often changed to adapt tailpipe design and appearance, e.g. to GT350- or GT500-style. Typical conversions include:
- larger cutouts for quad tailpipes,
- sharper edges and a more pronounced diffuser look,
- partly integrated recesses for reversing lights or reflectors.
Examples are diffusers with tailpipe trims in GT350- or GT500-style or a Dark Horse–like diffuser on the latest models. These sometimes use the production bumper and replace only the lower insert.
Preparation before installation
Before the actual installation you should work through the following points:
- Compare parts: Compare the new bumper and reinforcement with the old part (length, cutouts, mounting points, sensor housings).
- Test fit: Especially for unpainted or GRP/ABS tuning parts, perform a dry fit before painting to identify necessary adjustments.
- Drillings and cutouts: If sensors or washer nozzles must be mounted later: mark positions exactly and only drill or cut after matching with the original part.
- Corrosion protection: Protect metal reinforcements against rust (e.g. zinc spray on cut edges, cavity wax at mounting points).
- Check electrics: Locate plugs for PDC, fog lights, cameras and, if applicable, headlight washers, check for damage and clean with contact spray.
Torque values for bolts of bumper reinforcements and crash boxes should always be taken from the factory repair manuals or technical documentation for your vehicle. Do not guess here.
Removing bumper and reinforcement
The exact procedure is vehicle-specific, but the removal can be roughly divided as follows:
- Preparation: Secure the vehicle (parking brake, wheel chocks). If raised: lift and support safely on stands.
- Remove interior trims: Release trunk or engine bay trims in the area of the bumper fastenings.
- Wheel arch liners: Undo screws/clips between bumper and wheel arch liner, if necessary fold the liner partially down.
- Underbody cover: Remove screws and clips along the lower edge of the bumper.
- Disconnect electrical connections: Disconnect PDC sensors, fog lights, cameras via the central connectors.
- Release side retainers: Carefully unclip the bumper laterally at the fender, preferably with two people to avoid distortion or paint damage.
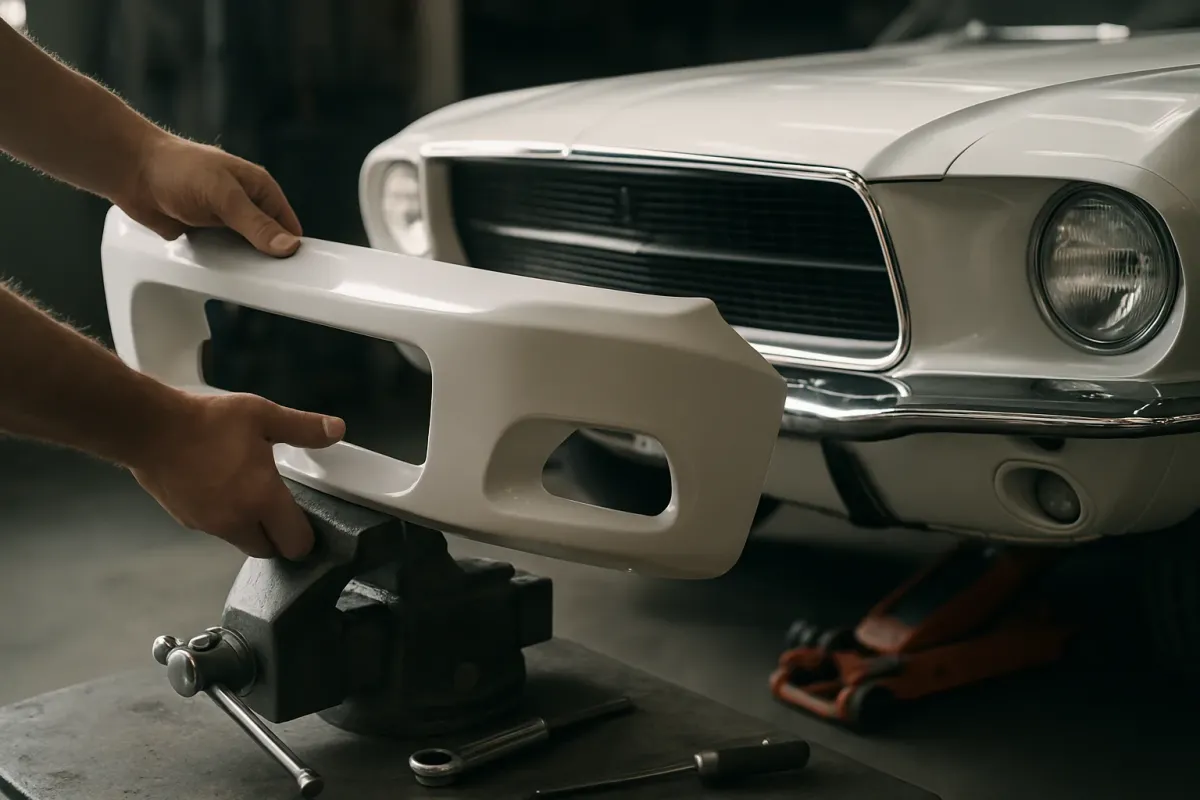
- Remove bumper: Pull the bumper forward/backward and place it on a soft surface.
- Remove reinforcement: Undo the bolts of the crash boxes or reinforcement at the longitudinal members and remove the component.
Hidden screws are often located behind trim strips, reflectors or inside the wheel arch. Work patiently here and document the position of clips and screws.
Installation and alignment
For installation proceed in reverse order. The decisive points are:
1. Mount the reinforcement
- Clean contact surfaces on the body and reinforcement.
- Roughly position the reinforcement, insert bolts finger-tight.
- Check alignment using the mounting holes and, if applicable, markings.
- Tighten bolts to the torque values specified in the workshop manual.
2. Prepare the bumper
- Place foam or energy absorber on the reinforcement, if provided.
- Install sensor brackets, grilles, trims and diffuser.
- Apply any sealing tape or felt strips at the transition to fenders and headlights, if present.
3. Mount the bumper
- With two people position the bumper, first hanging it in the center or placing it on the upper guides.
- Snap in the side clips without applying excessive force.
- Install and tighten upper, lower and side fasteners in the manufacturer-specified sequence.
- Reinstall wheel arch liners, underbody and interior trims.
- Reconnect plugs for sensors, fog lights and cameras.
After installation check all gap dimensions (to fenders, hood/trunk lid, headlights/tail lights). Uneven gaps indicate tension or incorrectly seated clips.
Particulars for sensors and driver assistance systems
Many current US cars have:
- parking sensors front and rear,
- front camera (e.g. in the grille area),
- radar/ACC sensors behind covers in the front bumper,
- side radar sensors (blind-spot) in the rear area.
When changing bumpers or diffusers observe:
- take sensor housings and brackets unchanged or replace them with suitable brackets,
- do not change the distance and orientation of the sensors,
- check paint thickness in sensor areas (too much material can impair function),
- radar sensors must usually not be placed behind metal grilles – follow the manufacturer's specifications.
After installation calibrations may be necessary (e.g. ACC, cameras). These usually require manufacturer-specific diagnostic tools and calibration fixtures. Check the relevant workshop manual.
TÜV, registration and legal matters
For bumpers, front lips and diffusers the legal situation in Germany and many EU countries must be observed:
- Use parts with the appropriate approval (e.g. ABE, parts certificate, E-mark), if required.
- No sharp-edged or protruding parts that could violate pedestrian protection.
- No impairment of lighting, license plate or sensor systems.
Some diffusers are offered with documentation for hassle-free inspection, such as the Rear diffuser for Jeep Grand Cherokee 2014–2021 SRT with TÜV documentation. Keep these documents with the vehicle and, in case of doubt, coordinate conversions with your inspection station in advance.
Typical mistakes and how to avoid them
- Tightening all bolts too quickly: Fit all fastenings first, check gap dimensions, then tighten.
- Forgotten cables/plugs: Use a checklist, perform a function test (PDC, fog lights, camera) before final tightening.
- Painted without test fit: For tuning parts always adjust beforehand, otherwise cracks or stresses may occur after painting.
- Guessing torque values: Always consult the vehicle's technical documentation.
- Neglecting corrosion protection: Protect contact surfaces and bolts against rust, especially on older US cars.
Frequently asked questions
Can I reuse a bumper reinforcement after a minor bump?
If the reinforcement is visibly bent, cracked or corroded, it should generally be replaced. Even with inconspicuous contact damage, removal and a detailed visual inspection are advisable. Manufacturers mandate replacement after certain crash events; you will find these requirements in the repair manual.
May I mount front spoiler lips and diffusers without registration?
That depends on the component's approval. If an ABE or corresponding certificate exists and the mounting instructions are followed, a separate registration is often not necessary. Without paperwork an individual inspection may be required. Clarify this with your inspection organization before the conversion and always carry the documents with you.
How do I find the correct torque for my bumper?
Torque values for bumpers, reinforcements and crash boxes are vehicle-specific. Binding values can be found in official workshop manuals, technical service databases or the manufacturer's repair instructions. Use only these sources and not estimates or general tables.