Body panels, add-on parts & accessories for Ford F-150: selection and installation
Ford F-150 body parts: what to check before buying. Compare vehicle fitment, kit contents and relevant products.
Overview: body and add-on parts on the Ford F-150
The Ford F-150 offers many options to change appearance and function with body panels, add-on parts and accessories. Whether bumper, hood, running board or rear spoiler – what matters is correct fitment, clean installation and compliance with legal requirements.
This guide deals exclusively with the Ford F-150. You will learn how to choose suitable parts, what to check regarding fitment and how the installation of typical components generally proceeds.
Finding suitable parts for your Ford F-150
Body parts for the Ford F-150 differ depending on year of manufacture, body style and equipment (e.g. with or without parking sensors). Therefore always use:
- vehicle registration/vehicle documents (type, model, first registration)
- vehicle identification number (VIN) for exact matching
- vehicle selection in the shop and the information in the item description
A good starting point for all body and add-on parts is the category Karosserie-, Anbauteile & Zubehör. There you can filter specifically for parts for the Ford F-150.
With every part, check in particular:
- exact model information (e.g. F-150, not Super Duty)
- year range (e.g. 2015–2017 or 2015–2020)
- notes on body style (Single Cab, SuperCab, SuperCrew, bed length)
- cutouts/mounting points (e.g. for sensors, trailer hitch, fog lights)
Where information is missing or unclear, do not rely on guesswork; instead compare the part closely with the existing component and consult the vehicle documentation.
Bumpers: selection, fitment and installation
Bumpers affect appearance, approach angle and partly the lighting on the Ford F-150. Key points:
- compatibility with parking sensors, tow hooks and fog lights
- requirements for lighting and any integrated LED bars
- use of appropriate brackets and, if necessary, reinforcements
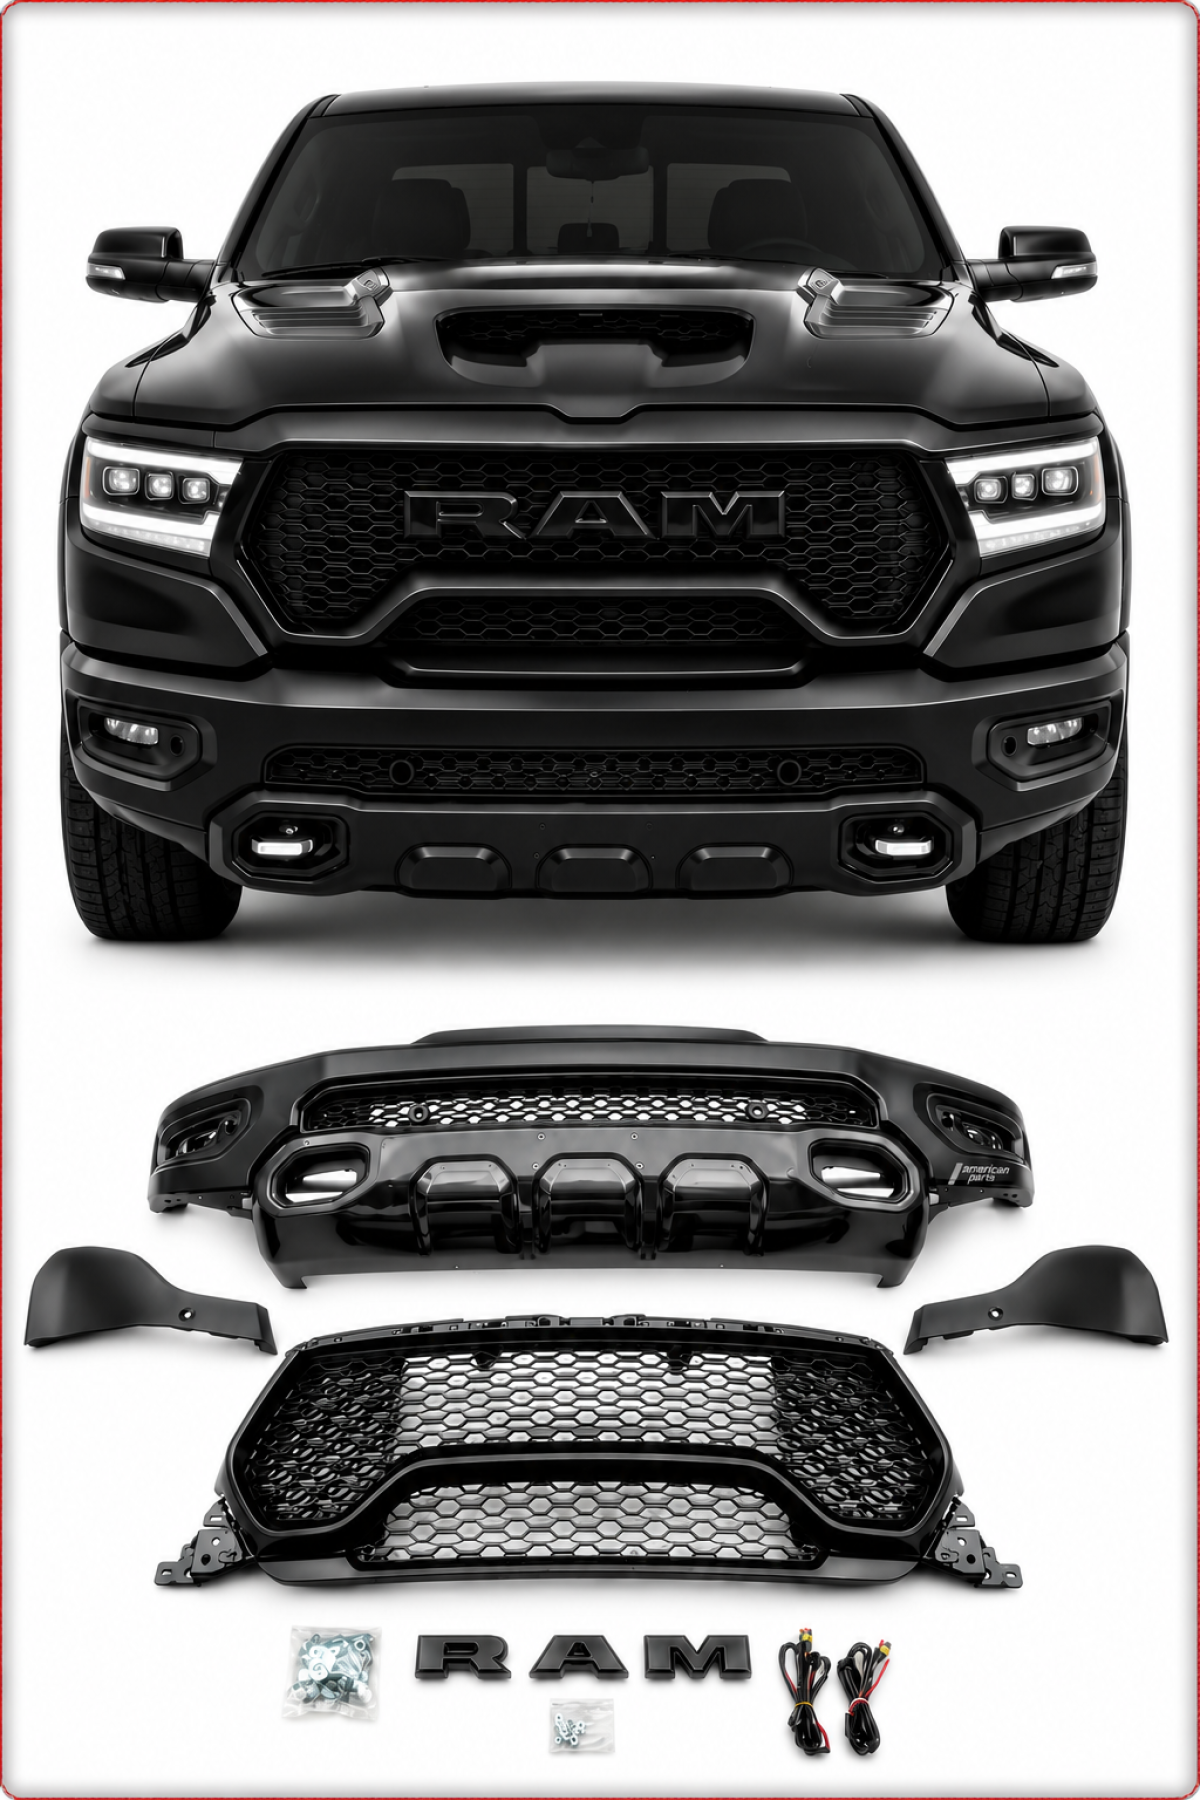
For the front there are, for example, bumpers with integrated LED lighting in a Raptor style for various F-150 year ranges. Pay close attention to the model years stated in the product description, for example when comparing a front bumper with LED lighting 2009–2014 to a 2015–2017 variant.
There are also special rear variants, e.g. a rear bumper with LED lighting 2015–2020. Check in particular here:
- cutout and mounting for the trailer hitch
- position of the license plate light
- holes for parking sensors (if present)
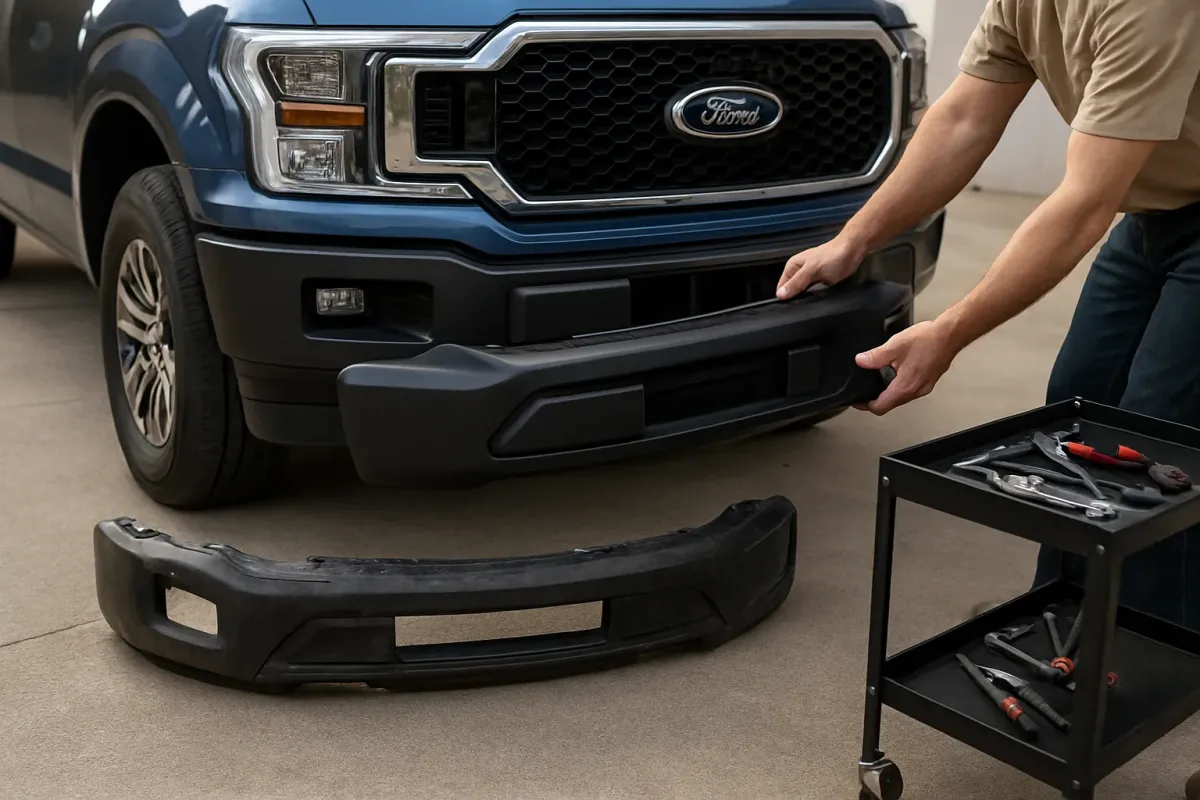
Typical procedure for a bumper replacement
The exact procedure depends on model and equipment. Always use a vehicle-specific workshop manual. Typical steps are:
- Park the vehicle on level ground and engage the parking brake.
- Disconnect the battery if electrical components (sensors, LEDs) are involved.
- Disconnect all electrical connectors at the bumper.
- Remove fasteners and retaining clips of the bumper and the carrier.
- Remove the bumper with an assistant (mind the weight, avoid damaging the paint).
- Check old brackets, clips, sensor mounts for compatibility and transfer if necessary.
- Fit the new bumper loosely at first, adjust panel gaps to the hood, headlights and fenders.
- Tighten bolts to the torque specifications given in the workshop manual.
- Reconnect electrical connectors and perform a function check.
Hoods: replacement and special considerations
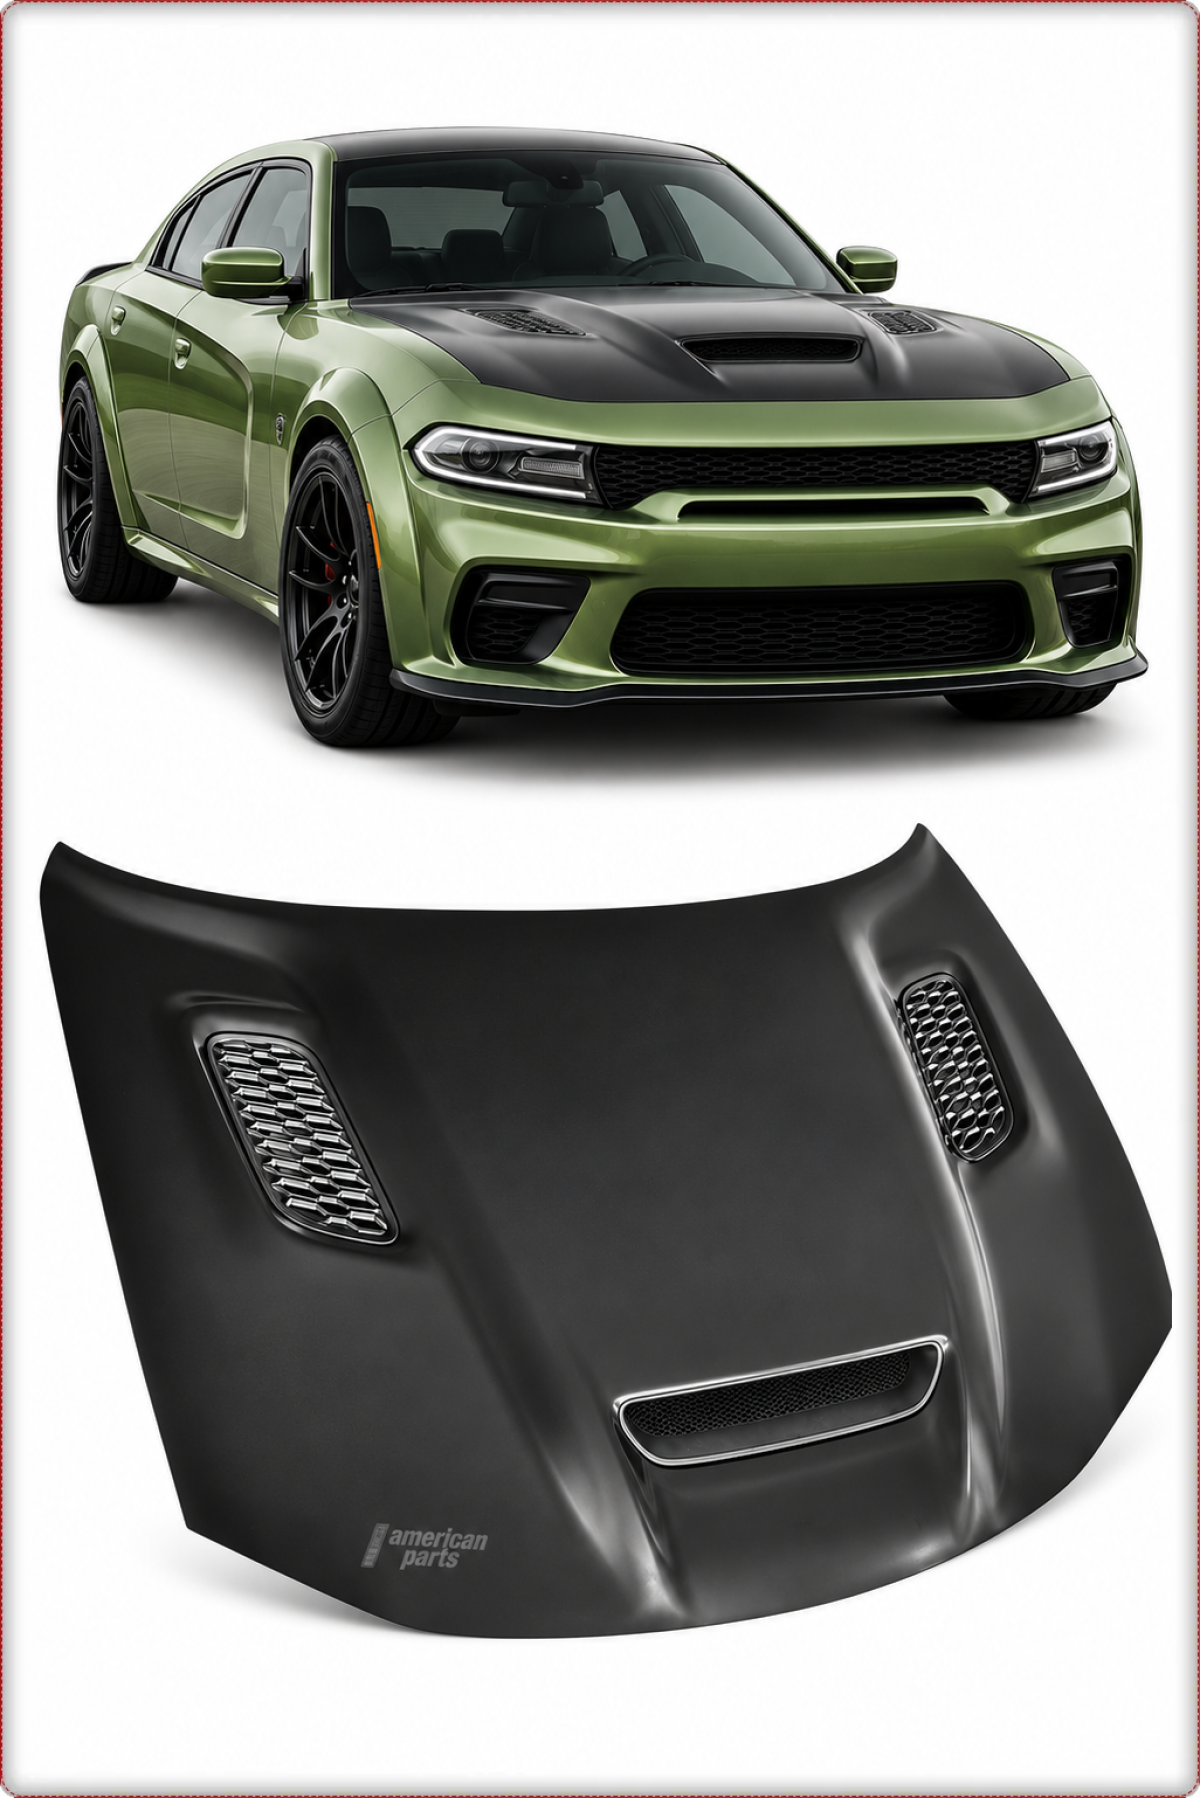
On the Ford F-150 hoods can be replaced with stock-style or sport designs, such as Ram-Air or off-road looks. Examples include a steel hood in Ram-Air style or a Shelby Baja-style variant for certain model years.
Important points before replacement:
- Ensure the hood is approved for your F-150 year range.
- Match the mounting points (hinges, hood latch, gas struts/hood prop).
- If air inlets or functional openings are present: observe notes on water drainage and heat shielding.
Typical hood replacement
The exact procedure varies by model year. Typical steps:
- Secure the vehicle, open the hood and support it additionally with a prop or an assistant.
- Disconnect washer nozzles and any lighting lines, mark hoses and cables.
- Remove gas struts or hood prop per manufacturer instructions.
- With an assistant loosen the hinge bolts on the hood and remove the hood.
- Transfer locks, catches and any insulation mats to the new hood.
- Place the new hood with an assistant, initially tighten hinge bolts only lightly.
- Adjust panel gaps to fenders, front fascia and headlights, regulate hood height at the rubber stops.
- Tighten hinge bolts to the torque specifications given in the workshop manual.
- Check operation of the hood latch, emergency release and, if applicable, washer nozzles.
More hoods for the F-150 are grouped in the category Motorhauben.
Fenders, flares and side panels
Fenders, side panels and fuel filler doors influence appearance and corrosion protection. In the category Kotflügel, Seitenwände & Tankdeckel you will find suitable parts for the Ford F-150.
Popular are fender flares, for example a fender flare front/rear for F-150 2015–2017. Pay special attention to:
- year range and body style (wheel arch contour differs)
- mounting method: screwed, clipped or adhesive
- coverage of the tire tread area in conjunction with your wheel/tire combination in accordance with the StVZO (if relevant)
Installation notes for fender flares
- Thoroughly clean the vehicle, especially the wheel arches and edges.
- Test-fit the flare without drilling or gluing.
- Mark the position, use drill templates from the instructions if provided.
- Protect metal edges against corrosion (e.g. primer) if drilling is required.
- Fasten the flare according to the instructions (screws, clips, adhesive tape), use torque values from the instructions or the workshop manual.
- Check the fastenings for secure fit after a short drive.
Rocker panels, running boards and nerf bars
Rocker panels and running boards make it easier to get into the Ford F-150 and protect the side areas. An example are running boards/nerf bars with LED for F-150, which are model-dependently mounted to existing points on the frame or rocker.
Important checks:
- Approval for your model year and cab style (length of the running board)
- Type of mounting (frame brackets, body brackets, original mounting points)
- Permitted load capacity according to manufacturer specifications
- Electrical connection of LED lighting (parking light/interior light as specified)
General procedure:
- Park the vehicle, clean the underbody, locate existing openings/mounting points.
- Preassemble brackets according to the installation instructions, but do not fully tighten yet.
- Place the running boards with an assistant, align and insert the mounting bolts.
- Check panel gaps to the body and ground clearance.
- Tighten all bolts to the torque values specified in the instructions/workshop manual.
- Carry out electrical connections of the LEDs professionally, observe cable cross-section and fusing.
More solutions in the rocker area are collected in the category Seitenschweller.
Rear and roof spoilers
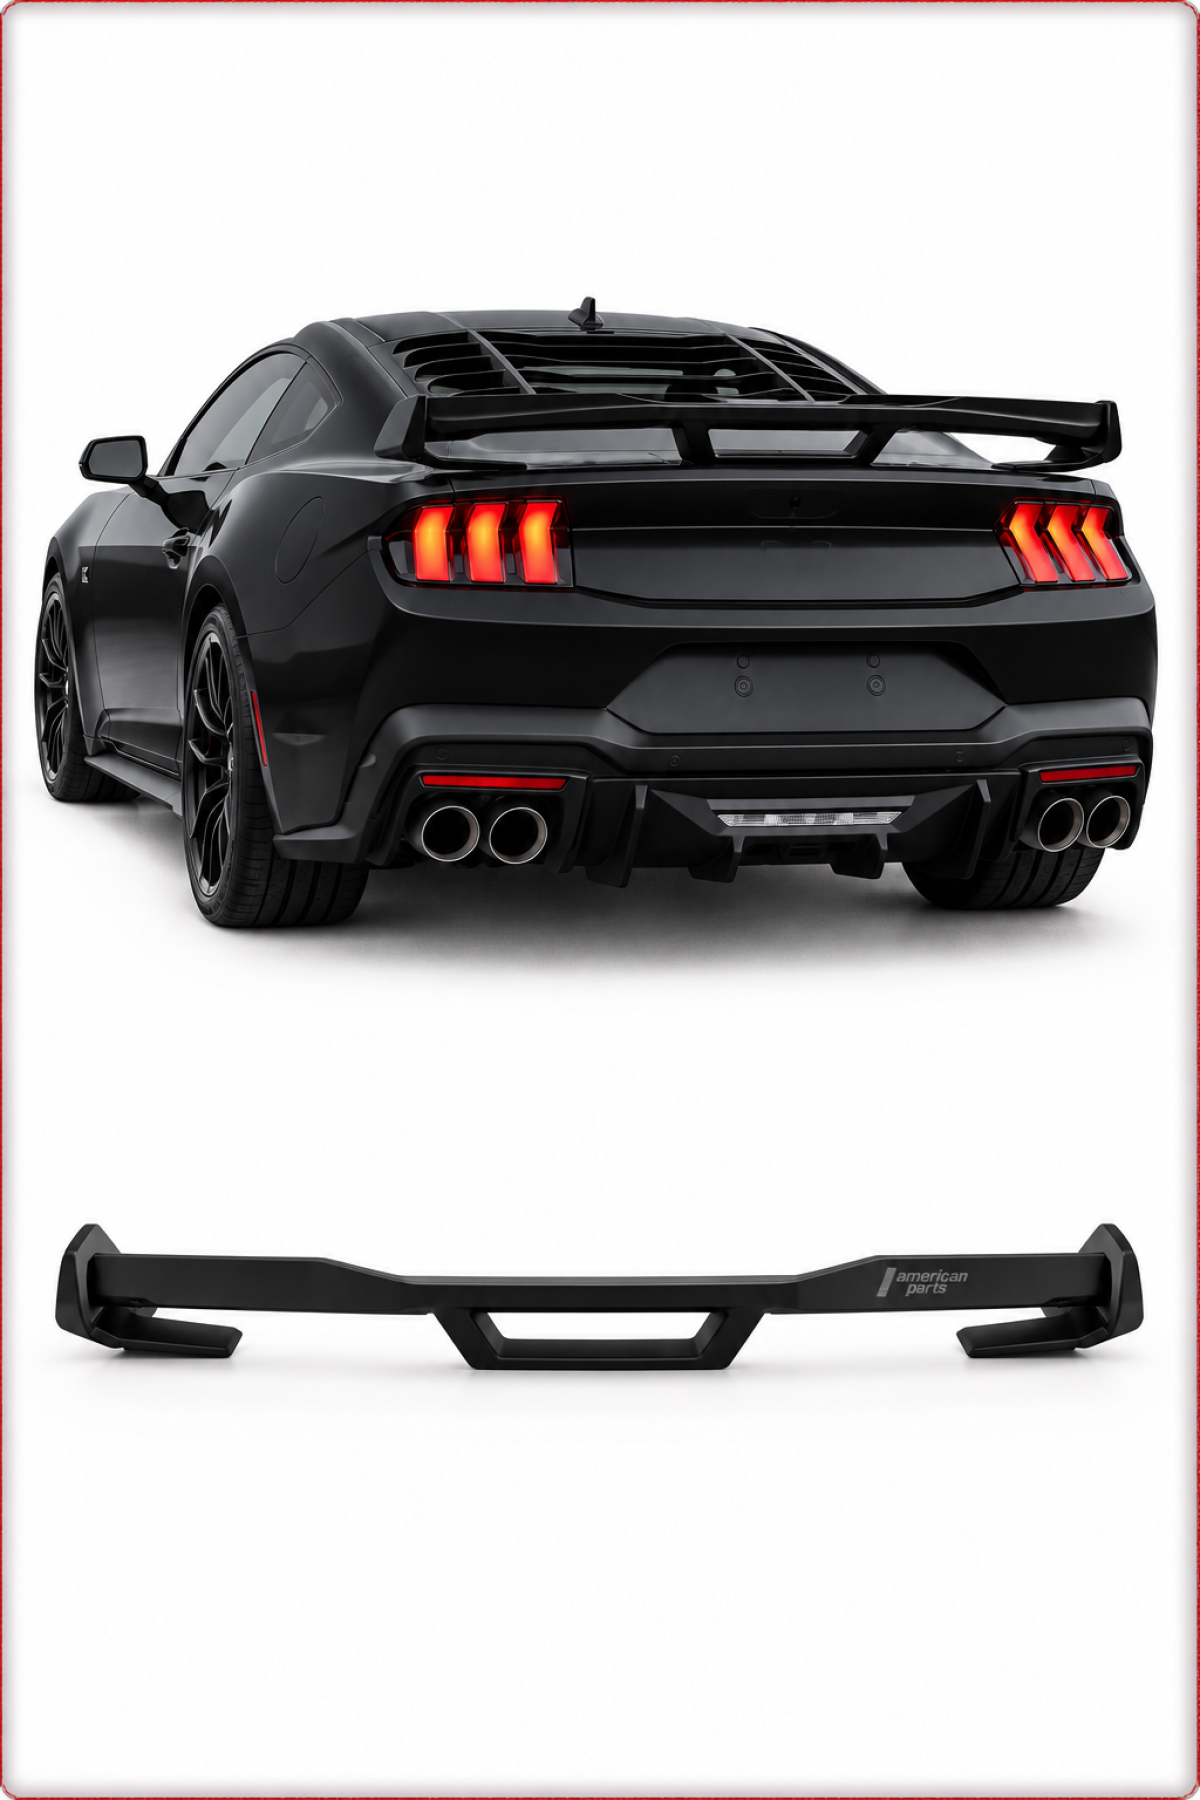
Rear and roof spoilers primarily change the look of your Ford F-150, but can also influence airflow and the soiling behavior of the tailgate. An example is a roof spoiler with TÜV approval for the F-150.
Note the following:
- year and body compatibility (e.g. shape of the cab roof)
- mounting method: screwed, bonded or a combination
- information on paint finish (pre-painted, primed or raw)
- existing certificates/ABE/TÜV documentation and carrying them in the vehicle
For bonded parts the preparation is decisive: degreased, clean surface, observe processing temperature and allow sufficient curing time. Follow the instructions in the installation manual and the adhesive manufacturer's specifications exactly.
Front & radiator grilles
Front and radiator grilles define the face of your Ford F-150. In the category Front- & Kühlergrills you will find different designs, e.g. in offroad or stock look.
When choosing, pay attention to:
- mounts for emblem, camera and sensors (e.g. front camera, radar)
- mesh structure in relation to cooling airflow (no significant obstruction)
- compatibility with the existing front fascia/headlights of your model year
Replacement is, depending on model, done via clips, screws and possibly removing the front fascia. As the mounting points are model-year dependent, you should use the removal plan in the workshop manual to avoid damaging retaining tabs and clips.
General tips on fitment, installation and corrosion protection
- Always test-fit: Hold new parts in place at first without final fastening or paint, check panel gaps and mounting points.
- Corrosion protection: Protect bare metal, drilled holes and cut edges against rust (e.g. primer, cavity wax).
- Painting: For visible parts a professional paint job is often advisable. Many parts are delivered primed or unpainted.
- Torque specs: Always obtain tightening torques for bolts and nuts from the vehicle-specific workshop manual, do not guess.
- Documentation: Keep installation instructions and any supplied certificates/ABE carefully and be able to show them during inspections.
Frequently asked questions
How can I be sure a part will fit my Ford F-150?
Always compare the information in the item description (model, year range, body style) with your vehicle documents and the VIN. If in doubt, consult the workshop manual or a specialist workshop and test-fit the part before painting.
Do I have to register body or add-on parts on the Ford F-150?
That depends on the part and local regulations. Parts with ABE or TÜV certificates can usually be used without individual inspection, provided the conditions are met. Check the part's documentation and consult the testing authority or registration office before making modifications.
Where do I get the correct torque values and installation plans?
Always use the vehicle-specific Ford service manual or corresponding technical documentation. There you will find all torque specifications, tightening sequences and notes on airbags, sensors and electrical components. Do not estimate values or transfer them from other vehicles.