Body panels, add-on parts & accessories for Dodge Challenger
Dodge Challenger body parts: what to check before buying. Compare vehicle fitment, kit contents and relevant products.
Overview: Body panels, add-on parts & accessories on the Dodge Challenger
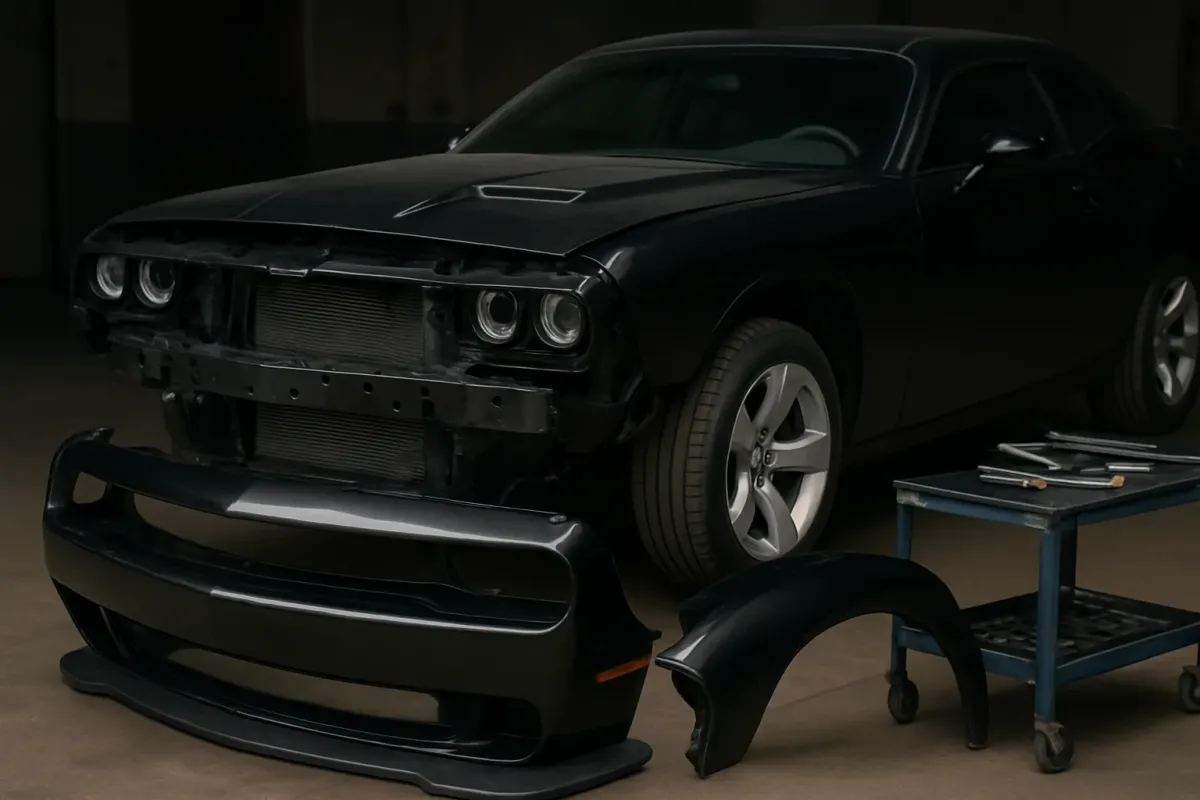
The Dodge Challenger can be very purposefully customized with body panels, add-on parts and accessories – from the front bumper via side skirts to rear window louvers. To ensure parts fit cleanly and are mounted safely, correct selection, a proper fitment check and professional installation are crucial.
The focus of this article is exclusively on the Dodge Challenger. Specific torque values, approvals and permissible modifications must always be taken from the vehicle documents, the owner’s manual or the technical documentation.
Selecting suitable body parts for the Dodge Challenger
On the Challenger there are differences in body geometry, attachment points and mounting techniques depending on year of manufacture, model variant and equipment. This is particularly relevant for bumpers, fender flares, side skirts, hoods and trim or cover pieces.
Use the correct category in the shop
For an initial narrowing down, the category Karosserie-, Anbauteile & Zubehör is useful. There you can usually select vehicle data or filter items by vehicle. Always check:
- Vehicle: Dodge Challenger
- Year of manufacture / model year according to vehicle documents
- Body style and special equipment (e.g. widebody, specific performance packages)
If the part manufacturer offers several variants by year or specification, always follow the information in the vehicle registration document or the VIN-based information strictly.
Typical body and add-on parts on the Challenger
- Front and rear bumpers (stock design or tuning styles)
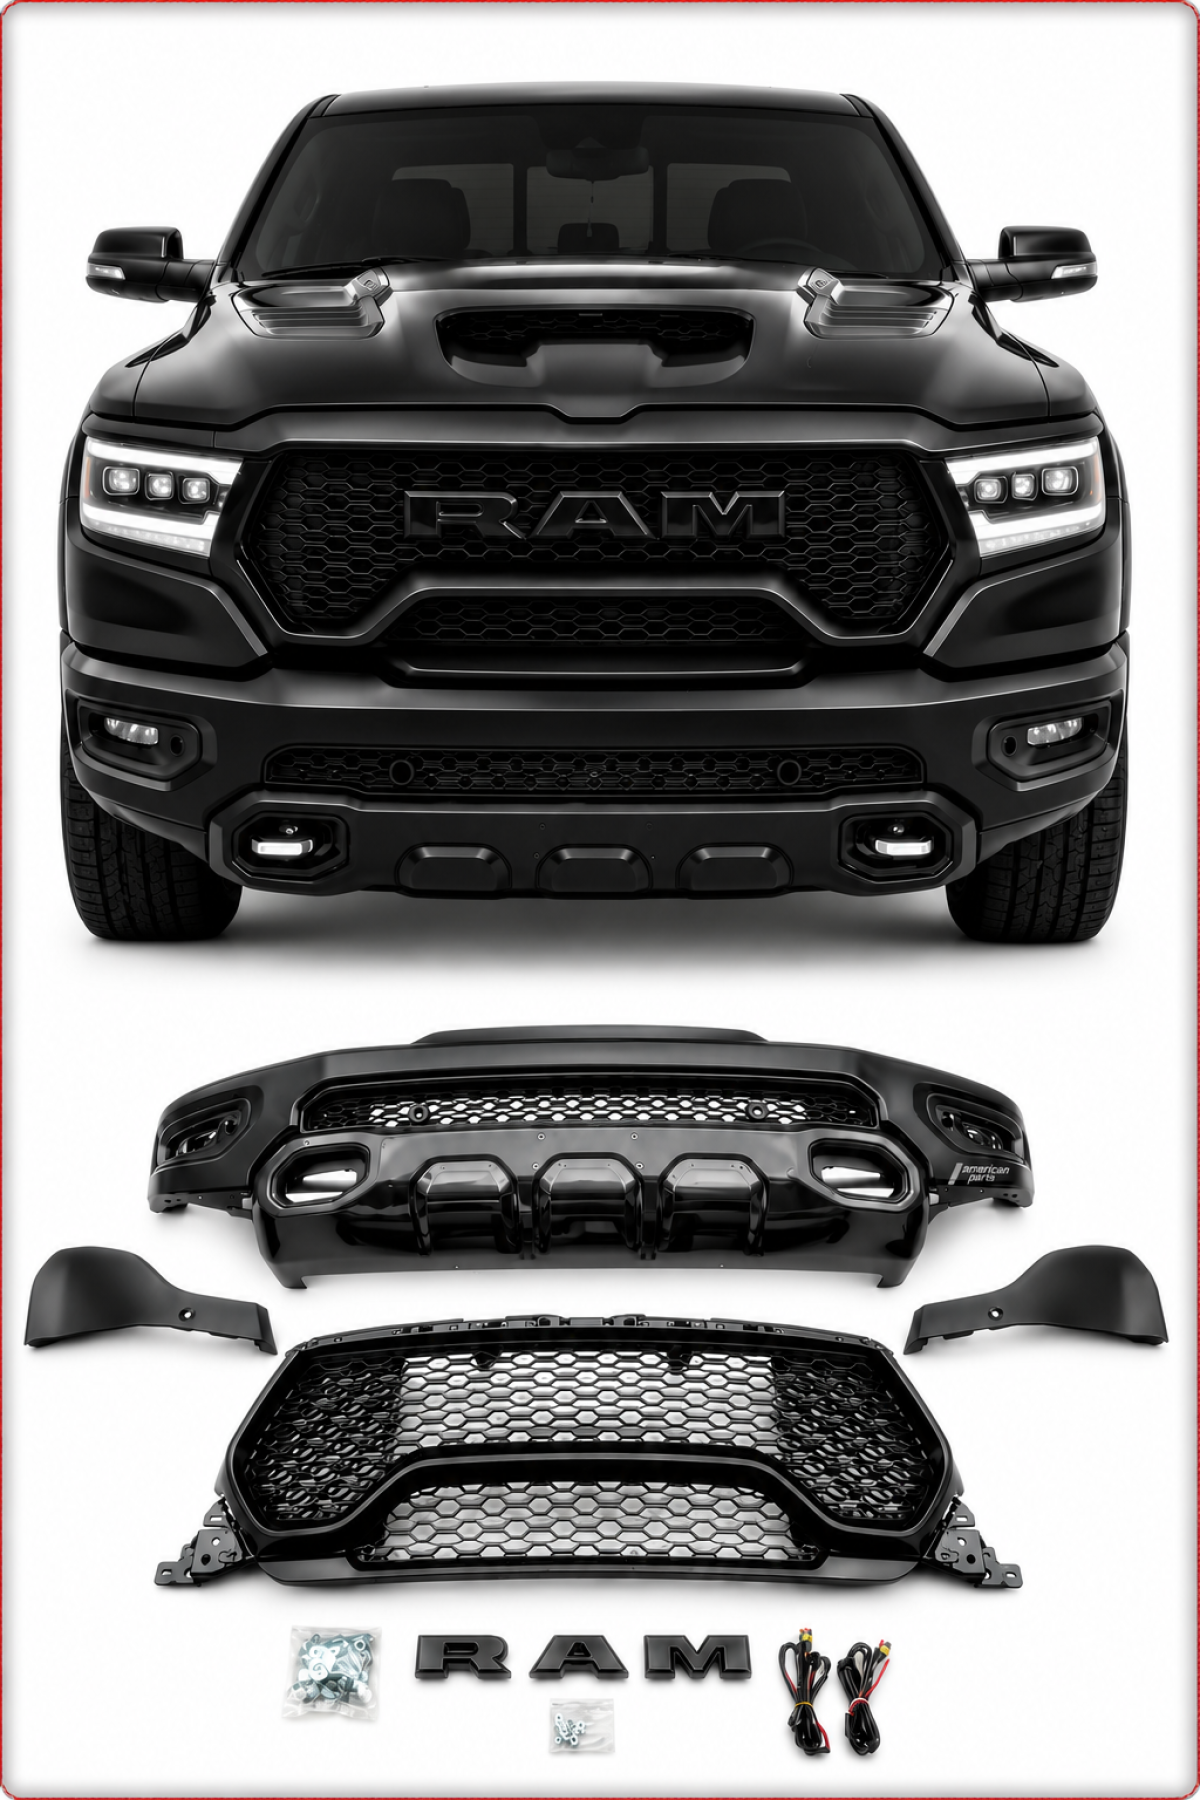
- Front & radiator grilles
- Side skirts
- Widebody fender flares
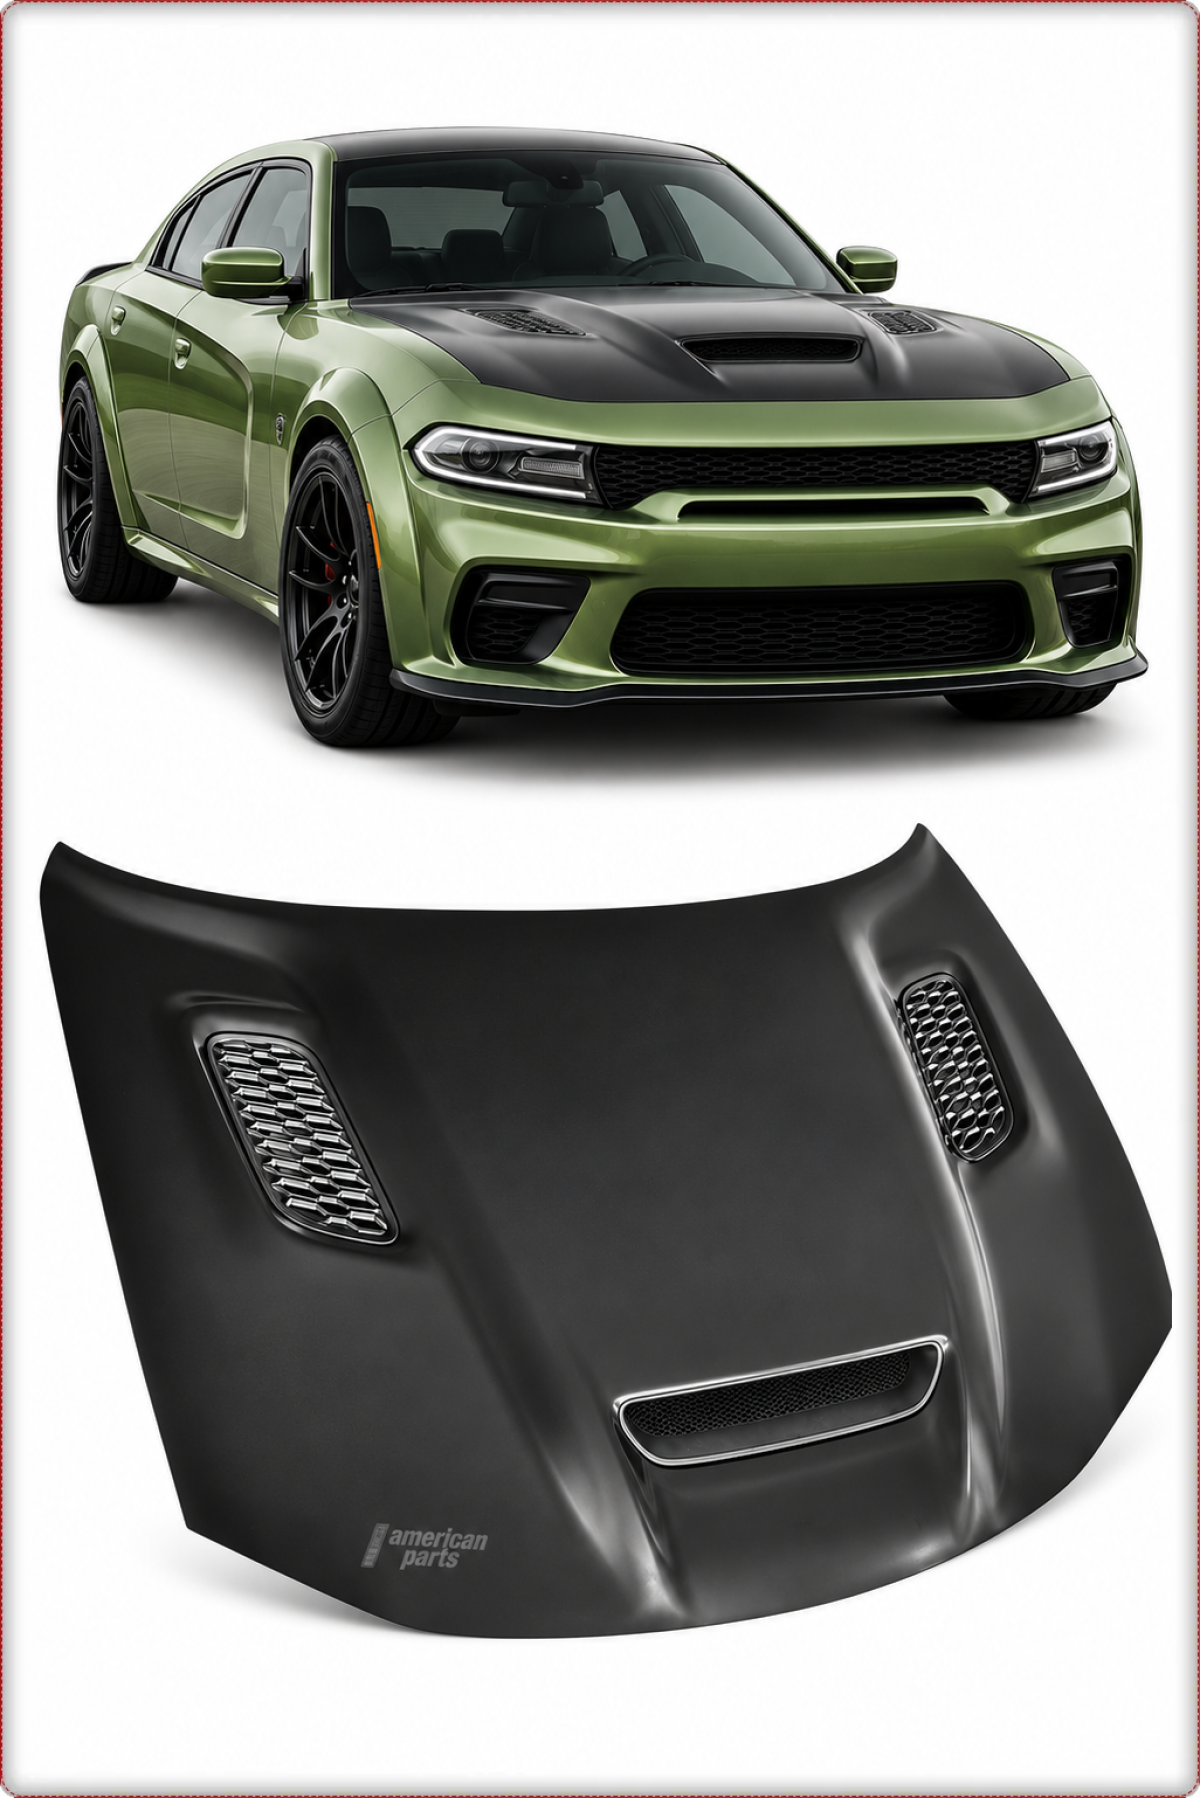
- Hoods and hood scoops
- Rear window louvers / rear window covers
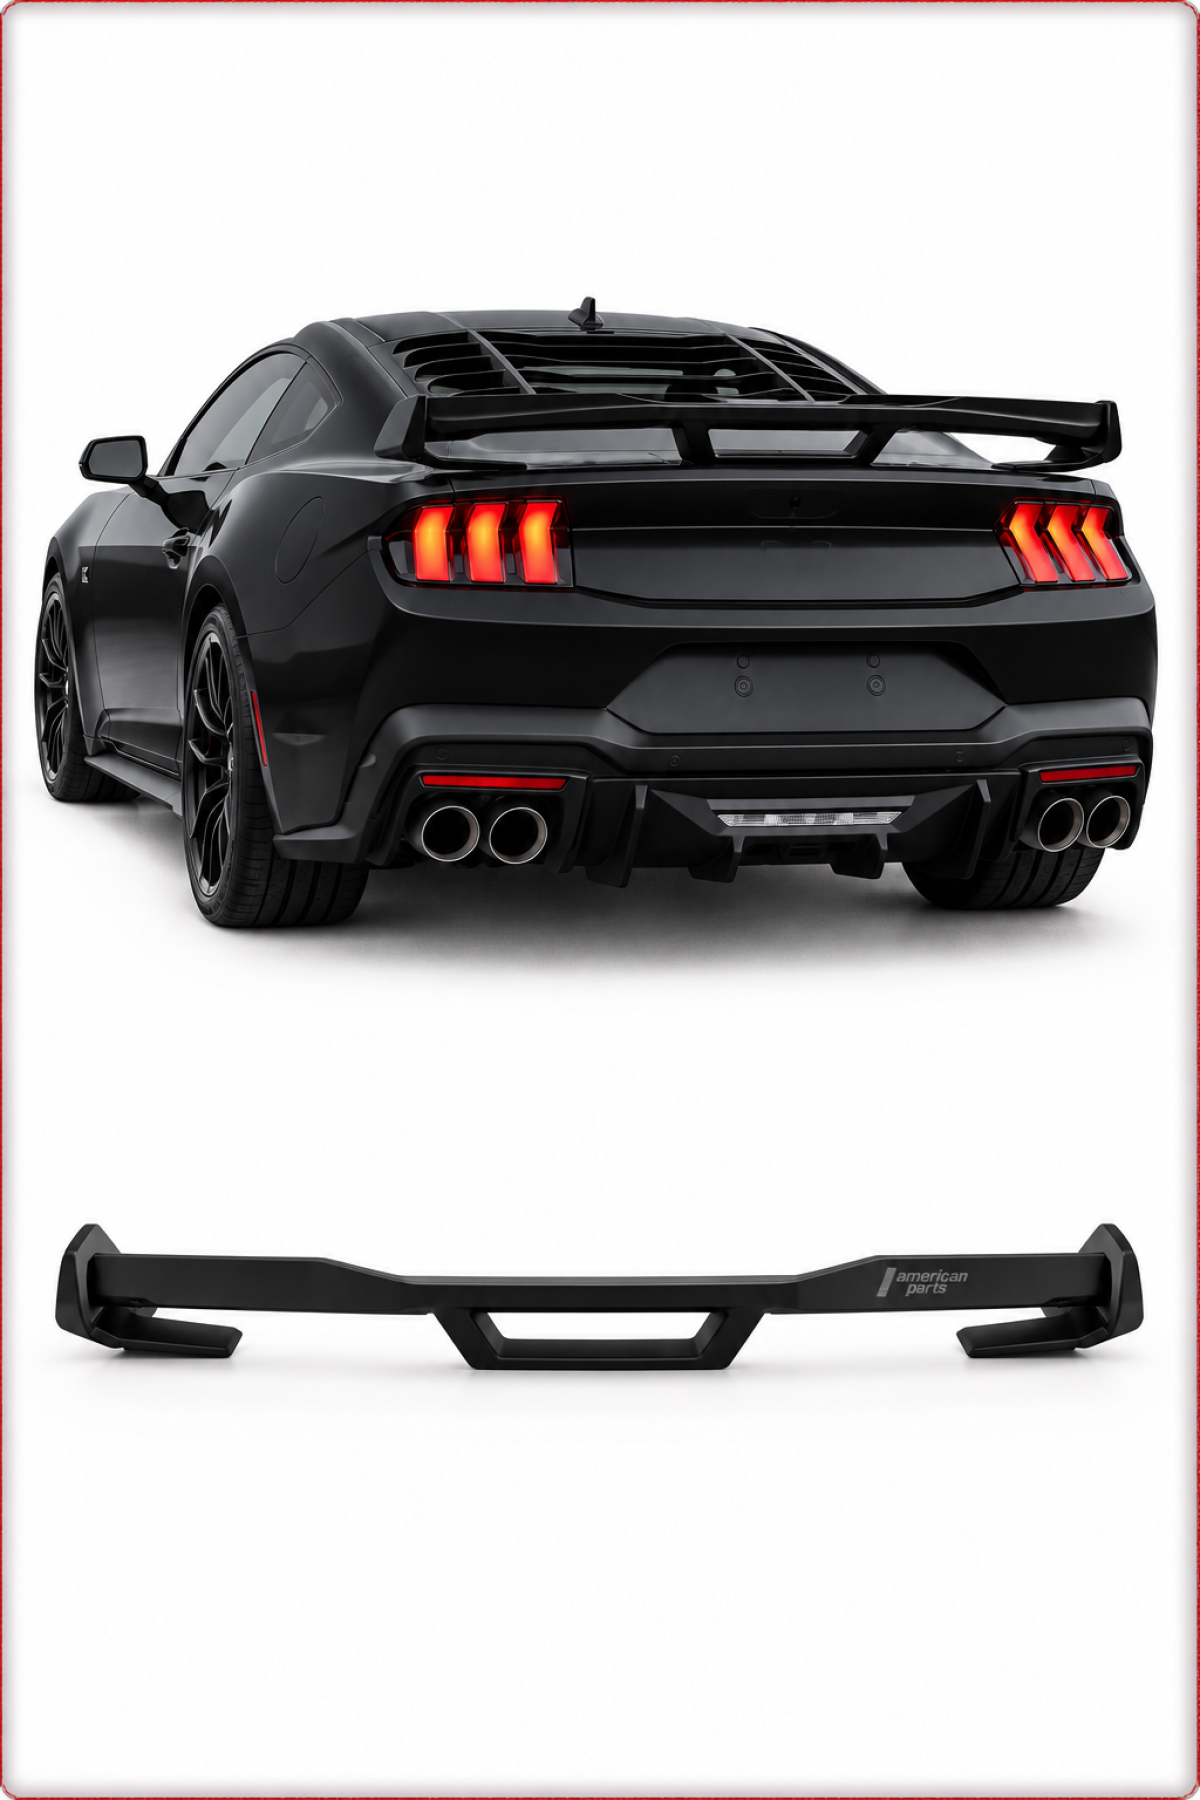
- Rear spoilers and wings
For a targeted search for specific assemblies, subcategories such as Front- & Kühlergrills, Seitenschweller or Motorhauben are helpful.
Check fitment and compatibility
Even if a part is described as intended for the Dodge Challenger, fitment should always be checked before final installation. Especially with tuning or widebody parts a “test fit” is sensible.
Important checkpoints before installation
- Attachment points: Do all brackets, clips and fasteners match the body?
- Lights and sensors: Are cutouts for headlights, fog lights, parking sensors, radar sensors etc. present and in the correct position?
- Panel gaps: Are the lateral and top edges to the adjacent component (e.g. fender, hood) even?
- Contact surfaces: Do seals and mounting surfaces sit cleanly, without tension and without distortion?
Overly tight installation, twisted attachment points or warped fiberglass/plastic parts later lead to cracks, paint flaking or rattles. Therefore always dry-fit first (no paint, no final clips), mark if necessary and rework.
Note material differences
Body and add-on parts on the Challenger can be made of plastic, fiberglass (GRP), sheet metal or composite materials. Different requirements arise from this:
- Plastic parts: Usually somewhat more flexible, tolerances are more forgiving, but pay attention to the correct type of clips and brackets.
- Fiberglass (GRP) parts: Common for tuning bumpers or body kits; often require rework (sanding, filling) and a thorough test fit before painting.
- Sheet metal parts: e.g. fenders, side panels; with fitment issues never tighten “by force”, but look for the cause (e.g. warped carrier).
Bumpers and widebody kits on the Dodge Challenger
Bumper conversions and widebody kits are among the most noticeable changes on the Challenger. Here care with selection and installation is particularly important.
Installing the front bumper
An example of a complete part is the complete front bumper for Dodge Challenger in Demon style. Even if the design varies, the basic installation for front bumpers is similar:
- Safely jack up the vehicle or lift on a hoist, remove front wheels if necessary.
- Partially or completely remove the wheel arch liners to access side fastenings.
- Remove the undertray / underbody covering in the front area.
- Release upper fastenings in the area of the front carrier / under the hood.
- Disconnect electrical connectors (parking sensors, fog lights, possibly front camera).
- Remove the bumper forward with a second person, do not pull or cock it.
- Dry-fit the new bumper, check all attachment points, adapt brackets if necessary.
- Before final assembly: test-fit the grille, air inlets and light inserts.
Specific torque values for bolts and the exact disassembly sequence vary by model year and equipment and must be looked up in the vehicle-specific repair manual.
Rear bumper and adaptation to SRT look
The procedure is similar for rear bumpers, e.g. when converting to a complete rear bumper for Dodge Challenger in SRT look. Typical points:
- Release the fastenings in the lower area and in the wheel arches
- Disconnect the rear parking sensors and lights (license plate lights)
- Check compatibility with the existing exhaust system (cutouts in the diffuser)
When converting to a different model year, consider that brackets and conduits may need to be adapted. Such work should only be carried out with sufficient experience in bodywork.
Widebody / fender flares
Widebody kits significantly change the vehicle’s outer contour. An example is the Wide Body / fender flare for Dodge Challenger. Basic points for installation:
- Before painting, hold all flares in place and check fitment.
- Mark holes for fasteners or rivets exactly to avoid drilling errors.
- Apply corrosion protection to all drill holes in sheet metal areas.
- Carefully adapt transitions between the original fender and the flare, pay attention to even wheel arch edges.
After a widebody conversion, wheel/tire combination, track and coverage of the tread usually need to be checked legally. For registration, the respective national regulations apply; use technical certificates from the parts manufacturer if required.
Side skirts and aerodynamic attachments
Side skirts mainly influence the look and can have slight aerodynamic effects at higher speeds. On the Challenger, tuning skirts with additional extensions are frequently installed.
Installing side skirts
For the Dodge Challenger there are various versions, e.g. side skirts in V2 style or side skirts in V3 style. Installation is usually as follows:
- Lift the vehicle on the side and secure against rolling away.
- Remove the original rocker panel cover (if present), release all clips and screws.
- Clean contact surfaces, remove dirt, remaining underbody coating and loose sealant.
- Hold the new skirt in place, mark attachment points; pay attention to the gap to the doors.
- If included in the delivery: drill mounting holes and apply corrosion protection.
- Mount the skirt with clips, screws and, if applicable, adhesive / butyl tape.
When using adhesive fastening materials, surface preparation, temperature and curing times specified by the adhesive manufacturer must be observed.
Hoods, fenders, side panels and fuel filler cap
Parts such as hoods, fenders, side panels and the fuel filler cap directly affect the body structure. Clean work is important here so that stiffness and function (e.g. crash behavior) are not impaired.
Hoods and air intakes
When replacing the hood on the Dodge Challenger the following points are decisive:
- Check hood hinges and their mounting points for play and corrosion.
- Adjust the hood latch and catch so that the hood locks securely.
- Adjust height and lateral position so the hood sits flush with the fenders and front end.
- For hoods with additional air inlets: ensure drainage and water routing.
The exact adjustment (e.g. torque values for hinge bolts) is model-dependent and described in the vehicle repair manual.
Fenders, side panels and fuel filler cap
In the category Kotflügel, Seitenwände & Tankdeckel you will find corresponding parts for the Challenger. When replacing them note the following:
- Welding work (on side panels) only with appropriate equipment and knowledge.
- Observe original weld points and reinforcements to avoid weakening the structure.
- Renew inner wheelhouse liners, sealants and cavity protection after the conversion.
- For the fuel filler cap ensure a tight connection to the filler neck and correct venting.
Rear window louvers and other accessories on the Dodge Challenger
Accessories like rear window louvers change the Challenger’s appearance and can reduce sun exposure. For the Challenger rear louvers are offered in different finishes.
Mounting rear window louvers
Typical examples are:
Basic principle of installation (details per manufacturer instructions):
- Thoroughly clean, degrease and dry the rear window.
- Dry-mark the position of the brackets or adhesive areas, ensure centered alignment.
- Prepare adhesive surfaces on the glass with an appropriate primer (if required by the manufacturer).
- Apply brackets or adhesive strips in one operation, do not reposition.
- Clip or set the louver into the brackets; ensure it sits without tension.
During the adhesive curing time the vehicle must not be cleaned with high-pressure washers or exposed to extreme temperature fluctuations. The exact duration is given in the product’s installation instructions.
Painting, corrosion protection and final inspection
Many body and add-on parts are delivered primed or unpainted. Before installation the following points should be considered:
- Test fit before painting: Check and adjust all panel gaps, drillings and transitions before painting.
- Surface preparation: Sanding, cleaning and degreasing according to the paint manufacturer's specifications.
- Corrosion protection: Apply rust protection especially to newly drilled holes, edges and weld seams.
- Underbody / stonechip protection: Renew in the area of wheel arches and rocker panels.
After final assembly a thorough final inspection should be carried out:
- Check all panel gaps and edges
- Function test of lighting, sensors and cameras
- Check hood and door locking
- Test drive to detect rattles or vibrations
Legal aspects and documentation
Many add-on parts for the Dodge Challenger are visual modifications that affect dimensions, lighting or aerodynamics. Depending on the country, certificates, registrations or inspections (e.g. by a technical inspection organization) may be required.
- Always keep product documents (certificates, manufacturer declarations).
- For parts with a TÜV note in the item description, read the associated documents carefully.
- Clarify before the conversion whether an inspection by an expert is necessary.
Changes to load-bearing body parts, to lighting or to attachments affecting pedestrian protection should in principle be coordinated with a specialist workshop or an expert.
Frequently asked questions
How do I safely find matching body parts for my Dodge Challenger?
Use the shop’s filter function and explicitly select Dodge Challenger as well as year of manufacture / model year. Also compare pictures, dimensions and descriptions with your vehicle. If in doubt, have the vehicle identification number (VIN) ready and check the information in the vehicle documents.
Do I have to test-fit bumpers and widebody parts before painting?
Yes, a complete test fit before painting is recommended. This allows fitment inaccuracies, necessary rework or adjustments to be identified early without having to rework already painted surfaces.
Can I have body modifications on the Dodge Challenger registered myself?
Registration is always performed by an accredited testing organization or an expert. You can carry out the modifications yourself, but you should clarify in advance whether certificates are available and whether certain tasks (e.g. welding on load-bearing parts) should be carried out by a specialist workshop.